I. Introduction
There’s nothing quite like the ambience candles create in a room. However, when the wax drips down the walls, it can be a nightmare to remove. Do not worry, as here is an expert guide to help you remove candle wax from your walls in simple ways.
II. 5 Simple Ways to Remove Candle Wax from Your Walls
There are various methods you can use to remove candle wax from walls. Listed below are 5 simple ways:
Method 1: Heat and Scraping
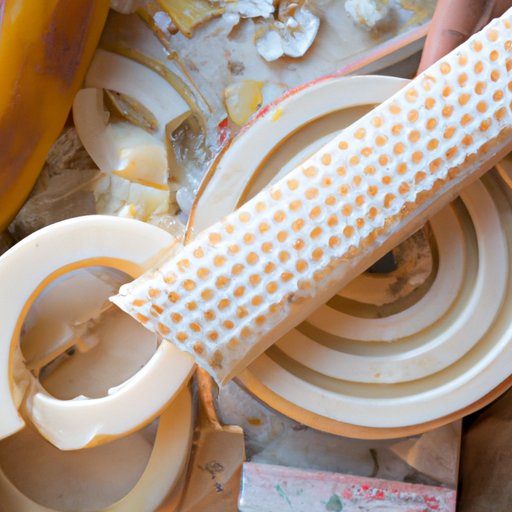
One of the best ways to remove candle wax from walls is to heat it with a hairdryer or a heat gun. As the heat melts the wax, scrap it with a plastic scraper or credit card.
Method 2: Using an Iron and Paper Towels
Spread a paper towel over the wax and iron over the towel until the wax melts. The wax will get collected on the paper towel. This method is best for flat surfaces.
Method 3: Using a Hair Dryer and Paper Bags
Another effective way of removing wax from walls is by using paper bags and a hairdryer. Place the paper bag around the nozzle of the hairdryer and blow hot air on the wax. The wax will melt and get collected on the paper bag.
Method 4: Using Vinegar
Vinegar is a versatile household item that can help with cleaning. Dampen a cloth with vinegar and apply it to the wax. Let the vinegar sit on the wax for a few minutes and try to wipe away the wax with the help of a plastic scraper.
Method 5: Using Baking Soda and Water
Baking soda mixed with water can create a paste that can help remove wax on the walls. Apply the paste to the wax and let it sit for a few minutes. Slowly scrape the wax with a plastic scraper or credit card.
III. Expert Tips for Getting Candle Wax Off Your Walls
Here are some useful tips an expert would recommend when trying to remove wax off the walls:
A. Preparing the area
Remove any loose wax before beginning any of the methods. Cover the area around the wax with a drop cloth or plastic sheet to avoid any accidental spills.
B. Choosing the right approach
The method you choose should vary depending on the type of wax and the surface of the wall. If in doubt, always test a small, inconspicuous area before proceeding with a larger area.
C. Careful use of tools and methods
Avoid using sharp tools like razors as it can damage your walls. Be cautious of the heat temperature from the dryer not to overheat the wall paint else it will melt.
D. Working in small sections
Work in a small section at a time to avoid doing too much when not needed. Big sections can cause mistakes and further mess-ups.
E. Final touch-ups
After removing wax off the wall, it’s essential to clean the area with soap and water or mild cleaning solution to get rid of any residue. Touch-up the wall to match its original look.
IV. DIY: Removing Candle Wax from Walls in 5 Easy Steps
A. Step 1: Gather your materials
Before starting the process, ensure you have all the necessary materials required such as a hairdryer, plastic scraper or credit card, papers or cloths, and mild cleaning solution.
B. Step 2: Decide on the method
Choose a method listed above that best suits your needs. It’s essential to keep in mind the type of wax and wall surface to keep the wall from getting damaged.
C. Step 3: Protect the area surrounding the wax
Prevent any mess by putting a drop cloth or plastic sheet around the wax. This prevents the drips from going on to other parts of the wall.
D. Step 4: Apply the chosen method
Once you have everything set-up and have chosen the method you need, start applying it. Follow the instructions thoroughly to ensure effectiveness.
E. Step 5: Clean up and touch up
After removing the wax, the final step is touching up the walls with paint or cleaning solution to match the original area’s look.
V. Candle Wax Woes: How to Remove Wax Stains from Your Walls
A. Identifying and dealing with stubborn wax stains
For stubborn wax stains, use the heat and scraping method. Apply heat to the wax as much as possible so it loosens. Then, scrape it off with a plastic scraper. If the wax doesn’t come off easily, try using a mild cleaning solution combined with the plastic scraper.
B. Avoiding damage to your walls
Do not use sharp tools like knives or razors as they can cause damage to the wall surface. Do not scrape too hard on the painted walls as it may cause the paint to come off.
C. Tips for preventing wax spills
Prevent wax spills in the first place by keeping the candles away from the wall or using decorative candle holders. Always keep the candles out of reach from children and the elderly as they can cause harm in case of an accident.
VI. The Foolproof Guide to Removing Candle Wax from Your Walls
A. Overview of the 5 methods
All the methods mentioned above can be used and will work depending on the type of wax. The materials needed for each method may vary.
B. Detailed step-by-step instructions for each method
The detailed instructions for each approach can be found above, and all should be closely followed to ensure the effectiveness of each method used.
C. Tips to make the process easier
To make the process of removing candle wax from walls more accessible, always work on small sections at a time, use mild cleaning solutions, and do not use any sharp tools.
VII. Conclusion
Removing wax off walls can be a challenging task if you don’t have the right tools or knowledge. But with the expert guide above, you will have all the necessary information required to remove wax in five simple ways and avoid damage to your walls.
Don’t be afraid to try out the methods outlined above and share the article with your friends and family in case they might need it.
Final tips and tricks
The final tips include using a mild cleaning solution, not overworking a large area, and keeping a plastic scraper or credit card handy.
Call to action
Share the article with someone who might be struggling with getting candle wax off the wall, so they can handle the issue in a hassle-free manner.


