How to Hang a Picture: A Step-by-Step Guide
Whether you’re sprucing up your living room or adding some personality to your bedroom, hanging pictures can be a quick and easy way to elevate your space. However, it’s not as easy as it seems, especially if you are not experienced, and the wrong tools or hanging techniques can lead to disastrous results. In this article, we will provide a detailed guide on how to hang pictures on various types of walls safely and securely.
Step-by-Step Guide: How to Hang a Picture
Here’s what you’ll need to hang a picture:
- Hammer
- Nails
- Picture hangers (if necessary)
- Level
- Measuring tape
Step 1 – Measure and Mark the Wall:
Before hanging any picture, it’s important to measure both the wall and the placement of the picture. Measure the wall space where you plan to hang the picture and mark it with a pencil. You should also measure the distance from the top of the picture to its hanging point.
Step 2 – Choose the Right Hardware:
The weight of the picture will determine the necessary hardware. Use a picture hanger for any picture weighing more than 5 pounds. If you’re hanging a painting or framed artwork that weighs more than 20 pounds, be sure to use a screw or anchor that can hold the weight.
Step 3 – Hanging the Picture:
Now it’s time to hang your picture. Start by positioning the picture hook or hardware on the wall and hammer a nail into the wall through the hardware. Then, hang the picture on the nail carefully, checking its placement with a level. Adjust as necessary to ensure it’s straight.
Video Tutorial
If you’re more of a visual learner, check out our comprehensive video tutorial that will take you through the process of hanging pictures step-by-step. The tutorial will also provide guidance on the different types of walls and how to use alternative hanging methods.
DIY Framing
Creating a picture frame from scratch can be a rewarding experience. Not only does it save you money, but it also allows you to customize the frame to your liking. Here are some steps to guide you through creating a DIY picture frame:
- Cut the wood pieces using a saw and sand the edges
- Use a drill to attach the hardware to the frame
- Insert the glass, artwork, and backing into the frame, then secure everything using staples or a screwdriver
Decorating Tips
Once you’ve learned the basics of hanging pictures, it’s time to consider where and how to hang them. Here are some tips to help you get the best results:
- The center of your artwork should be at eye level (roughly 60 inches from the floor to the center of the artwork)
- Leave space between pictures to avoid crowding
- Group your pictures based on theme or color to create a cohesive look
- Choose the right hardware and hanging techniques according to the type of wall
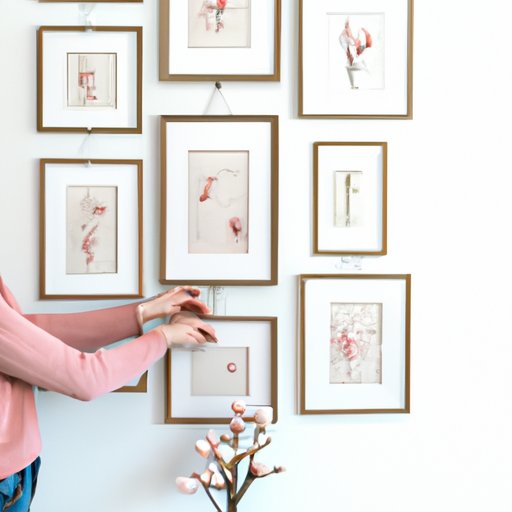
Art Placement Ideas
If you’re looking for inspiration on how to display your pictures beautifully, consider a gallery-style wall. Here are some ideas:
- Mix and match different sizes and frame types
- Choose a color scheme that complements your room
- Arrange your pictures in a specific pattern, such as a grid or ladder
- Use shelves to add depth and interest to the design
Conclusion
By following these tips and tricks, you can hang pictures like a pro. Remember to measure, choose the right hardware and hanging technique, and position them correctly for the best results. With a little patience and creativity, you can create a personalized space that showcases your personality and style.


