Introduction
Hanging pictures is a great way to decorate a room and showcase memories or artwork. However, it can be challenging to get them level and secure on the wall. In this article, we’ll provide a step-by-step guide to hanging pictures, offer tips and tricks for finding the perfect height and layout, share creative display ideas, and offer affordable options for hanging pictures safely. Whether you’re a DIY beginner or a seasoned pro, this guide will help you hang pictures like a pro.
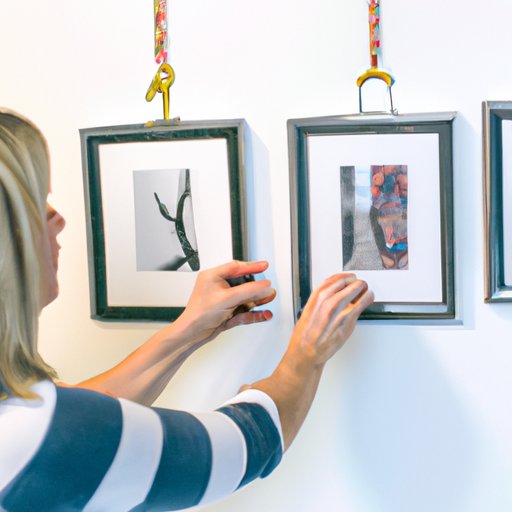
Step-by-step guide
Before you start hanging pictures, it’s important to measure and mark the wall to ensure your pictures are level and properly spaced. Here are some steps to follow:
- Measure the wall and determine where you want to hang the picture.
- Mark the wall with a pencil to show where the top of the picture will be.
- Use a measuring tape to measure the distance between the top of the picture and the hanging hardware.
- Transfer this measurement to the wall, marking where the hardware will be placed.
- Use a level to make sure your markings are straight.
- Install the hardware according to the instructions provided.
- Hang the picture on the hardware.
Make sure to use the right hardware for your picture and wall type. For lighter pictures, picture hangers or adhesive strips may be sufficient. For heavier pieces, use anchors or screws designed for your wall type. Always follow the manufacturer’s instructions and weight guidelines.
Using a hanging kit can also make this process easier. Kits typically include a level, marking tools, and various hardware options. This is a good option if you plan to hang several pictures or need to hang a variety of sizes.
Tips and tricks
Here are some tips and tricks for hanging pictures:
- When hanging a picture over furniture, aim to have the bottom of the frame 6-8 inches above the surface.
- For a gallery wall, start by laying out your pictures on the floor to determine the arrangement before hanging them on the wall.
- Use a template to help hang several pictures in a straight line.
- For textured walls, use adhesive strips or putty that won’t damage the surface.
- If you’re hanging a large picture, use two hooks to distribute the weight more evenly.
- Consider using picture ledges to display multiple pictures without the need for individual hanging hardware.
DIY framing
If you want to create a custom frame for your picture, there are several materials and tools you will need:
- Moulding or trim
- A saw
- A mitre box
Here are some steps to follow when creating a custom frame:
- Measure your picture and determine the dimensions of your frame.
- Cut the moulding or trim to size using a saw and mitre box.
Creative display ideas
If you’re looking for creative ways to display your pictures, consider these ideas:
- Hang pictures from wire hangers for a vintage look.
Don’t be afraid to get creative with your picture displays. Your home should reflect your personality and style, and pictures are a great way to showcase that.
Hanging art on a budget
You don’t need to spend a lot of money to create a beautiful picture display. Here are some affordable options:
- Use adhesive strips or putty instead of hardware.
Remember, it’s not about how much you spend on hardware or frames–it’s about the memories and artwork you’re showcasing.
Hanging pictures safely
It’s important to hang pictures safely to prevent damage to your walls and injury to yourself or others. Here are some tips:
- Choose hardware based on the weight of your picture.
By following these safety tips, you can hang pictures with confidence and ease.
Conclusion
Hanging pictures can be a fun and rewarding way to decorate your home. By following our step-by-step guide, using our tips and tricks, and getting creative, you can create a beautiful picture display that showcases your memories and style. Remember to always choose hardware based on the weight of your picture, read manufacturer’s instructions, and hang pictures safely to prevent damage. We hope this guide has inspired you to try hanging pictures on your own with confidence.


