Introduction
Baking has been an integral part of human culture for thousands of years. From simple flatbreads and cakes to elaborate pastries and doughs, every baker knows that their creations depend on the quality of their ingredients. One ingredient that often gets overlooked is flour. Heat treating flour before baking is essential to ensure its quality and safety. In this guide, we will walk you through everything you need to know about heat treating flour.
“Mastering the Art of Heat Treating Flour: A Step-by-Step Guide”
Heat treating flour involves exposing it to high temperatures to destroy harmful microorganisms and reduce moisture content. This process also improves its baking performance, resulting in better texture and taste. Here is a step-by-step guide to heat treating your flour:
Step 1: Preheat your oven
Preheat your oven to 350°F (177°C) and let it heat up for 20 minutes. This temperature is sufficient to kill most bacteria and viruses, including salmonella and E.coli.
Step 2: Spread the flour in a thin layer
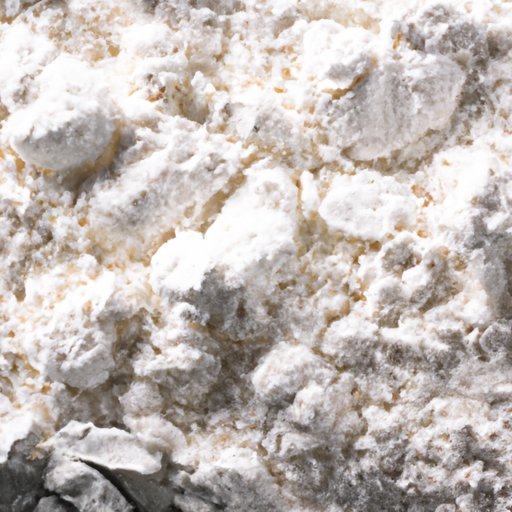
Spread a thin layer of flour evenly over a baking sheet. Make sure the entire surface is covered with the flour, and there are no clumps.
Step 3: Bake the flour
Place the baking sheet with the flour in the preheated oven and bake for 5-10 minutes. You can turn the flour over midway to ensure even heat distribution.
Step 4: Cool the flour
Remove the baking sheet from the oven, and let the flour cool to room temperature. This cooling process is important because it stops the baking process and prevents the flour from overcooking.
“5 Reasons Why You Should Heat Treat Your Flour Before Baking”
Heat treating flour is crucial before baking for several reasons:
Reason 1: Prevent contamination and food-borne illnesses
Flour is a commonly overlooked source of foodborne illnesses in baked goods. Heat treating flour kills harmful microorganisms that are present, making it safe to use.
Reason 2: Improve texture and flavor
Heating flour before baking can help improve its texture and flavor. It deactivates enzymes that can cause the flour to spoil and reduces the amount of moisture present, resulting in better texture and flavor.
Reason 3: Extend shelf life
Heat treated flour has an extended shelf life due to reduced moisture content. This makes it a convenient ingredient to always have on hand when baking.
Reason 4: Easy to digest
Heat treated flour is easier to digest, making it a better choice for those with sensitive stomachs or digestive issues.
Reason 5: Better baking outcomes
Baking with heat-treated flour produces more consistent, better quality baked goods. The flour’s improved texture and flavor result in a more satisfying baking experience.
“The Science Behind Flour Heat Treatment and How it Affects Your Baked Goods”
The process of heat treating flour is all about understanding the science behind it. Flour contains bacteria and fungi that can cause spoilage or foodborne illness if left untreated. By exposing flour to high temperatures, the harmful microorganisms are destroyed, and the flour’s moisture content is reduced.
The reduced moisture content resulting from heat treating flour can also contribute to the texture and flavor of baked goods. It creates a drier, crumblier consistency compared to untreated flour.
“Baking with Heat Treated Flour: Tips and Tricks for the Perfect Bake”
When baking with heat treated flour, there are a few things to keep in mind:
Tip 1: Use a kitchen thermometer
Make sure to use a kitchen thermometer to check the temperature of the flour. If it’s too hot, it can overcook and lead to a less satisfying final product. Aim for a temperature range of 135-145°F (57-63°C).
Tip 2: Use an accurate measuring cup or a food scale
Using an accurate measuring cup or food scale can help ensure that you get the right amount of flour for your recipe. Heat treated flour has a different texture than untreated flour, so getting the right amount is essential.
Tip 3: Adjust the liquid content of your recipe
Heat treated flour absorbs less liquid than untreated flour, so you may need to adjust the liquid content of your recipe. Start by reducing the amount of liquid by 10% and adjust as necessary to achieve the desired texture.
Tip 4: Store your flour properly
Heat treated flour has a lower moisture content, making it more susceptible to absorbing moisture from the air. Store it in an airtight container in a cool, dry place to maintain its quality and prevent clumping.
“Using Heat Treated Flour for Gluten-Free Baked Goods”
Heat treated flour is an excellent choice for gluten-free baked goods because it improves the consistency and texture of gluten-free flours.
Tip 1: Combine with other gluten-free flours
While heat treated flour works well on its own, mixing it with other gluten-free flours can improve its consistency and texture. Try combining it with rice flour, sorghum flour, or tapioca flour to achieve the perfect texture for your recipe.
Tip 2: Experiment with recipes
Experiment with different recipes to find the perfect balance of flavors and textures. Gluten-free baking can be challenging, but with patience and practice, it’s possible to achieve the perfect recipe.
Conclusion
Heat treating flour is an easy and effective way to improve the quality and safety of your baked goods. It can prevent food-borne illnesses, improve texture and flavor, and extend the shelf life of flour. Remember to experiment with your recipes, adjust the liquid content, and use accurate measurements when baking with heat treated flour. With these tips, you can master the art of baking with heat treated flour and create delicious and satisfying baked goods every time.


