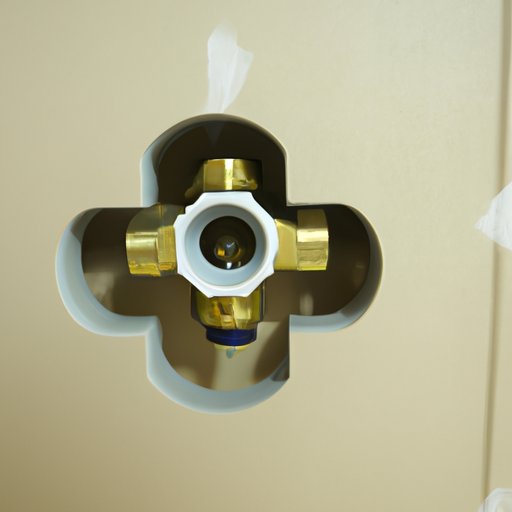
Introduction
Having a functional bathtub drain and trap is essential for preventing clogs and maintaining proper hygiene. Unfortunately, these components can wear out over time and need to be replaced. In this article, we’ll cover the step-by-step process of installing a new bathtub drain and trap, as well as provide helpful tips, product comparisons, and troubleshooting solutions.
Step-by-Step Guide
The first step in installing a new bathtub drain and trap is to remove the old one. Depending on the type of drain you have, this may involve unscrewing the stopper or adjusting a trip lever assembly.
Next, use a wrench to remove the old drain flange and clean any debris or buildup from the area around the drain hole.
Apply plumber’s putty around the new drain flange and insert it into the drain hole, tightening it with a wrench.
Attach the drain shoe and linkage to the drain flange, securing it with a nut and tightening it with pliers.
Install the overflow drain and linkage, making sure it aligns with the overflow hole in the tub.
Finally, install the new trap assembly, using a wrench to tighten the fittings and ensure a secure seal.
It’s important to follow these steps carefully and double-check your work for any leaks before using the bathtub again.
Video Tutorial
If you’re a visual learner or want to see the installation process in action, check out this video tutorial from This Old House:
https://www.youtube.com/watch?v=HcOVRqZEBdQ
Watching this video can help you get a better understanding of the process and feel more confident in your ability to install a new bathtub drain and trap.
Tips and Tricks
Here are a few tips to make your bathtub drain and trap installation go smoothly:
- Use silicone lubricant on the threads of the drain flange and fittings to make them easier to tighten and prevent future corrosion.
- Prepare the area around the drain hole by cleaning it thoroughly and removing any dirt or grime that could interfere with the seal.
- Be careful not to over-tighten the drain or trap fittings, as this can damage the threads and cause leaks.
By following these tips, you can ensure a successful installation and avoid common mistakes.
Product Comparison
When choosing a new bathtub drain and trap, it’s important to consider factors like durability, ease of installation, and compatibility with your existing plumbing. Here are a few popular brands to compare:
- Kohler: This brand offers a wide range of drain and trap options with different finishes and features, such as a removable stopper for easy maintenance.
- Watco: Known for their easy-to-install FlexTube design, Watco drains and traps come in different sizes and materials to fit a variety of tubs.
- Oatey: With a focus on durability and leak prevention, Oatey offers a range of brass and PVC drain and trap assemblies for both standard and deep tubs.
Be sure to read product reviews and compare prices before making a final decision on which brand to purchase.
Frequently Asked Questions
Here are some common questions and answers about bathtub drain and trap installation:
- How long does it take to install a new bathtub drain and trap?
- Is it difficult to install a bathtub drain and trap?
The installation process can take anywhere from 30 minutes to an hour, depending on your level of experience and the complexity of your existing plumbing.
While it may seem intimidating at first, installing a new bathtub drain and trap is a fairly straightforward process that can be done with basic plumbing tools and some patience.
Troubleshooting Guide
If you encounter any issues during the installation process, here are a few common problems and solutions:
- Leaking drain or trap: Check the fittings to make sure they’re tight and properly sealed with plumber’s putty or Teflon tape. If the leak persists, try tightening the fittings further or consulting a professional plumber.
- Incompatible fittings: If the new drain or trap assembly doesn’t fit with your existing plumbing, you may need to purchase additional adapters or consider calling a professional plumber for help.
Professional Help
If you’re unsure about your ability to install a new bathtub drain and trap, or encounter unexpected difficulties during the process, it’s always best to call in a professional plumber.
A skilled plumber can ensure a proper installation and provide peace of mind that your plumbing is functioning safely and efficiently.
Attempting a DIY installation without proper knowledge or tools can lead to further damage or costly repairs down the line.
Conclusion
Whether you’re upgrading your bathroom or simply need to replace a worn-out drain and trap, installing a new bathtub drain and trap is a manageable DIY project with the right tools and knowledge. By following our step-by-step guide, watching the video tutorial, and heeding our tips and tricks, you can have a functional drain and trap in no time.
Remember to compare different brands and products before making a purchase, and don’t hesitate to consult a professional plumber if you need assistance.


