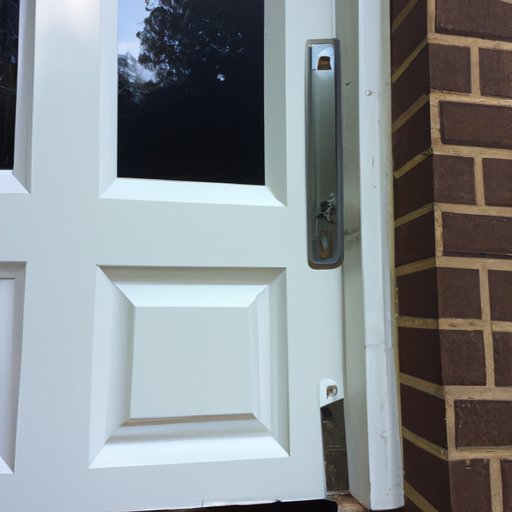
Introduction
Have you ever wondered how to install a storm door? Installing a storm door is an effective and practical solution to upgrade your home. It provides better insulation and protection from harsh weather conditions while adding an aesthetic touch to your entryway. However, to get the maximum benefit from your storm door, it is vital to have proper installation. This article aims to provide a comprehensive guide and additional tips to help you install a storm door effectively and safely.
Step-by-Step Guide
Before proceeding with the installation process, it is vital to understand what a storm door is and why it is essential. A storm door is an additional door that is installed in front of your existing exterior door. It provides increased insulation and protection from extreme weather while allowing natural light and ventilation into the house. The following is a step-by-step guide to installing a storm door:
Step 1: Measure the Door Frame
The first step to installing a storm door is to measure the door frame accurately. Measure the width, height, and depth of the door opening, including the trim. Take three measurements of the height and width, and record the smallest measurement to ensure that the storm door fits correctly.
Step 2: Choose Your Storm Door
Choose a storm door that fits the measurements and style of your home. Storm doors are available in different materials such as aluminum, wood, and vinyl. They are also available in various styles such as full view, retractable screen, and sliding glass. Ensure that the storm door you select comes with all the required hardware, including hinges, handle, and latch.
Step 3: Remove the Existing Door
Before installing the storm door, remove the existing door from the frame. Check the frame for damage or decay and repair if necessary. Clean the frame thoroughly, removing any dirt or debris.
Step 4: Install the Z-bar
Install the Z-bar along the hinge side of the door frame. The Z-bar helps to secure the storm door to the frame and provides additional weather protection. Place the Z-bar against the frame and attach it with screws. Ensure that it is level and plumb before tightening the screws.
Step 5: Attach the Hinges and Handle
Attach the hinges to the storm door and screw them in place. Align the storm door with the Z-bar and attach the other end of the hinges to the Z-bar. Test the door to ensure that it opens and closes smoothly.
Attach the handle and latch to the door as per the manufacturer’s instructions. Ensure that the handle is at the correct height and orientation. Test the handle and lock to ensure that they are working smoothly before proceeding.
Personal Experience
Installing a storm door requires patience, attention to detail, and some basic DIY skills. In my personal experience, I found that measuring the door frame accurately is the most critical step. I had to measure the frame several times to ensure that the storm door fits correctly. I also discovered that it is essential to install the Z-bar accurately to prevent any air or water leaks. Lastly, it is crucial to take your time and follow the manufacturer’s instructions carefully.
Pros and Cons
Installing a storm door has several benefits, such as increased insulation and protection, improved aesthetic appeal, and added value to your home. On the other hand, installing a storm door can be time-consuming, requires specific tools and skills, and may not be suitable for all homeowners. If you are not confident in your DIY skills, it may be best to hire a professional installer.
Informative Infographic
Check out this informative infographic that visually outlines the steps involved in installing a storm door:
Tips for Quick Installation
If you want to install a storm door quickly, here are some quick tips:
- Ensure that you have all the required tools and hardware before starting the installation process.
- Prepare the work area by clearing any debris or obstacles and protecting the flooring.
- Read the manufacturer’s instructions carefully before starting the installation process.
- Use proper safety equipment such as gloves and safety glasses while installing the storm door.
- Take your time, and do not rush the installation process.
Conclusion
Installing a storm door is not as daunting as it may seem. With the proper tools, skills, and techniques, installing a storm door can be a DIY project you can complete yourself. Always remember to measure the door frame accurately, choose the right storm door, follow the manufacturer’s instructions carefully, and emphasize safety throughout the installation process.
We hope that this comprehensive guide, personal experience, and helpful tips will enable you to install a storm door smoothly and effectively. Feel free to share your experience or ask us any questions related to storm door installation in the comments section below.


