Introduction
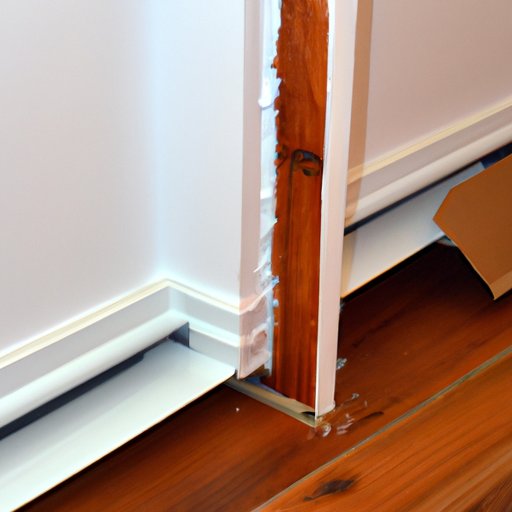
Installing baseboard is a quick and easy way to give any room a polished and finished look. Not only does baseboard cover up unsightly gaps between the wall and the floor, it also protects the wall from damage caused by furniture and foot traffic. In this article, we’ll provide you with a comprehensive guide to installing baseboard in your home.
Step-by-Step Guide
Before you start your installation, there are a few things you need to do to prepare. First, measure the length of the walls where you’ll be installing baseboards. This will ensure that you have enough material to cover the entire area. Next, remove any old baseboards to make room for the new ones. Make sure to clean the surface area of the wall and the floor to remove any debris or dust.
Now that you’re ready to begin, it’s time to start installing your baseboards. Here is a step-by-step guide to help you along the way:
1. Cut the baseboards to the correct length: Using a miter saw or a hand saw, cut the baseboards to the correct length according to your measurements. Make sure to measure and cut each board individually to account for any variations in the wall.
2. Install the baseboard: Apply a small amount of construction adhesive to the back of the baseboard and press it against the wall. Make sure the baseboard is level and flush against the wall.
3. Nail the baseboard: Starting at one end of the baseboard, nail it to the wall using a finish nail gun. Be careful not to shoot the nails too deeply into the baseboard, as this can cause it to split.
4. Apply wood filler: Fill any nail holes with wood filler using a putty knife. Allow the filler to dry completely before sanding it down to a smooth finish.
5. Caulk the gaps: Apply a bead of caulk along the top and bottom of the baseboard to fill any gaps between the wall and the baseboard. Smooth out the caulk with your finger or a caulk smoothing tool.
Video Guide
If you prefer to learn by watching, we’ve also put together a helpful video guide to assist you during your installation. Click the link below to watch:
*Link to video*
Common Mistakes to Avoid
While installing baseboard is a relatively straightforward process, there are a few common mistakes that can easily be avoided. One mistake is not measuring the walls accurately, which can result in baseboards that are too short or too long. Another mistake is not nailing the baseboard correctly, which can cause it to become loose and wobbly. To avoid these mistakes, always make sure to measure multiple times and nail the baseboard firmly into place.
Tools and Materials
To install baseboard, you will need the following tools and materials:
– Baseboard material
– Miter saw or hand saw
– Finish nail gun and finish nails
– Construction adhesive
– Wood filler
– Caulk and caulk gun
– Sandpaper
– Putty knife
All of these items can be found at your local hardware store or home improvement center.
DIY vs. Hiring a Pro
Deciding whether to install baseboard yourself or hire a professional may depend on your level of experience and comfort with DIY projects. If you’re comfortable with using power tools and have experience with similar projects, installing baseboard yourself can save you money in labor costs. However, if you’re unsure of your ability to complete the project, or don’t have the necessary tools and materials on hand, hiring a professional may be the better option.
When considering the cost breakdown, DIY installation will typically be less expensive than hiring a professional. However, keep in mind that if something goes wrong during the installation process, you may end up spending more money to fix the problem.
Conclusion
Installing baseboard is a simple and effective way to add a finishing touch to any room in your home. Using our step-by-step guide, video tutorial, and tips for avoiding common mistakes, you’ll be on your way to completing your baseboard installation project in no time.


