I. Introduction
Installing crown molding is a daunting task for many homeowners. The very idea of drilling holes into the ceiling, cutting and fitting the pieces together can be overwhelming. However, adding this classic finishing touch to a room is easier than most people think. Knowing how to install crown molding can add value to a house and improve its appearance. In this article, we will provide a step-by-step guide with tips and tricks to make the process much easier.
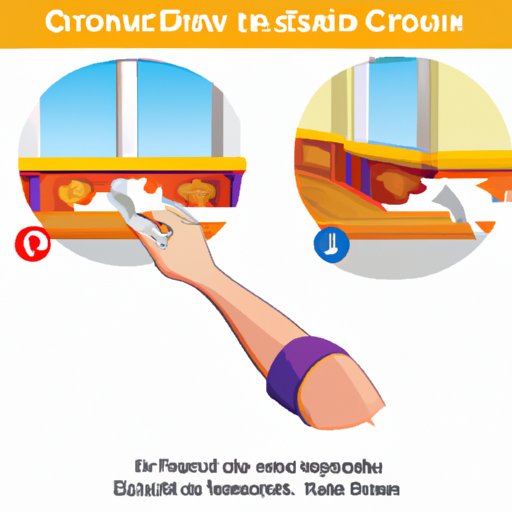
II. Step-by-Step Guide to Installing Crown Molding
Before we start with the step-by-step process, let’s first gather some essential tools. The tools you need include a measuring tape, a miter saw, a coping saw, a caulk gun, a nail gun, and a drill. As for materials, you will need a crown molding, finishing nails, wood glue, and caulk.
The first thing to do is to measure the length of the wall that needs crown molding. Then, measure and cut the crown molding with the use of the miter saw, ensuring that the angles are correct. After cutting the pieces, apply wood glue to the back of the molding and attach it to the ceiling with the use of a nail gun. There are specific tips and tricks to make the entire process of crown molding installation more manageable, including how to cut the corners, dealing with uneven walls, and making straight cuts.
III. Video Tutorial for Installing Crown Molding
If you find it difficult to follow written instructions, you are not alone. That is why having a video tutorial is an excellent alternative to written instructions when installing crown molding. In a video tutorial, you can visualize the whole process and observe the actual installation in real-time. Tips and tricks can also be explained better in a video tutorial.
In a video tutorial, you can see how to cope the joints, attach corners, and do other related tasks. Additionally, you can learn how to install crown molding on carvings, fireplaces, and high ceilings. Watching a video tutorial can be immensely helpful, especially for those who are visual learners.
IV. Dos and Don’ts of Installing Crown Molding
Despite the step-by-step guide and video tutorial, it is still essential to know the dos and don’ts of installing crown molding to prevent mistakes. Common mistakes can be avoided by following best practices and important safety tips. For instance, it is crucial to wear protective gear and proper clothing when working with power tools. It is also important to invest in high-quality tools and materials to ensure that the crown molding will look better and last longer.
Aside from safety tips, do not overlook other important dos and don’ts of installing crown molding. Examples of this include identifying the right angles, making sure that the joints are tight, and dealing with paint problems. Addressing these issues right away can prevent costly mistakes and save you time and effort in the long run.
V. Common Mistakes Made While Installing Crown Molding
Even if you follow the step-by-step instructions in the guide and the tips and tricks from the video tutorial, it is still possible to make mistakes while installing crown molding. By being aware of these mistakes, homeowners can be better prepared to avoid them. Some of the most common mistakes when installing crown molding includes cutting the pieces too short or too long, attaching it to the wall instead of the ceiling, and not using enough adhesive.
In this part of the article, we will discuss how to troubleshoot these common mistakes and provide tips on how to fix them. The key is to take your time and be patient. Crown molding installation may take longer than anticipated, but following the right steps can make it easier and more enjoyable.
VI. Creative Ideas on Styling Rooms Using Crown Molding
Finally, once you know how to install crown molding, you may want to explore creative ways to style rooms using different types of crown molding. In this section, we will provide an overview of the different creative ways to use crown molding, including different architectural styles, DIY painting tips and techniques, and styling with different types of crown molding.
Crown molding is a versatile finishing touch that can enhance the design of any room. By knowing the many different styles and techniques available, homeowners can express themselves creatively while still adding value to their home.
VII. Conclusion
Crown molding installation may seem challenging, but with the right tools and materials, some tips and tricks, and our step-by-step guide, it is possible to accomplish this rewarding project. Remember to be patient, take your time, and follow the best practices to ensure that your crown molding installation is a success. Additionally, do not be afraid to explore the many creative ways to use crown molding to style your home and add value to your property.
If you have any questions or comments about installing crown molding, feel free to share them with us in the comments section below.


