I. Introduction
Tile installation is a great DIY project that can breathe new life into any room of your home. Whether you’re replacing old, worn-out tile or installing a new surface altogether, this guide will walk you through the process from start to finish.
This article is for anyone who is interested in learning how to install tile in their home. Whether you’re a seasoned DIY pro or looking to tackle your first home improvement project, this guide will provide you with all the information you need to get the job done right.
In this article, we’ll cover the materials and tools needed for tile installation, how to prepare the surface for tile, the different types of tile, how to install tile, cutting tiles to size and shape, the grouting process, and caring for a tiled surface after installation. By the end of this article, you’ll have all the information you need to install tile like a pro.
II. Materials and Tools Needed for Tile Installation
Before you start your tile installation project, it’s important to make sure you have all the necessary materials and tools on hand. Here’s a list of everything you’ll need:
- Tile
- Tile spacers
- Thinset mortar
- Grout
- Grout sealer
- Notched trowel
- Tile cutter
- Tile nippers
- Rubber grout float
- Bucket
- Grout sponge
- Chalk line
- Measuring tape
- Level
- Safety glasses
- Dust mask
Each item on this list is necessary for a successful tile installation. The tile, thinset mortar, and grout are obvious necessities, while tools such as a notched trowel, tile cutter, and tile nippers will help you shape and cut your tile to fit your space precisely.
III. Preparing the Surface for Tile Installation
Before you begin laying tile, you’ll need to prepare the surface that you’ll be installing it on. This may involve removing old tile or carpet, cleaning the area, leveling the surface, and priming it for tiling. Here’s a step-by-step guide on how to prepare your surface for tile installation:
- Remove any old tile or flooring, if necessary.
- Clean the area thoroughly. Remove any debris, dust, or grime.
- Level the surface by using a self-leveling compound.
- Prime the surface with a primer specifically designed for tile installation.
Preparing the surface is a crucial step in ensuring your tile installation goes smoothly. Taking the time to properly prepare the surface will save you headaches down the line and will help ensure a long-lasting finish.
IV. Different Types of Tile
There are many different types of tile that can be installed in various areas of your home – from the bathroom to the kitchen to the living room. Here are some of the most common tile types:
- Ceramic tile
- Porcelain tile
- Natural stone tile
- Glass tile
Each type of tile has its own advantages and disadvantages. For example, ceramic tile is affordable and easy to install, but can chip easily. Porcelain tile is durable and resistant to stains, but can be difficult to cut. Natural stone tile is beautiful and unique, but requires regular maintenance to keep it looking its best. Glass tile is stylish and modern, but can be expensive. Knowing the benefits and drawbacks of each type of tile will help you make an informed decision when choosing which tile to install in your home.
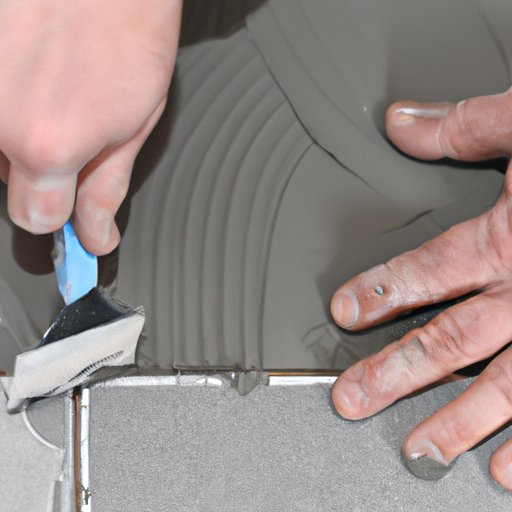
V. A Step-by-Step Guide on How to Install Tile
Now that you’ve prepared your surface and chosen your tile, it’s time to start the installation process. Here’s a step-by-step guide on how to install tile:
- Measure the area where you’ll be installing the tile and calculate how much tile you’ll need.
- Dry lay your tile to determine the best orientation and placement of each tile.
- Spread thinset mortar over a small area where you’ll be working.
- Use a notched trowel to spread the mortar evenly.
- Place your tile on top of the mortar and press down gently.
- Use tile spacers to ensure even spacing between each tile.
- Continue placing tiles and spreading mortar in small sections.
- When you reach a wall or obstacle, measure and cut your tile to fit using a tile cutter or tile nippers.
- Allow the thinset to dry completely before moving on to the grouting process.
Installing tile can be time-consuming, but taking your time and working in small sections will help ensure a professional-looking finish.
VI. Cutting Tiles to Size and Shape
Cutting tiles to fit corners and edges can be a challenge, but with the right tools and techniques, it can be done with ease. Here’s how to cut tiles to size and shape them:
- Measure the space where the tile needs to fit.
- Mark the tile where you need to make your cut using a straight edge and a pencil.
- Use a tile cutter or tile nippers to cut the tile along the marked line.
- For odd-shaped cuts, use a template to mark the tile and then cut it with a tile saw.
When cutting tile, it’s important to work slowly and precisely. Rushing the cutting process can lead to mistakes and a less-than-professional finish.
VII. The Grouting Process
Once your tiles have been installed and the thinset has dried, it’s time to move on to the grouting process. Here’s how to grout your tile:
- Mix your grout according to the manufacturer’s instructions.
- Apply the grout to the tiles using a rubber grout float.
- Use the float to work the grout into the spaces between the tiles.
- Wipe away any excess grout using a grout sponge.
- Allow the grout to dry for 24 hours.
- Seal the grout with a grout sealer to help prevent staining and discoloration.
Properly grouting your tile will help ensure a seamless finish and protect your tile from wear and tear.
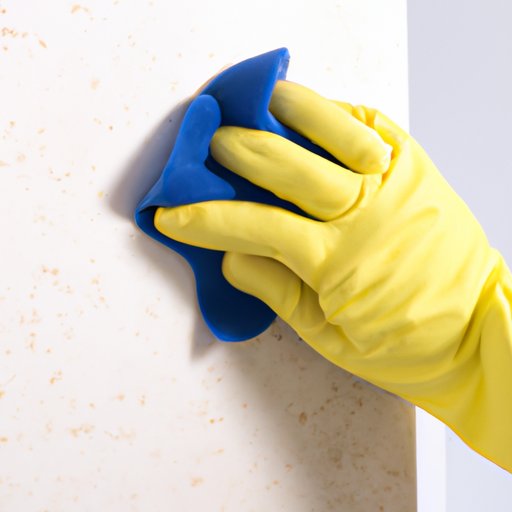
VIII. Caring for and Maintaining a Tiled Surface
Now that your tile has been installed and grouted, it’s important to take care of it to ensure it looks great for years to come. Here are some tips for caring for and maintaining your tiled surface:
- Clean your tile regularly with a mild cleaner and a soft cloth.
- Avoid using harsh chemicals or abrasive cleaners that can damage your tile.
- Seal your grout every six months to help protect against staining and discoloration.
- Address any cracks or chips in your tile immediately to prevent further damage.
With the right care and maintenance, your tiled surface will stay beautiful and functional for years to come.
IX. Conclusion
Installing tile can be a challenging but rewarding home improvement project. By following the steps outlined in this guide, you’ll be able to install tile like a pro. Remember to take your time, work carefully, and have fun with the project. With the right tools and techniques, you’ll have a beautiful, long-lasting tiled surface in no time.
This article is for anyone who is interested in learning how to install tile in their home. By following the step-by-step instructions and tips provided in this guide, you’ll be able to successfully complete your tile installation project.


