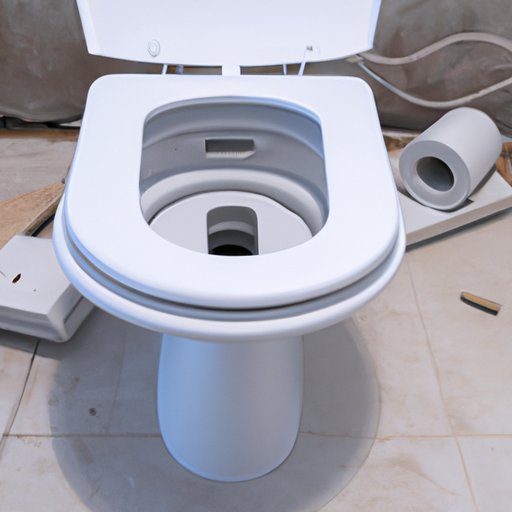
Introduction
Installing a toilet may not seem like a glamorous task, but it’s an important skill to have if you’re a homeowner or renter. Not only can it save you money by avoiding a call to a pricey plumber, but it’s also a straightforward project that can enhance your DIY skills. Plus, you’ll have the satisfaction of knowing you completed the job yourself. In this article, we’ll walk you through a step-by-step guide to installing a toilet, and we’ll also share tips and advice to help you avoid common mistakes.
Step-by-Step Toilet Installation Guide
Before starting, it’s helpful to know that a toilet consists of two main components: the bowl and the tank. Here are the steps to installing a new toilet:
1. Remove the Old Toilet
The first step is to shut off the water supply to the toilet. Turn off the valve located behind the toilet. Next, remove the tank lid and flush the toilet to drain the water. Use a sponge or towel to remove any leftover water from the tank and bowl. Then remove the caps from the bolts at the base of the toilet and unscrew the nuts with a wrench or pliers. Lift the toilet bowl off the flange and remove the wax ring.
2. Prepare the Flange and Wax Ring
Inspect the flange and the waste line to make sure they are clean and in good condition. If necessary, replace the wax ring or the flange. Place the wax ring onto the flange, so it creates a seal for the toilet.
3. Install the New Toilet Bowl and Tank
Carefully place the new toilet bowl onto the flange and press down firmly to secure it in place. Insert the bolts through the holes in the flange and tighten them until they are hand tight. Check to make sure the bowl is level and adjust the placement if necessary. Next, install the tank onto the bowl by inserting bolts through the holes in the tank and tightening them by hand. Then attach the water supply line to the bottom of the tank and tighten with a wrench.
4. Connect the Water Supply
Turn on the water supply valve and fill the tank with water. Check for any leaks around the supply line and tighten the connection if necessary. Finally, flush the toilet and check for any leaks at the base of the bowl. Tighten the nuts on the bolts if needed, but be careful not to overtighten, as it can cause the bowl to crack.
5. Checking for Leaks and Finishing Touches
Check the toilet for any leaks and tighten any connections if necessary. Then, replace the tank lid. Lastly, caulk around the base of the toilet to create a seal and to give the finished look.
Common Mistakes to Avoid When Installing a Toilet
While installing a toilet is a straightforward task, there are some common mistakes that people make. Here are a few to avoid:
1. Not properly anchoring the toilet to the floor
Failing to anchor the toilet to the floor can cause it to wobble or become unstable. Be sure to tightly secure the flange bolts to the floor and use a flexible caulk to seal the base.
2. Using the wrong type of wax ring or flange
Make sure you choose the correct size and type of wax ring that fits the flange. Otherwise, this can cause leaks, unpleasant smells, and other problems.
3. Over-tightening bolts and cracking the toilet bowl
Be careful not to overtighten the bolts, as this can cause the bowl to crack or damage the flange. Hand tighten it with a wrench or pliers and then give it one more quarter turn to prevent it from moving.
Tools and Materials Needed for Installing a Toilet
Here’s a list of everything you’ll need to install a toilet:
– New toilet
– Wax ring
– Flange bolts and nuts
– Flexible caulk
– Adjustable wrench
– Adjustable pliers
– Hacksaw
– Screwdriver
If you’re installing a toilet on an uneven floor, you may also need a flange extender or closet bolts to level the toilet.
Benefits of Installing an Upgraded Toilet
There are several benefits to upgrading your toilet:
1. Improved Water Efficiency and Lower Bills
Newer toilets use less water per flush and can result in significant savings on water bills. Plus, for areas that experience water shortages, water-efficient toilets can be especially helpful.
2. Enhanced Hygiene and Cleanliness
Upgraded toilets are often easier to keep clean and more hygienic due to designs with fewer nooks and crannies where bacteria and germs can thrive.
3. More Comfort and Durability
Newer toilets are often designed for more comfort, with features such as heated seats or an elongated bowl. They’re also made with more durable and long-lasting materials.
Troubleshooting Toilet Installation Problems
1. Uneven floor or flange
If the floor is uneven or the flange is not level with the floor, it can cause the toilet to wobble. In this case, use a flange extender to adjust the height and level of the flange.
2. Leaks or water damage
If there are leaks around the base of the toilet, check the wax ring and make sure it’s properly seated on the flange.
3. Toilet wobbling or not flushing properly
If the toilet is wobbling or not flushing properly, check that the nuts on the flange bolts are tightened, but not overtightened. If the water level in the tank is too low, adjust the float valve to increase the water level.
Conclusion
Installing a toilet may seem daunting, but with the right tools and knowledge, the process is relatively straightforward. By following our step-by-step guide and tips for avoiding common mistakes, you can confidently tackle this task. Remember that proper installation is crucial for avoiding costly repairs and maintaining a functioning bathroom. If you encounter any problems, consult with a professional plumber or do additional research.


