I. Introduction
If you are a knitting enthusiast, you must have come across patterns that require you to join a round. Joining a round means knitting in a circular form of continuous stitches, to create a tube-like shape, without any seam. It is commonly used in the making of hats, sweaters, socks, and other circular projects. In this guide, we will take you through a step-by-step process on how to join a round in knitting, discuss the different techniques of joining a round, troubleshoot common mistakes, and provide you with tips and tricks.
II. Step-by-Step Guide
A. Explanation of Materials Needed
Before starting, you will need to have your knitting needles, the yarn, and stitch markers. The choice of needles and yarn depends on the pattern you have chosen.
B. Step-by-Step Guide to Joining a Round
Follow these four simple steps to join a round:
1. Casting on stitches
The first step is casting on the required number of stitches on your knitting needle, based on your pattern’s instructions.
2. Sliding stitches to the other end of the needle
Once you have cast on your stitches, slide them to the other end of the needle, ensuring they are not twisted. Join the round by knitting the first stitch on your left needle with the last stitch you cast on to form a round shape.
3. Ensuring that your stitches are not twisted
Before you start knitting the next round, ensure that your stitches are positioned correctly and are not twisted. Note that twisted stitches result in a twisted project and can be challenging to correct, especially at later stages of the project.
4. Joining the round
Place a stitch marker on the needle to mark the beginning of your round. You can use different stitch markers based on your preference.
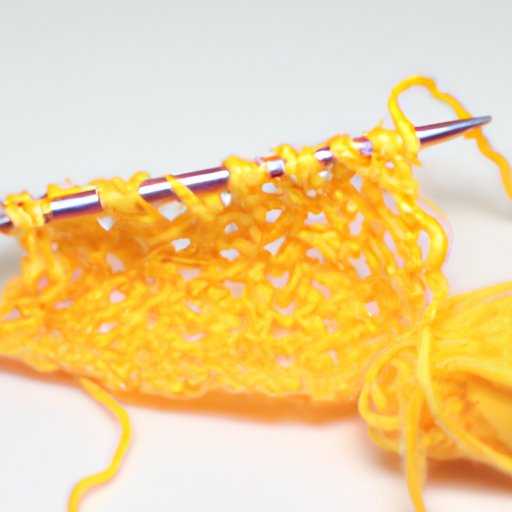
C. Clear Illustrations of Each Step
Below are easy-to-follow illustrations of the step-by-step guide for joining a round in knitting:
//insert illustrations
III. Video Tutorial
A. Explanation of the Purpose of a Video Tutorial
Some people find it easier to understand a concept when they see it in action. That is why video tutorials are an excellent learning resource for people who want to learn how to join a round.
B. Step-by-Step Demonstration of Joining a Round
Watch this video tutorial for a step-by-step demonstration of joining a round in knitting:
//insert video
C. Benefits of Seeing the Action in Real-Time
The benefits of seeing the action of joining a round in real-time include being able to follow along in real-time, pausing and rewinding when necessary, and seeing the techniques close-up to better understand each step.
IV. Top Mistakes and Solutions
A. Explanation of the Most Common Mistakes Made While Joining a Round
Some of the most common mistakes made while joining a round include twisting the stitches, not placing the stitch marker at the beginning of the round, and forgetting to pull the working yarn tightly before knitting the first stitch of the next round.
B. How to Avoid or Solve the Mistakes
To avoid twisting the stitches, ensure that they are not twisted before joining the round. To avoid not placing the stitch marker at the beginning of the round, place it immediately after joining the round. To avoid not pulling the working yarn tightly before knitting the first stitch of the next round, use a slipknot method to tighten the working yarn before joining the round.
C. Benefits of Knowing the Common Mistakes Before Starting
Knowing the most common mistakes and ways to avoid or solve them makes the joining of a round easier and smoother. It saves time and frustration and ensures a perfect finish of your project.
V. Different Techniques
A. Explanation of Different Techniques for Joining a Round
Aside from the traditional method of joining a round discussed in section II, other techniques can be used, depending on the knitter’s preference:
1. Magic Loop
The magic loop technique involves using a long circular needle to create a loop, where you knit half the stitches on one side of the loop and the other half on the other side. It is perfect for projects with fewer stitches and avoids the need for double-pointed needles.
2. Two Circulars
Two circulars technique involves using two circular needles of the same size to knit in the round. It is perfect for knitting smaller projects and helps avoid ladders or gaps that might form when tightly knitting with double-pointed needles.
3. Double-Pointed Needles
Double-pointed needles (DPNs) technique involves using four or five double-pointed needles of the same size to knit in the round. They are perfect for projects with numerous stitches, such as socks and hats, and provide greater flexibility in shaping and stitching.
B. Explanation of the Benefits and Drawbacks of Each Technique
The benefits of each technique depend on the knitter’s preference in terms of ease, speed, and the finished product. While some knitters prefer using double-pointed needles, others prefer the magic loop or two circulars to create a tube-like shape in projects.
C. Techniques to Be Covered
//insert descriptions of each technique with illustrations
VI. Troubleshooting
A. Explanation of Common Roadblocks While Joining a Round
Some of the common roadblocks while joining a round include laddering between needles, twisted stitches, and uneven tension.
B. Solutions to Overcome the Roadblocks
To overcome laddering between needles, try to pull tightly after the first stitch and knit two to three more stitches before changing needles. Avoid twisted stitches by ensuring that all stitches are in the same direction before joining the round. Even tension can be achieved by making sure that the knitting needle’s size is proportional to the pattern instructions and is held properly.
C. Benefits of Knowing How to Troubleshoot
Knowing how to troubleshoot roadblocks while joining a round in knitting makes the knitting process smoother and more efficient. It enables you to focus on the end product and not get lost in fixing the knitting process’s tiny mistakes.
VII. Pros and Cons of Different Methods
A. Explanation of How the Methods Differ
The methods differ based on the knitting needle used, the steps taken, and the final result. Understanding the differences between the techniques helps the knitter choose the most appropriate technique for the project at hand.
B. Comparison of the Methods in Terms of Ease, Efficiency, and Final Result
The techniques differ in terms of ease of use, speed, and final result. Some require more time to master than others, while some require different knitting needles and have different finished products.
C. Benefits of Knowing the Differences Between the Methods
Knowing the differences between the methods helps you choose the most appropriate technique for the project at hand and ensure that the final product is as desired.
VIII. Conclusion
of the Article
Joining a round in knitting is an essential aspect of knitting circular projects such as hats, socks, and sweaters. The traditional method involves casting on stitches, sliding them to the other end of the needle, ensuring that the stitches are not twisted, and joining the round. However, other techniques such as double-pointed needles, magic loop, and two circulars can be used based on the knitter’s preference. Common mistakes while joining a round include twisted stitches, not placing the stitch marker at the beginning of the round, and forgetting to pull the working yarn tightly before knitting the first stitch of the next round. Knowing how to handle common roadblocks and troubleshooting common mistakes helps make the knitting process smoother and more enjoyable.
B. Final Tips and Tricks
Some tips and tricks to make the joining of a round in knitting easier and smoother include choosing the right knitting needles and yarn, checking the number of stitches before joining, and pulling the working yarn tightly before knitting the first stitch of the next round.
C. Encouragement for Readers to Try Joining a Round Themselves
Joining a round in knitting is a simple process that can be easily mastered with practice. We encourage you to try different techniques and experiment with different knitting needles to find what works best for you.


