Introduction
Laying pavers on dirt can seem like a daunting task, but with the right preparation and guidance, it can be a relatively easy and rewarding project. In this article, we will provide a step-by-step guide to laying pavers on dirt, as well as offer tips and tricks, discuss the various types of paving stones, highlight common mistakes to avoid, and provide design ideas and answers to frequently asked questions.
Step-by-Step Guide
The following are the steps involved in laying pavers on dirt:
1. Preparing the Surface
The first step is to ensure that the surface is dry and level. Remove any debris or vegetation to create a clear space.
2. Marking out the Area
Next, measure the area to be paved and mark out the boundaries using stakes and string. This will give you a clear idea of where to dig and how much material to purchase.
3. Digging out the Soil
Use a shovel to dig out the soil to a depth of at least 6 inches. This will allow space for the base material and pavers. Ensure the soil is level throughout the area.
4. Adding Gravel and Sand
Add a layer of gravel (about 3 inches) on top of the soil and tamp it down firmly. Next, add a layer of sand (about 1 inch) on top of the gravel and level it with a rake. Tamp the sand down firmly as well. This creates a stable base for the pavers.
5. Laying the Pavers
Starting from one corner, begin laying the pavers according to the desired pattern or design. Ensure that the pavers are level and spaced evenly. Cut pavers as needed to fit the edges of the area.
6. Securing the Pavers
Once all the pavers are laid in place, add sand to the surface and sweep it into the gaps between the pavers. This will help secure them in place. Repeat this process until the gaps are completely filled with sand.
The tools and materials needed for this project include a shovel, rake, trowel, wheelbarrow, stakes, string, gravel, sand, and pavers. If necessary, a saw or hammer and chisel may also be required to cut pavers to the desired size.
Tips and Tricks
The following are some tips and tricks to help make the process as smooth as possible:
1. Checking for Proper Drainage
Ensure that the area where you are laying the pavers has proper drainage to avoid water damage or erosion. If necessary, create a slope or add drainage channels.
2. Calculating the Quantity of Pavers and Materials Needed
Determine the required quantity of pavers and materials accurately before starting the project. This will help avoid running out of materials halfway through the process.
3. Using Stakes and String to Ensure a Level Base
Use stakes and string to create a level base before laying the pavers. This will ensure that the surface is even and stable, which is essential for the longevity of the installation.
4. Tamping the Gravel/Sand Down Firmly
Tamp down the gravel and sand layers firmly to create a stable base for the pavers. This will help prevent shifting or sinking of pavers over time.
Proper preparation is essential for the longevity and stability of your paver installation. Taking the time to follow these tips and tricks will ensure that your pavers remain level and secure for years to come.
Different Types of Paving Stones
There are various types of paving stones available for the project, each with their pros and cons. The following are the most common types:
1. Concrete Pavers
Concrete pavers are the most commonly used pavers. They are affordable, durable and come in a variety of shapes, sizes and colors. They require minimal maintenance and are easy to replace if damaged.
2. Brick Pavers
Brick pavers are made from clay and are more expensive than concrete pavers. They come in a range of colors and sizes and are durable. However, they require more maintenance than concrete pavers and can become slippery when wet.
3. Natural Stone Pavers
Natural stone pavers are the most expensive option, but they are also the most aesthetically pleasing. They come in a range of stone types such as slate, limestone and granite, and require minimal maintenance. However, they are prone to cracking and can be slippery when wet.
Consider the pros and cons of each type before making your selection.
Pros and Cons
The following are the pros and cons of laying pavers on dirt:
Pros:
- Adds aesthetic value to your outdoor space
- Durable and long-lasting
- Easy to replace if damaged
- Requires minimal maintenance
Cons:
- Can be a time-consuming process
- Some types can be expensive
- Can be challenging for amateur DIY enthusiasts
Consider the pros and cons carefully before starting your paver installation project.
Common Mistakes to Avoid
The following are the most common errors that homeowners make when laying pavers on dirt:
1. Failing to Provide Proper Drainage
Improper drainage can cause water damage and erosion to your pavers. Ensure that the area where you are laying the pavers has proper drainage.
2. Using Too Little Sand or Gravel
Insufficient sand or gravel can cause pavers to sink or shift over time. Ensure that there is an adequate layer of sand and gravel during the preparation process.
3. Ignoring the Importance of a Level Base
An uneven, unstable base can cause your pavers to shift or sink over time. Ensure that the base is level and stable before laying the pavers.
4. Not Accounting for Expansion and Contraction of Pavers
Pavers can expand and contract depending on temperature and weather conditions. Leave adequate gaps between pavers and secure them carefully to allow for this.
Avoid these common mistakes to ensure a successful and long-lasting paver installation.
Design Ideas
There are many creative and inspiring design ideas to choose from when it comes to laying pavers on dirt. Some ideas include:
1. Creating Curved Edges or Winding Walkways
Add more character to your space by creating curved edges and winding walkways with pavers. This can create a sense of flow and movement throughout your outdoor area.
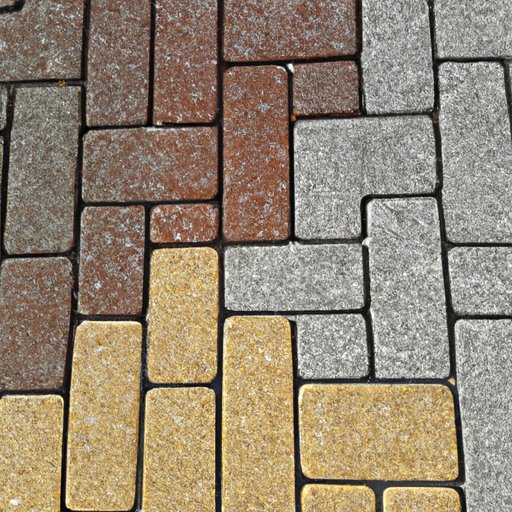
2. Using Different Colors and Sizes of Pavers to Make Patterns
Use different colors and sizes of pavers to create unique patterns or designs. This can be an affordable way to add interest and texture to your space.
3. Incorporating Raised and Sunken Sections
Add dimension and interest to your paver installation by incorporating raised and sunken sections. This can create visual interest and a sense of depth throughout your space.
Experiment and be creative with your designs to create a truly unique and inspiring outdoor area.
Frequently Asked Questions
The following are some of the most commonly asked questions about laying pavers on dirt:
1. How Long Does it Take to Complete the Project?
The time taken to lay pavers on dirt can vary depending on the size of the area and the complexity of the design. It can range from a few hours to several days.
2. How Much do Pavers Cost?
The cost of pavers can vary depending on the type, size, and quantity of pavers purchased. Concrete pavers are usually the most affordable, while natural stone pavers are the most expensive.
3. How Do I Keep Weeds from Growing Between the Pavers?
Use a weed barrier fabric or sand between the gaps of the pavers to prevent weeds from growing.
Conclusion
Laying pavers on dirt can be a fun and rewarding project that can add aesthetic value to your outdoor space. With proper preparation and guidance, you can avoid common mistakes and create a beautiful, long-lasting paver installation that you can be proud of.


