I. Introduction
When it comes to starting a crochet project, the magic circle is a technique that every crochet enthusiast should learn. Sometimes referred to as the “magic ring” or “magic loop”, the magic circle is a starting method that creates a tight, seamless circle in the center of your work. This allows you to easily work in the round, making it perfect for amigurumi, hats, and other crochet projects that require a circular start.
Given the importance of the magic circle in crochet, it is essential to know how to create it. In this article, we will provide you with a step-by-step guide to creating the perfect magic circle, as well as tips to master the art and avoid common mistakes. We will also explore different variations of the technique and suggest ideas for incorporating it into unique projects. Whether you’re a beginner or an experienced crocheter, this complete guide will help you start your projects with confidence.
II. Step-by-Step Guide: Making a Perfect Magic Circle for Your Crochet Projects
Before you start creating your magic circle, make sure you have the right materials. You will need a yarn of your choice, a crochet hook, and a pair of scissors. The size of your hook will depend on the type of yarn you are using and the desired tension of your project. Once you have gathered all the materials, follow these instructions:
- Hold the yarn in your hand, making a small loop with the tail end on top.
- Insert your hook through the loop, then pull another loop of yarn through the first loop.
- Chain one (this counts as your first single crochet).
- Insert your hook back into the loop and make the desired number of stitches for your pattern. Be sure to work over the tail end of the yarn so it gets trapped in your stitches.
- When you have finished, hold the tail end of the yarn and gently pull the loop in the center of your circle. This will close the hole, giving you a neat and tight center for your project.
It’s important to note that the number of initial stitches you make will depend on the pattern you are following. Be sure to double-check your pattern instructions to ensure that you start with the correct number of stitches. Additionally, be careful not to make your stitches too tight, as this could make it difficult to close the center of your circle.
If you’re a visual learner, you may find it helpful to check out tutorials on YouTube or other video platforms, where you can find demonstrations of the technique in action. Visual aids can be especially useful when you’re first starting out.
III. Master the Art of Creating a Magic Circle in Crochet with These Simple Tips
Becoming proficient in creating a magic circle can take some time and practice. Here are a few simple tips to help you master the technique and create the perfect starting point for your crochet projects:
A. Tips on how to make a magic circle easier and faster
- If you find it difficult to hold the loop in place while you make the initial stitches, try wrapping your yarn around your finger or a pencil to create a small loop.
- To make your magic circle even easier to work with, try using a stitch marker to mark the first stitch of each round.
- If you’re working with a slippery or difficult-to-handle yarn, you may find it helpful to work with two strands at once.
- Practice makes perfect! Don’t be afraid to experiment with different yarns, hook sizes, and stitch counts to find what works best for you.
B. Common mistakes to avoid when making a magic circle
- Forgetting to make your initial chain stitch could cause your stitches to become too tight, making it difficult to close the center of your circle.
- Making your stitches too loose could cause your center to be too large or uneven.
- Not keeping your working yarn taut could cause your stitches to become too loose or inconsistent.
- Working in the opposite direction or skipping stitches could cause your center to become distorted.
C. Troubleshooting guide for common problems that may arise
- If your center keeps popping open, try pulling your working yarn tighter when you close the center.
- If your center becomes uneven or distorted, you may have skipped a stitch or worked in the wrong direction. Carefully review your work to see where you went wrong and try again.
- If your initial chain stitch is too tight or too loose, try adjusting the tension of your slip knot or chain stitch.
- If you’re having difficulty closing the center of your circle, try using a smaller hook or starting with a larger number of stitches.
IV. Unleash Your Creativity: How to Make a Magic Circle in Crochet
Once you have mastered the basic technique of creating a magic circle, you can start exploring different variations and incorporating it into unique crochet projects. Here are a few ideas to help inspire your creativity:
A. Different variations of the magic circle technique
- Try creating a double magic circle to create an even stronger and neater center.
- Experiment with different stitch patterns or color changes within your magic circle to add visual interest to your projects.
- Circular lace motifs can be made by starting with a magic circle.
- The standing stitch method is another way to create a tight center without a magic circle.
B. Ideas for using a magic circle for unique crochet projects
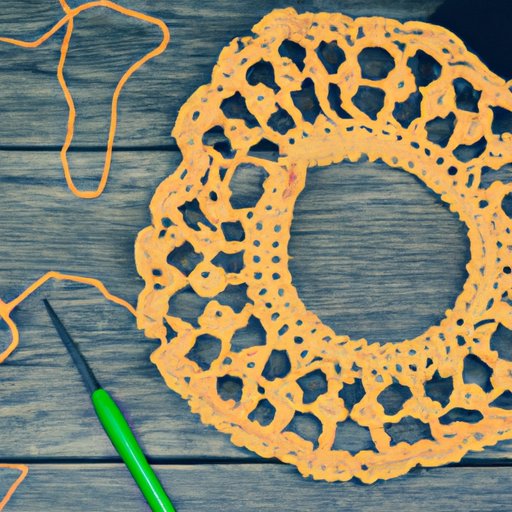
- Try using a magic circle to create unique and colorful mandalas or doilies.
- Create playful amigurumi characters with circular bodies, made possible with the magic circle technique.
- Circle cardigans or shrugs with a magic circle center are great for transitional weather.
C. Inspiration for incorporating multiple colors or yarns in a magic circle
- Switching yarns with every round or every few stitches can create artistic color combinations
- Start with a center of one color, alternately changing colors. This is a great technique for granny squares, blankets and even hats.
- Using a variegated yarn creates a magical composition with the circular structure.
V. The Importance of Starting with a Magic Circle: A Comprehensive Guide
If you’re still not convinced of the importance of the magic circle in crochet, here’s a brief overview of why this technique is preferred over other methods:
A. Overview of the benefits of using a magic circle
- The magic circle keeps your center tight and seamless.
- It allows you to easily work in the round without having to worry about starting chains or joining stitches.
- It gives you precise control over the size of your center hole, making it easy to customize for different projects.
B. Explanation of why a magic circle is preferred over other methods
While there are other methods for starting projects in the round, such as the chain method or the double ring method, the magic circle technique is preferred for several reasons. First and foremost, it allows you to create a tight, secure center, which is essential for circular crochet projects. Additionally, it is more versatile than other methods, allowing you to easily customize the size and shape of your center hole to suit your project needs.
C. Comparison of different starting methods in crochet
| Method | Pros | Cons |
|---|---|---|
| Chain Method | Easy to learn, good for simple projects | Not ideal for circular projects, can produce a bulky starting edge |
| Double Ring Method | Creates a tight center hole, good for small, flat projects | Not as versatile as the magic circle, can be difficult to get started properly |
| Magic Circle Method | Tight, seamless center hole, highly customizable | Requires practice to master |
VI. Creating a Magic Circle in Crochet: A Beginner’s Guide to Starting Your Project Right
If you’re new to crochet, creating a magic circle can seem intimidating. Here’s a simplified version of the instructions above to help you get started:
- Hold the tail end of your yarn in your hand, then wrap the working yarn around your fingers twice, crossing over the tail end. Make sure the working yarn is on top.
- Insert your hook under the first loop on your finger, then catch the working yarn and pull it through the loop.
- Chain one (this counts as your first single crochet).
- Insert your hook back into the center of the circle and make the desired number of stitches for your pattern.
- When you’re finished, pull the tail end of the yarn to tighten the center of your circle.
Choosing the right yarn and hook size can also be important for beginners. A larger hook size may make it easier to see your stitches and work with your yarn, while a softer, thicker yarn may be more forgiving for beginners who are still getting the hang of tension and stitch control.
VII. Conclusion
The magic circle is a fundamental technique in crochet, and it’s important to know the best ways to create it. Whether you’re a beginner or an experienced crocheter, taking the time to learn how to create a perfect magic circle will open up a world of possibilities for your crochet projects. With our step-by-step guide, simple tips, and ideas for variations, incorporating the magic circle into your work has never been easier.


