I. Introduction
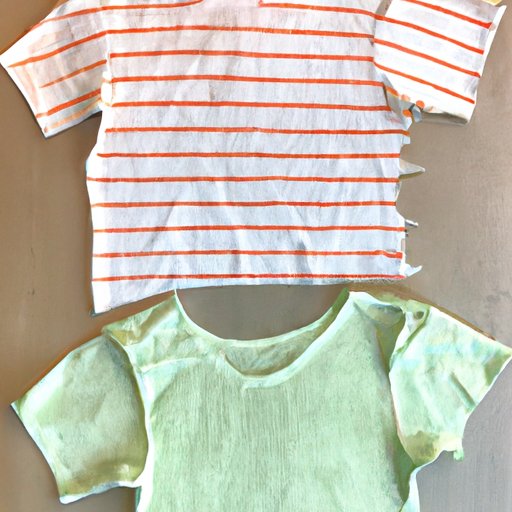
Have you ever looked at your t-shirt collection and wished you had more tank tops for those hot summer days? Luckily, there is an easy way to transform a t-shirt into a stylish tank top. In this DIY guide, we’ll take you through the steps to create a custom tank top that perfectly fits your style.
Not only are you recycling an old t-shirt, but you’re also creating a unique piece of clothing that you won’t find in stores. Plus, it’s a fun project to do with friends and family. So, grab your scissors and let’s get started!
II. Materials Needed
To begin creating your tank top out of a t-shirt, you’ll need the following materials:
- Scissors
- Pins
- Fabric chalk or pencil
- Measuring tape
- A t-shirt of your choice
- A sewing machine or needle and thread (optional)
The t-shirt you choose should be one that you no longer want to wear as a t-shirt. It’s important to choose a t-shirt made of cotton or a cotton blend, as it will be easier to work with than other fabrics.
III. Preparing the T-Shirt
A. Choosing the Appropriate T-Shirt
Before beginning the transformation process, examine the t-shirt you have chosen and ensure it is a good fit for your project. This means that the shirt should be free of any large holes, stains, or any logos that may complicate the cutting process. It’s also important to make sure the t-shirt is ironed and wrinkle-free before you begin.
B. Planning the Cut for the Tank Top Shape
You’ll want to use a measuring tape to measure how long you want your tank top to be from the top of your shoulders to the bottom hem. Once you have the desired length, measure halfway down the shirt and mark it with a fabric chalk or pencil. This line will be where you cut the sleeves and create armholes.
C. Cutting the T-Shirt with Proper Measurements
Using your scissors, cut the sleeves off along the line you drew. Once this is done, create an outline of the desired armhole shape. Ensure that the holes are large enough for your arms to move freely when wearing it. Make sure both sides are symmetrical before cutting to avoid unevenness.
IV. Sewing the Tank Top
A. Creating the Neckline and Armholes
If you have an overlock sewing machine, this step will be a breeze. By using this machine, it will give your shirt a clean and professional look. However, if you don’t have an overlock machine, you can use a zig-zag stitch on your regular sewing machine instead.
Begin by folding the raw edges of the armholes and neckline under by about 5mm. Pin the fabric in place and either use the overlock machine or zigzag stitch around the edge to secure it in place. Make sure to use thread that is the same color as the fabric of your t-shirt
B. Sewing the Sides
With right sides together and using the same color thread as the fabric, pin and sew the sides of the shirt, making sure to start from the hem towards the armpit and ending at the bottom of the armhole. Ensure everything is sewn neatly and without folds. This will give your tank top a clean and professional look.
C. Hemming the Bottom and Armholes
Once both sides of your tank top are sewn, you can now hem the bottom. To do so, fold the bottom edge up 5mm towards the wrong side of the fabric and press. Fold again 5mm and press. Then sew the hem in place.
Next, fold in the armhole edges by 5mm and press. Then, fold it in again and press one more time. Sew the folded fabric in place. Repeat the steps on the other armhole.
V. Customizing the Tank Top
A. Unique Designs for the Tank Top
Now that your basic tank top is complete, it’s time to make it your own! You can use fabric paint or applique to personalize your tank top and make it stand out. You could use a stencil design or freehand your own creation onto the fabric.
B. Adding Embellishments like Sequins, Fringe, Lace, etc.
You could also add different types of embellishments like sequins, beads, lace, and other trims. You can sew these on with a needle and thread or using fabric glue. Add as many or as few embellishments as you like to make your tank top a completely unique piece.
VI. Conclusion
A. Recap of the Steps Taken to Transform a T-Shirt into a Tank Top
Congratulations, you’ve just transformed an old t-shirt into a beautiful and stylish tank top! To recap, you’ll need to prepare your t-shirt before cutting it into the desired tank top shape. Then sew the sides, create the neckline, and hem the bottom and armholes. Lastly, let your creativity run wild by customizing the tank top with embellishments of your choice.
B. Encouragement to Try the Project Themselves
This project is perfect for those who enjoy DIY and creating custom clothing. It’s also a great way to recycle old clothing items and transform them into something new. Give it a try and see how amazing your results will be.
C. Final Tips and Tricks to Guarantee Success
When it comes to sewing, don’t rush. Take your time and make sure to sew neatly to give your tank top a professional look.


