I. Introduction
Adjustable bracelets are a must-have accessory for anyone, but it’s often difficult to find ones that properly fit the wrist. That’s why adjustable bracelets are quickly becoming a favorite among jewelry lovers. In this article, we will uncover different techniques for making adjustable bracelets that will help you create perfect and comfortable accessories every time.
II. How to Make an Adjustable Bracelet Using Macramé Knots
Macramé is an ancient art of knotting, which is gaining popularity in jewelry-making. It can be used to make anything from wall hangings to beautiful jewelry. Here’s how to create a simple and adjustable macramé bracelet:
- Measure and cut two strands of cord, preferably nylon, size 0.5mm or 1mm. Each strand should be around 30 inches long.
- Secure the two cords by making a knot in the middle.
- Place the secured knot on a surface, and then take the two ends of the individual cords and knot them together over the secured knot.
- If you prefer to use a sliding knot instead of a macramé one, gently tie a knot close to the bracelet, and then wrap it around the bracelet as desired. You can then add beads and other decorative elements to your bracelet.
With this process, you can create many different styles of adjustable bracelets using diverse macramé knots.
III. Using a Sliding Knot to Make an Adjustable Bracelet
So how does one make a sliding knot? A sliding knot is a stable and reliable way to make an adjustable bracelet; it uses friction to keep the knot in place. Here’s a tutorial on how it is done:
- Measure and cut a strand of cord, preferably 1mm or size 0.5mm nylon cord, and ensure it fits twice around your wrist.
- Fold the strand in half, then tie a knot near the end of the folded section to create a loop.
- Make sure there are two strands coming off the loop and wrap each one around the loop, away from each other, twice.
- Take the two strands that are lying along the bracelet and repeat step three three or four more times, inserting each subsequent knot through the loop created by the first knot.
- Repeat this step until the bracelet’s length matches your wrist size. Then tie the knot at the desired length by threading both ends through and tightening the knot firmly.
- Trim the cord ends, and then use a lighter to melt the edges to seal the ends together.
Above is a basic sliding knot process, and a jewelry maker can employ special techniques like using thread or wire instead of a cord. However, it’s important to ensure the final knot is stable and secure.
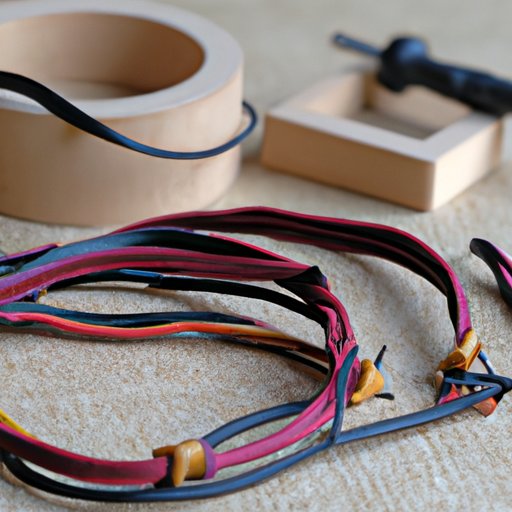
IV. Making an Adjustable Bracelet with Leather Cords and Knots
Leather cords offer versatility and texture to jewelry making, and they are quite beautiful. Here’s a tutorial on creating an adjustable leather cord bracelet:
- Measure and cut a leather cord, ensuring it fits around your wrist.
- Tie both ends of the leather cord together.
- Tie overhand knots on one of the cord ends, leaving about 1/2 an inch of space between each knot.
- Slide the other cord end through all the overhand knots. Your bracelet should now have a sliding knot that can be adjusted to fit your wrist size.
While didactic, a jewelry maker can use multiple cords and add decorative elements, such as beads and charms, to create a more intricate look.
V. The Art of Making Adjustable Friendship Bracelets
Friendship bracelets have been popular for years and best for gifting friends and family. Making an adjustable version will prevent embarrassments that can arise when they don’t fit. Here’s how to make one:
- Gather 5-6 embroidery flosses in the preferred color of your choice, 24 inches in length each.
- Tie all strings together in a knot, leaving around half an inch near the top.
- Attach the tied knot to a clipboard or tape it to a surface to make knotting easier.
- Start tying a knot with the first string over the second string, creating a loop (knot) at the center.
- Place the second string over the loop to the left and then pull it through the loop over the first string, making sure to tighten the knot by pulling both ends and ensuring it is close to the tied knot at the top.
- Repeat this process with the third string on the left, going over string 2, making a loop, and pulling it through under string 1
- Repeat this knotting process twice, always alternating the strings to the left and right.
- Finally, add sliding knots at the end of the bracelet.
This method creates a perfect adjustable friendship bracelet, best suited for gifting friends and family members.
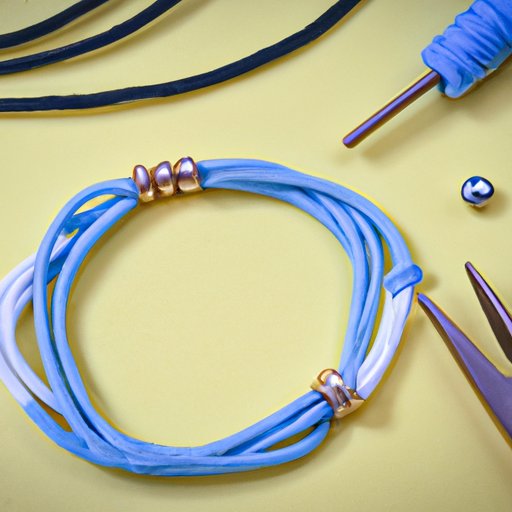
VI. Using Beads to Make Adjustable Bracelets
For those looking to add some sparkle or character to their adjustable bracelets, incorporating beads is the perfect solution. Here’s a simple process to creating your adjustable bracelet using beads:
- Gather your favorite beads of choice, a length of cord, and a pair of scissors.
- Cut the cord to a length that will fit comfortably around your wrist.
- Slide a bead onto the cord, then create a knot directly under it to secure the bead in place.
- Repeat this step for the desired number of beads on the bracelet.
- For the closure, tie a basic knot using the two free ends of the cord.
Add whatever style of beads you wish to create your desired adjustable bracelet style.
VII. Creating a Minimalist Adjustable Bracelet
Subtle bracelets can be elegant and stylish; here’s how to make a minimalist adjustable bracelet:
- Cut a length of nylon cord to the size of your wrist.
- Tie a basic knot in the center of the cord.
- Make sure there is space at the end of the cord so that you can tie a knot. It’s best to have about 2 inches of space.
- Tie the cord together with the two spaces left at the end to complete the process.
If you prefer, you can choose to add a small silver or gold charm to the center knot to add a touch of sparkle.
VIII. Conclusion
In summary, there are numerous ways to make adjustable bracelets. You can use macramé knots, sliding knots, leather cords and knots, embroidery floss, beads, and even create minimalist styles. The world is your oyster, so try all of these different methods and find the one that best suits your personal style and preference.


