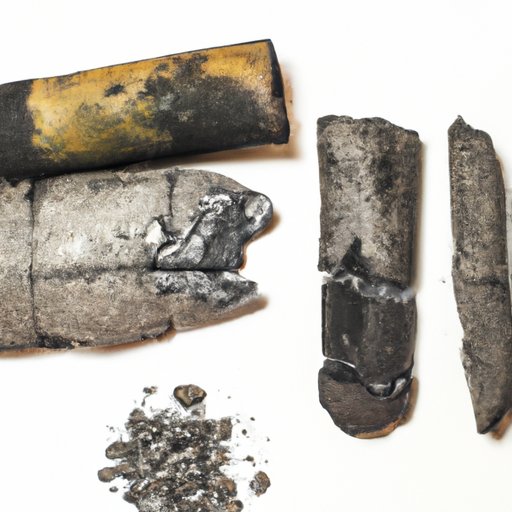
Introduction
As the world becomes more environmentally conscious, people are looking to make changes that will help reduce their carbon footprint. One such change that you can make is to start making your own charcoal at home. Not only is it an eco-friendly option, but it is also a cost-effective way to produce fuel for your home. In this article, we will provide you with a step-by-step guide on how to make charcoal at home, along with the benefits, history, and science behind charcoal production, and additional creative uses for homemade charcoal.
A Step-by-Step Guide to Making Charcoal at Home
Materials needed
To make charcoal at home, you will need the following materials:
– Wood
– Charcoal kiln
– Fire starter
– Matches or lighter
– Thermometer
– Tools to chop and split wood
Preparing the materials
It is important to carefully select the right type of wood for charcoal production. Hardwoods like maple, oak, and hickory are preferable as they produce high-quality charcoal. Softwoods like pine and spruce are not recommended for making charcoal as they produce resin which can stick to your kiln and tools.
Once you have selected the wood, chop it into small pieces, around 1-inch thick, and dry it for two to four weeks. The wood should be completely dry before making charcoal.
Building and operating a charcoal kiln
You can make a charcoal kiln from a 55-gallon steel drum or any other metal container with a lid. There are two types of kilns: top-lit updraft (TLUD) and retort. TLUD kilns are easier to make and operate, while retort kilns produce higher quality charcoal.
To set up the kiln, drill a few small holes in the bottom of the container for airflow. Next, place a layer of small wood pieces at the bottom, then a layer of larger pieces, and continue until you have filled the container.
To light the fire, put the fire starter in the bottom of the container and light it. Once the fire has started, cover the container with the lid, leaving a small gap for airflow.
To control the heat and airflow, monitor the temperature with a thermometer and adjust the airflow by opening or closing the gap in the lid.
Finishing and Using Charcoal
After several hours, the wood should have turned into charcoal. Carefully remove the charcoal from the container and place it onto a metal surface to cool.
To use the charcoal, store it in a cool, dry place. When you are ready to use it, light it with a match or lighter and wait for it to become hot and start to ash over before cooking.
The Benefits of Making Your Own Charcoal
Cost Savings
Making your own charcoal can save you money in the long run. Store-bought charcoal can be expensive, especially if you use it frequently. By making your own charcoal, you can save money on fuel costs and even earn a profit by selling it to others.
Environmental Considerations
Making your own charcoal is an environmentally friendly option. Traditional charcoal production emits harmful chemicals into the environment and contributes to deforestation. Making your own charcoal ensures that you are producing a sustainable and eco-friendly fuel source.
Satisfaction of Creating Something from Scratch
Making charcoal is a rewarding experience. It allows you to create something from scratch using natural resources and your own efforts. It is a great activity to do with family and friends and can even be turned into a fun DIY project.
Other Benefits
Homemade charcoal is free from chemicals and additives, making it a healthier and safer option for cooking. It also produces less smoke and ash compared to store-bought charcoal, which means less cleaning and less pollution.
The History and Science of Charcoal Production
The History of Charcoal Production
Charcoal production has a rich history that dates back to ancient times when it was used for cooking, metallurgy, and even medicine. During the industrial revolution, charcoal production became an important source of fuel for factories and steam engines.
The Science of Charcoal Production
Charcoal production involves heating wood in the absence of oxygen, a process known as pyrolysis. This results in the decomposition of the wood and the production of charcoal. The chemical reactions that occur during pyrolysis also produce gas and tar, which are used in other industrial processes.
Creative Uses for Homemade Charcoal
Art Projects
Homemade charcoal can be used for art projects such as drawing, painting, and even sculpture. It produces a unique and natural texture that cannot be replicated with store-bought charcoal.
Natural Home Remedies
Charcoal has been used for centuries as a natural remedy for a variety of ailments. It is believed to have detoxifying properties and can be used to treat indigestion, nausea, and even hangovers.
Other Creative Uses
Homemade charcoal can also be used for other creative projects such as making soap, blacksmithing, and even water filtration.
Troubleshooting Common Issues When Making Charcoal
Common Problems When Making Charcoal
Some common problems when making charcoal are uneven burning, inconsistent heat, and charcoal that is too soft or brittle.
Tips for Troubleshooting Common Problems
To solve uneven burning, try to distribute the wood evenly in the container. Inconsistent heat can be managed by adjusting the airflow and using a thermometer to monitor the temperature. To prevent charcoal from becoming too soft or brittle, make sure to properly dry the wood before making charcoal.
Conclusion
Making your own charcoal at home is a great way to save money, reduce your carbon footprint, and create something unique from scratch. By following the simple steps outlined in this article, you can make high-quality charcoal that is perfect for cooking, art, and even natural remedies. Try making your own charcoal today and discover the many benefits for yourself.


