Introduction
Are you tired of buying store-bought cream toppings that are loaded with artificial additives and preservatives? Or maybe you’ve always wondered how to make that light and fluffy cool whip at home but are too intimidated to try. Look no further, this comprehensive guide will walk you through everything you need to know about making cool whip from scratch.
In this article, we will cover different recipes for making cool whip, the right texture and consistency, common mistakes to avoid, and how to incorporate it into your desserts. Whether you’re an experienced baker or new to the kitchen, this guide has something for everyone.
Quick and Easy Guide to Making Homemade Cool Whip
Before we delve into the finer details of making cool whip, let’s start with a quick and easy recipe that requires minimal ingredients.
To make cool whip at home, you will need:
- 1 cup heavy whipping cream
- 2 tablespoons sugar
- 1 teaspoon vanilla extract
To prepare the cool whip, follow these steps:
- Chill the heavy whipping cream in the refrigerator for at least 30 minutes.
- In a mixing bowl, add the chilled cream, sugar, and vanilla extract.
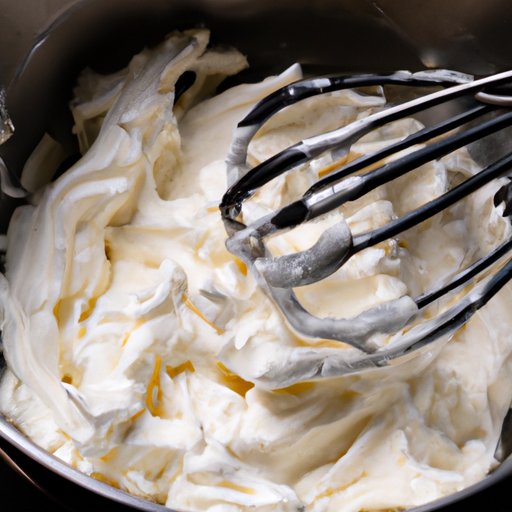
- Using a hand mixer or stand mixer, beat the mixture on medium-high speed until it forms soft peaks.
- Continue beating until it forms stiff peaks.
- Your homemade cool whip is now ready to enjoy!
Some helpful tips to keep in mind:
- Make sure the whipping cream is well chilled before you begin whipping it. This will help it to whip up quickly and hold its shape.
- Be careful not to over-beat the cream, or it will become grainy and lose its light texture.
- Adjust the amount of sugar to suit your taste. You can also substitute honey, agave syrup, or another sweetener of your choice.
Mastering the Art of Making Fluffy and Creamy Cool Whip
While the quick and easy recipe is great for a simple topping, if you want to take your cool whip to the next level, it’s essential to master the texture and consistency.
To achieve that fluffy and creamy texture, here are some detailed instructions:
- Use a metal mixing bowl and chill it in the refrigerator for at least 30 minutes before using. This will help the cream to stay cool and whip faster.
- Add the chilled whipping cream, sugar, and vanilla extract into the mixing bowl.
- Beat on medium speed until it starts to thicken.
- Gradually increase the speed to high and continue beating until the mixture forms soft peaks.
- Be careful not to over-beat the mixture at this stage.
- Slowly add in the remaining sugar and continue beating until the texture transforms from soft peaks to stiff peaks.
- Stop mixing when it forms stiff peaks.
- Your cool whip is now ready to be used.
5 Simple Steps to Achieving the Perfect Cool Whip Every Time
Now that we’ve covered the basics of making cool whip, let’s break down the process into five simple steps:
- Chill your mixing bowl in the refrigerator before use.
- Use well-chilled heavy whipping cream.
- Add sugar and vanilla extract to the mixing bowl and beat until soft peaks form.
- Gradually add the remaining sugar while continuing to beat the mixture until stiff peaks form.
- Stop beating when stiff peaks form, and you have achieved the perfect cool whip!
Some further tips to achieve the perfect cool whip:
- Choose a high-quality whipping cream that contains at least 30-35% milk fat for the best results.
- Do not use ultra-pasteurized cream as it will not whip well.
- When adding sugar and other flavorings, make sure to add them gradually to avoid over-sweetening the whipped cream. Taste as you go.
- Make sure to stop mixing once the cream forms stiff peaks to avoid over-beating and causing the cream to curdle.
- Adjust the recipe according to the altitude and humidity levels in your area, as these can affect the consistency of the whipped cream.
Making Your Own Cool Whip: A Healthier Alternative to Store-Bought Cream Toppings
Homemade cool whip is not only delicious, but it’s also a healthier alternative to store-bought cream toppings, which often contain harmful additives and preservatives.
By using natural ingredients and avoiding artificial flavors and colors, you can customize your cool whip to your liking and create a healthier version of this classic cream topping.
Some substitutions and modifications you can make to the recipe include using alternative sweeteners such as honey or stevia, using non-dairy milk instead of heavy cream for a vegan version, or adding pureed fruits for a fruity twist.
Impress Your Guests with Homemade Cool Whip: A Step-by-Step Tutorial
Now that you’ve mastered the art of making cool whip, how can you incorporate it into your desserts and impress your guests? Here are some ideas to get you started:
- Add cool whip to your favorite pie or cheesecake recipe for a light and fluffy topping.
- Use cool whip to fill layers of cake or cupcakes for a creamy and delicious frosting alternative.
- Create a parfait by layering cool whip with fresh fruits, granola, or cookies.
- Serve cool whip with fresh berries or other fruit for a delightful and healthy snack.
- Get creative and experiment with your recipes! Cool whip is incredibly versatile and can be used in various ways.
Conclusion
Making homemade cool whip may seem intimidating at first, but with the right ingredients and techniques, it’s easy to achieve and customize to your liking. Whether you’re looking to create healthier desserts or impress your guests, homemade cool whip is the perfect addition to any recipe.
By following the tips and instructions in this guide, you’ll be well on your way to mastering the art of making cool whip at home. Keep experimenting, creating, and enjoying your tasty homemade creations!
If you’re looking for more cool whip recipes and inspiration, check out cooking blogs or recipe books specifically dedicated to this classic cream topping.


