I. Introduction
Hair bows have always been trendy and fashionable. Whether it’s for a special occasion or just adding pops of color and texture to your everyday look, hair bows can be a fun and creative addition. They can also be an excellent gift for friends and family who appreciate handmade items. In this article, we will explore how to make hair bows from scratch using different materials and techniques.
II. DIY Tutorial
Making hair bows may seem intimidating, but once you get started, you will realize how easy it is. Here’s a step-by-step guide on how to make hair bows:
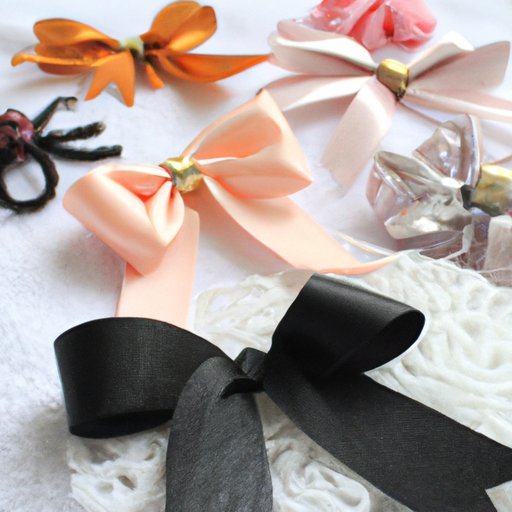
- Gather the materials you need. The materials include ribbons, fabrics, lace, scissors, glue gun, clips, and a ruler.
- Choose the appropriate ribbon or fabric for your hair bow. Cut the ribbon or fabric to the desired length using a ruler and scissors.
- Form the bow by folding the ribbon or fabric over itself to create loops. Leave some space in the center to make the bow look fuller.
- Secure the loops in the center using a needle and thread. You can use an elastic band or wire as an alternative.
- Trim the ends of the ribbon or fabric to make it neat, leaving some extra length to wrap around the center of the bow.
- Wrap the extra length around the center of the bow and secure it in place using a glue gun.
- Attach a clip or hairband to the back of the bow to make it wearable. Use a glue gun to secure the clips in place.
Remember that practice makes perfect, but here are a few tips and tricks to help you out:
- Choose high-quality materials to ensure that your hair bows look professional and last longer.
- Double-check your measurements before cutting the ribbons or fabric to ensure that they are equal in length.
- Trim the extra ends of the ribbon or fabric at an angle to create a v-shape that looks professional.
- Choose clips that match the color of the bow or contrast it for a more unique look.
III. Video Tutorial
If you’re more of a visual learner, check out this video tutorial that shows you how to make hair bows:
Make sure to take note of each step and practice it a few times until you get the hang of it.
IV. Product Review
There are different hair bow making kits and tools available in the market. Here are some of the most popular ones:
- Pro Bow – The Hand Bow Maker: This tool is designed to help you make bows of different sizes and styles. It’s easy to use and perfect for beginners.
- Darice Bowdabra Bow Maker: This kit includes a bow maker, wire, and ribbon. It’s perfect for making professional-looking bows for all occasions.
- EZ Bow Maker: This tool is perfect for those who want to make perfect bows every time. It’s straightforward to use and ideal for making bows of different sizes.
Each of these products has its pros and cons, but ultimately, it boils down to personal preference. Try a few and see which one works best for you.
V. Gift Ideas
Hair bows can be a thoughtful and creative gift for different occasions. Here are some ideas for using hair bows as gifts:
- Baby showers: Make cute and colorful hair bows for a new baby girl.
- Birthday: Decorate a gift box with a big bow for an extra special touch.
- Christmas: Use hair bows to decorate Christmas presents and make them look festive.
Use your creativity and add a personalized touch to your hair bows gift.
VI. History of Hair Bows
The history of hair bows can be traced back to ancient Egypt, where women wore ribbons to tie their hair. Hair bows were also popular during the Renaissance era when they were made from expensive fabrics like silk and lace and adorned with precious stones and pearls. In the 18th century, they became more modest and functional, used to keep women’s hair out of their faces. They regained popularity in the 20th century as part of the flapper fashion trend and continued to evolve in different sizes and styles throughout the years.
VII. Personal Experience
My personal experience with making hair bows has been fantastic. I love the creative process and making each bow unique. My favorite tip is to use different ribbon patterns and colors to make the bow stand out. A tool that I would personally recommend is the Darice Bowdabra Bow Maker for those who want to make professional-looking bows quickly and easily.
VIII. Conclusion
Learning how to make hair bows is a fun and creative activity that anyone can enjoy. Whether it’s for personal style or gifting, hair bows can be a fantastic addition. With the help of this DIY tutorial, video tutorial, product review, and tips and tricks, you can become an expert in making your bows.


