Introduction
Saline solution, often mistaken for salt water, is a mixture of sterile water and salt. It is commonly used in medicine, particularly for wound care, and it’s also used in nasal sprays, contact lens cleaning solutions, and IV drips. Saline solution is safe and effective, and making your own at home is cost-effective and provides a sense of control over the process.
DIY Saline Solution: An Easy Guide to Making Your Own at Home
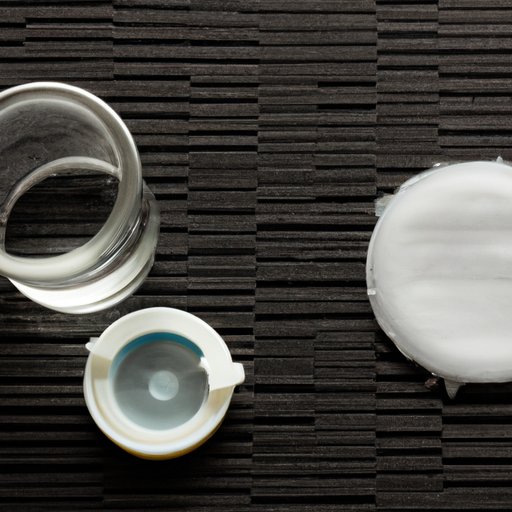
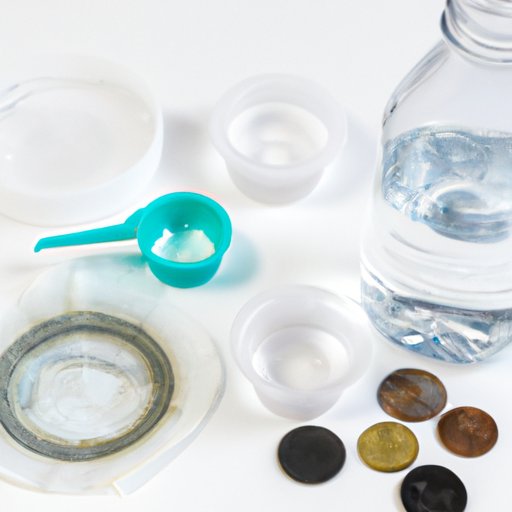
To make saline solution, you only need two basic ingredients: sterile water and salt. Additionally, you will need a clean container, a measuring spoon, and a clean stirring utensil. Follow these simple steps:
- Measure out 1 teaspoon of salt and add it to 2 cups of sterile water.
- Stir the mixture until the salt dissolves completely.
- Pour the solution into a clean container with a lid.
- Label and date the container for future use.
It’s crucial to use sterile water to make the saline solution. Sterile water can be purchased at a pharmacy or chemist. Tap water is not recommended as it contains impurities that can cause irritation or infection. It’s also important to use the right amount of salt and water to create an isotonic solution that matches the concentration of salt in the body. Using too much or too little salt can cause an imbalance in the salt concentration, leading to discomfort or ineffectiveness.
Moreover, it’s essential to handle the solution with clean hands and avoid contaminating it with bacteria or other microorganisms. Keep the container in a cool, dry place and discard any leftover solution after 24 hours.
The Benefits of Using Homemade Saline Solution and How to Make It
There are many advantages to making your own saline solution over using store-bought alternatives. For one, making your own solution is cheaper and more eco-friendly. You won’t have to keep buying pre-packaged solutions wrapped in plastic containers, reducing waste and carbon footprint.
Another benefit of making your own saline solution is that you can customize it to suit your needs. For example, if you have sensitive skin, you can use less salt to make the solution less abrasive. If you have allergies, you can add essential oils such as eucalyptus or tea tree oil to the solution for added benefits. Homemade saline solution is also free from preservatives and other additives that can cause skin irritation or allergic reactions.
Factors to consider when making saline solution include salt concentration, water source, and container cleanliness. Always use sterile water and a clean container to prevent contamination. You can also experiment with different types of salt, such as sea salt or kosher salt, to achieve the desired results.
Step-by-Step: How to Make Saline Solution for Wound Care
Saline solution is widely used for wound cleaning as it helps remove debris and promote healing. Here’s how to make and use saline solution for wound care:
- Prepare the saline solution as per the instructions above.
- Saturate a clean cotton ball or gauze pad with the solution.
- Gently clean the wound and surrounding area with the saline-soaked cotton ball or gauze pad.
- Rinse the wound with clean water and pat it dry with a clean towel or gauze.
- Apply a clean dressing or bandage to the wound if necessary.
It’s essential to use clean hands and tools when cleaning wounds to prevent further infection or injury. Avoid using harsh chemicals or soap on the wound and seek medical attention if the wound is deep, bleeding excessively, or shows signs of infection.
Natural Remedies: Making Saline Solution for Nasal Irrigation
Nasal irrigation, also known as nasal wash or nasal douching, is a natural and safe way to relieve sinus congestion and allergies. It involves flushing the nasal passages with a saline solution to remove mucus and allergens. Here’s how to make saline solution for nasal irrigation:
- Prepare the saline solution as per the instructions above.
- Add 1/4 to 1/2 teaspoon of baking soda to the solution for added nasal washing benefits.
- Draw the solution into a nasal rinse bottle or a neti pot.
- Stand over a sink and tilt your head to one side.
- Insert the spout of the bottle or pot into one nostril and gently squeeze to allow the solution to flow through your nasal passages and out of the other nostril.
- Repeat the process on the other side of your nose.
- Blow your nose gently to remove any remaining solution or mucus.
Nasal irrigation is generally safe and effective when done correctly. However, it’s important to use sterile water and clean tools to prevent infection. Avoid nasal irrigation if you have a nasal injury or have recently undergone nasal surgery.
Saving Money and Reducing Waste: How to Make Saline Solution for Contact Lens Cleaning
Saline solution is essential for cleaning and storing contact lenses to maintain hygiene and prevent eye infections. While you can purchase pre-made solutions, you can also make your own at home using sterile water and salt. Here’s how:
- Prepare the saline solution as per the instructions above.
- Pour the solution into a clean contact lens case.
- Soak your contact lenses in the solution overnight or for at least four hours.
- Rinse the lenses with fresh saline solution before inserting them into your eyes.
It’s important to use a clean and sterile contact lens case and to replace the solution daily to avoid contamination. Never use homemade saline solution as a substitute for disinfecting or multipurpose solution.
Protecting Your Piercings: A Guide to Making Saline Solution for Aftercare
Piercings require special care and attention to prevent swelling, redness, and infection. Saline solution can be used to clean and soothe piercings as it helps remove discharge and reduce inflammation. Here’s how to make saline solution for piercing aftercare:
- Prepare the saline solution as per the instructions above.
- Dip a clean cotton swab or gauze pad into the solution.
- Gently clean the piercing and surrounding area with the solution.
- Rinse the piercing with clean water and pat it dry with a clean towel or gauze.
- Apply a clean dressing or let the piercing air-dry.
It’s crucial to use clean hands and tools when caring for piercings, and to avoid touching the piercing unnecessarily. Overcleaning or using harsh chemicals can delay healing and cause further irritation.
Multipurpose Saline Solution: How to Make a Versatile Solution for Various Uses
Saline solution has many uses beyond wound cleaning, nasal irrigation, and contact lens cleaning. You can use it to soothe sore throats, gargle for oral hygiene, and soothe skin irritations. Here’s how to make multipurpose saline solution:
- Prepare the saline solution as per the instructions above.
- Add a few drops of essential oils such as tea tree oil, lavender oil, or eucalyptus oil for added benefits.
- Store the solution in a clean container and use it as needed.
It’s important to do a patch test before using essential oils on your skin to avoid any allergic reactions or irritation. Avoid using homemade saline solution as a substitute for medical advice or treatment.
Conclusion
Making your own saline solution at home is easy and cost-effective. It offers several benefits, including customization, reduced waste, and lower cost. Different types of saline solutions can be used for various purposes, including wound cleaning, nasal irrigation, contact lens cleaning, and piercing aftercare. Always follow safety precautions when making and using saline solution to prevent contamination and injury. Try making your own saline solution at home and enjoy the benefits of a homemade, customizable solution.


