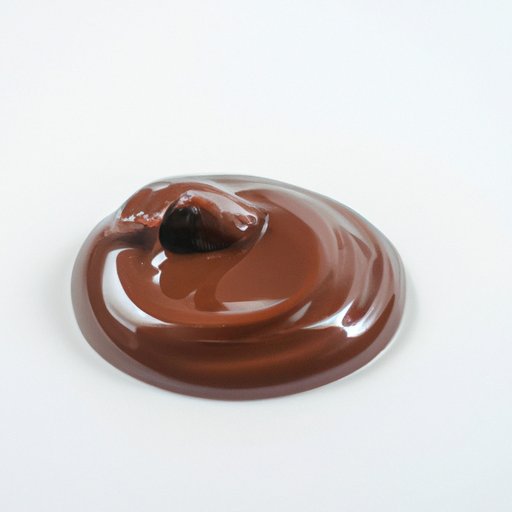
Introduction
Are you tired of struggling with melting chocolate on the stove? Do you wish there was a faster and easier way to get that smooth and silky texture? Look no further than your microwave! In this article, we will provide you with simple and fool-proof techniques for melting chocolate in the microwave, as well as a variety of tips and tricks for perfecting your technique.
Quick and Easy: 3 Simple Steps to Melt Chocolate in the Microwave
Step 1: Preparing the chocolate. Whether you are using chocolate bars, chips, or chunks, you need to chop, grate, or break them into small and even pieces to ensure even melting.
Step 2: Microwave technique. Start by microwaving the chocolate for 30 seconds on high power, then take the bowl out and stir the chocolate. Keep repeating this process until the chocolate is almost melted, then reduce the power level and microwave in shorter intervals, stirring in between, until the chocolate is completely melted and smooth.
Step 3: Finishing touches. Once the chocolate is melted, continue stirring until it’s completely smooth. If the texture is too thick, you can add a small amount of vegetable oil or milk and continue stirring until it’s the perfect consistency.
Avoid the Stove: How Microwaving Chocolate Can Save Time and Energy
The traditional way of melting chocolate on the stove can be time-consuming and messy, requiring a double boiler and constant supervision. In comparison, microwaving chocolate is faster, more efficient, and requires less equipment. Plus, you can save electricity and gas by using the microwave instead of the stove.
The Idiot-Proof Guide to Melting Chocolate in the Microwave
If you are new to microwaving chocolate or just want to simplify the process even further, here are some basic tips:
- Use lower power levels to avoid overheating and burning the chocolate.
- Stir more frequently to ensure even melting and avoid hotspots.
- Start with small batches to get a feel for the process before tackling larger quantities.
Common mistakes to avoid include overheating the chocolate, which can cause it to seize or become grainy, as well as getting water in the chocolate, which can cause it to clump up. Use a heat-resistant bowl and a dry utensil to avoid these issues.
Mastering Chocolate Melting: Tips and Tricks for Success in the Microwave
If you want to take your chocolate melting skills to the next level, consider these advanced techniques:
- Use different power levels and intervals depending on the type of chocolate you are melting. Dark chocolate may require higher power levels and shorter intervals, while white chocolate may require lower power levels and longer intervals.
- Experiment with flavorings like extracts, liqueurs, spices, or nuts. Add these to the chocolate before or after melting for a unique twist.
- Try using molds, piping bags, or sprinkles to shape or adorn the melted chocolate for a decorative touch.
Your Microwave’s Hidden Talent: Melting Chocolate with Ease
While you may not think of your microwave as a versatile cooking tool, it can be very helpful when it comes to melting chocolate. The microwaves heat food by vibrating the molecules, which causes them to generate heat. This process is perfect for melting chocolate quickly and efficiently.
You can adjust the power levels on your microwave to suit your needs, and even use the defrost or melt function to simplify the process even further. And because microwaving requires less equipment than a double boiler on the stove, it’s a great option for those who have limited kitchen space or just want to save time.
Perfectly Melted Chocolate Every Time: Microwave Techniques You Can Rely On
Now that you have the basic knowledge and techniques for melting chocolate in the microwave, here is a step-by-step guide to ensure success:
- Prepare the chocolate by chopping it into small pieces.
- Microwave on high for 30 seconds then remove the bowl and stir the chocolate.
- Repeat this process until the chocolate is almost melted, then reduce the power level and microwave in shorter intervals, stirring in between, until the chocolate is completely melted and smooth.
- Continue stirring until the chocolate is completely smooth and at your desired consistency.
In case you experience any issues, such as lumps, graininess, or separation, check our troubleshooting tips. These include adjusting the microwave power, adding a small amount of vegetable oil or milk, or starting over with a new batch.
No Double Boiler Needed: How to Use Your Microwave to Melt Chocolate for Baking and More
Now that you have mastered the techniques for melting chocolate in the microwave, it’s time to put it to use in your favorite recipes. Brownies, cakes, cookies, truffles, and more all require melted chocolate, and using the microwave is a great way to simplify the process. Just be sure to stir in between intervals to prevent overheating and uneven melting.
You can also use microwaved chocolate for dipping, drizzling, garnishing, or making hot chocolate. The possibilities are endless!
Conclusion
Melting chocolate in the microwave is not only simple and fool-proof but also time-saving and energy-efficient. Now that you have the knowledge and confidence to do it yourself, go ahead and give it a try. Remember to start with small batches, use heat-resistant bowls, and adjust the power levels and intervals based on the type of chocolate you are using. With these tips in mind, you are sure to achieve perfectly melted chocolate every time.


