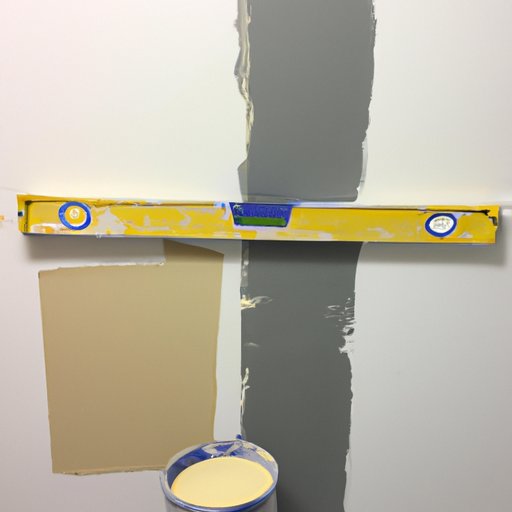
Introduction
When it comes to home renovation projects, drywall mud and tape are essential materials. These materials act as a foundation for a smooth and seamless look in your walls. Mudding and taping drywall may seem like a daunting task to take on, but with proper guidance, it can be done. This article will go over the step by step process of how to mud and tape drywall, the benefits of doing it yourself, common mistakes to avoid, necessary tools and materials, and quick tips for achieving a professional look.
Step-by-step Tutorial
The first step in mud and tape drywall is to apply the mud evenly to the wall with a trowel. It’s essential to apply thin layers of the joint compound to avoid bumps. You should wait for the first layer of mud to dry completely before starting on the next. Once dry, lightly sand the surface to remove any bumps.
The next step is to apply the tape to the seams and corners that need covering. Cut the tape to size and press it down into the mud using a putty knife. Smooth out any air pockets and make sure there is a secure attachment to the wall. When the tape is applied, apply another layer of mud, covering the tape completely, and then smooth it out with a trowel. Again, wait for it to dry, and then sand the surface for a smooth finish. Repeat this process for any additional layers of mud that may be needed.
Remember to take your time and let each layer dry fully before continuing to the next step. This step-by-step tutorial may seem difficult, but with practice, you’ll be able to execute it smoothly and without any hassle.
Benefits of Doing it Yourself
One of the most significant advantages of doing it yourself is the financial benefits. A professional contractor can be expensive to hire. When you do it yourself, you save money by buying materials and tools to get the job done. Additionally, learning a new skill, such as mudding and taping drywall, can benefit you in future home renovation projects.
While you may not think this is a valuable skill, it is something that you’ll always need in home renovation projects. A DIY approach can save you both time and money.
Common Mistakes to Avoid
One of the most common mistakes first-time drywallers make is applying too much mud. Applying thick layers can take extra time to dry, making it difficult to achieve a smooth finish. You must apply thin coats to avoid bumps and lumps – no more than ⅛ to 3/16 inches thick.
Another common mistake is not allowing layers to dry entirely before moving on to the next one. If you move too quickly, you risk the chance of having to start the whole process again because the layers did not stick together well.
Furthermore, it is essential to use the right tools. Not investing in quality tools such as trowels, knives, and sandpaper can negatively impact the final result.
Necessary Tools and Materials
Mudding and taping drywall require the following tools: joint knives and trowels, mud pan, putty knives, sandpaper, and a corner trowel. Materials include joint compound, fiberglass tape, and metal corner bead.
While these materials are necessary, it is also essential to invest in high-quality materials for a professional finish. Using sub-par materials can lead to an uneven surface and a less aesthetically pleasing result.
Quick Tips on Mud and Tape
- Use fiberglass tape: Fiberglass tape is better than paper tape. It is stronger and resists cracking over time.
- Use a taping knife: A taping knife helps you to spread the mud smoothly and evenly.
- Apply thin coats: Always apply thin coats to avoid bumps and lumps, no more than ⅛ to 3/16 inches thick.
- Let each layer dry: Be patient and let each layer dry completely before moving on to the next.
- Sand after each layer: Once each layer has dried, take some fine-grit sandpaper and smooth out the surface before applying another coat.
Conclusion
Mudding and taping drywall may seem like a daunting task, but with proper guidance, you can achieve a professional look, save money, and learn a valuable skill. Follow the step-by-step tutorial, invest in high-quality tools and materials, and use the quick tips provided. With patience and practice, you’ll soon be mudding and taping like a pro!
Additional resources can be found online, including video tutorials and home renovation forums, to help guide you in your journey.


