Introduction
Painting wood furniture is a common way to breathe new life into an old piece or add a pop of color to your decor. However, it can also be a daunting task, especially for beginners. Luckily, with the right guidance, tools, and paint, you can transform any piece of furniture with ease. In this article, we’ll provide step-by-step guidance, paint and finish recommendations, tips for a professional finish, upcycling ideas, and common mistakes to avoid, so you can paint your furniture like a pro.
A Step-by-Step Guide to Painting Wood Furniture
The first step in painting wood furniture is to gather the necessary materials and tools. You will need paint, a brush or roller, sandpaper, a tarp or drop cloth, and a primer if necessary. The preparation steps include cleaning the furniture thoroughly, sanding it to rough up the surface, filling any cracks or holes with wood filler, and priming the surface.
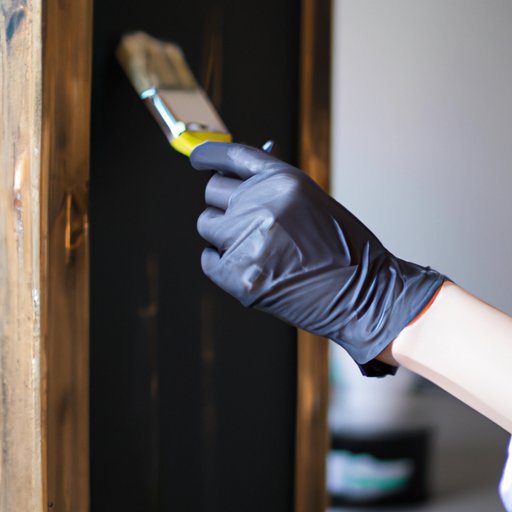
When you’re ready to paint, there are several techniques to choose from. Spraying, brushing, and rolling are all popular methods, but what you choose may depend on the type of furniture you’re painting. For example, a brush may be better for a detailed piece, while a sprayer may be best for larger, smoother surfaces. When applying the paint, ensure you take your time and cover the surface evenly for a professional finish. Finally, apply a sealant or polish to protect the finish.
Best Paints for Painting Wood Furniture
There are several types of paint and finishes to choose from, including oil-based, latex-based, and chalk paint. When selecting a paint, consider the furniture’s condition and what sort of finish you desire. For example, oil-based paint is highly durable and provides a glossy finish but can take longer to dry. On the other hand, chalk paint is very versatile and can give your furniture a shabby-chic look. If you want a more subtle finish, a matte or satin finish may be more appropriate.
Tips and Tricks for a Professional Finish
Obtaining a professional finish requires a bit of finesse, but with some helpful tips and tricks, you can achieve the perfect finish. One of the most critical elements is selecting the right brush or sprayer. For instance, a brush can give you more control, while a sprayer is better for large surfaces. Knowing how to apply the paint correctly is another essential factor. Start with a small amount of paint, apply in thin coats, and let each coat dry completely before adding the next. This not only ensures even coverage but also prevents drips and bubbles.
Upcycling Old Furniture Through Painting
Upcycling old furniture by painting it can be a fantastic way to add some personality and creativity to your home. If you’re a bit unsure about which direction to take your upcycling project, consider a few design ideas. You can paint the furniture in a bright, bold hue, add a fun pattern or stencil, or even use a few different colors. Additionally, don’t be afraid to mix up textures by using different finishes such as matte and gloss or layering with a glaze to add some depth and character to your furniture project.
Common Mistakes to Avoid When Painting Wood Furniture
Although painting wood furniture can be a fun and rewarding project, it’s essential to avoid common mistakes that can ruin your end result. One of the most frequent blunders is failing to adequately prepare the surface by cleaning and sanding it. Another is not allowing enough drying time between coats. Also, resist the urge to apply thick coats of paint, which can lead to drips and uneven coverage. Work patiently and efficiently, waiting for one layer to dry before adding the next.
Conclusion
Painting wood furniture doesn’t have to be complicated or stressful. By prepping the surface, choosing the right paint and finish, and using proper painting techniques, you can enjoy a professional-looking finish. Remember to take your time, follow the essential steps, and stay patient as you wait for each layer to dry. Before you know it, you’ll have transformed that old piece of furniture, and it will look brand new, ready to enjoy for years to come.


