I. Introduction
Paper mache is a fun and inexpensive way to create unique crafts and unleash your creativity. It involves using a combination of paper and adhesive to create a variety of items such as bowls, masks, figurines, and more. In this article, we will provide a step-by-step guide to paper mache, tips for choosing materials, inspiration for projects, and easy DIY projects to try with kids and adults.
II. A Step-by-Step Guide to Paper Mache: Start Creating Unique Crafts Today!
To get started with paper mache, you will need a few basic materials:
- Newspaper or tissue paper
- School glue or flour (for paste)
- Bowl for mixing paste
- Paintbrush
- Balloon (optional)
- Cardboard (optional)
Note: You can also use other materials like fabric or wire mesh to create your base structure.
1. Gathering materials: Gather all your materials before starting. Make sure you have enough newspaper to create multiple layers.
2. Creating the paste: There are two options for paste. For flour paste, mix equal parts flour and water until it forms a smooth paste. For glue paste, mix three parts school glue with one part water in a bowl.
3. Adding layers: Dip pieces of newspaper into the paste and gently squeeze out the excess paste. Layer the pieces onto your base structure until you have achieved the desired thickness.
4. Shaping and drying: You can shape the paper mache as you go by using your hands or tools like a plastic knife or spoon. Once the paper mache is dry, pop the balloon if you used one and remove it from the inside. Let the paper mache fully dry, which can take up to 24 hours.
5. Sanding and finishing: Once the paper mache is dry, you can sand it lightly to smooth out any rough edges or bumps. Then, paint or decorate it as desired.
III. Unleashing Your Creativity with Paper Mache: Beginner’s Guide
A. Inspiration for projects: You can create so many different things with paper mache. Consider creating masks, figurines, bowls, or even furniture.
B. Planning your project: Before starting, sketch out your ideas and determine what materials you will need.
C. Making modifications and adjustments: Don’t be afraid to make modifications or adjustments as needed. Paper mache is forgiving and can be reshaped as needed.
D. How to troubleshoot common issues: Common issues include cracks, bubbles, or lumps. If this happens, you can use more paper mache or sand it down to smooth it out.
IV. The Perfect Materials for Paper Mache: Tips and Tricks
A. Difference between traditional vs. non-traditional materials: Traditional materials for paper mache include newspaper and glue, while non-traditional materials could include fabric, wire mesh, or dried leaves.
B. Best paper types to use: Newspaper is the most common type of paper used, but tissue paper can also be used for a smoother finish.
C. Alternatives to traditional paste: Some alternatives to traditional paste include using an equal mix of white glue and water or using wallpaper paste.
D. Tips for a successful project: Make sure to have enough layers to create a strong structure, use your hands to shape and form the paper mache, and give it enough drying time before sanding or painting.
V. Easy DIY Paper Mache Projects for Kids and Adults: How to Get Started
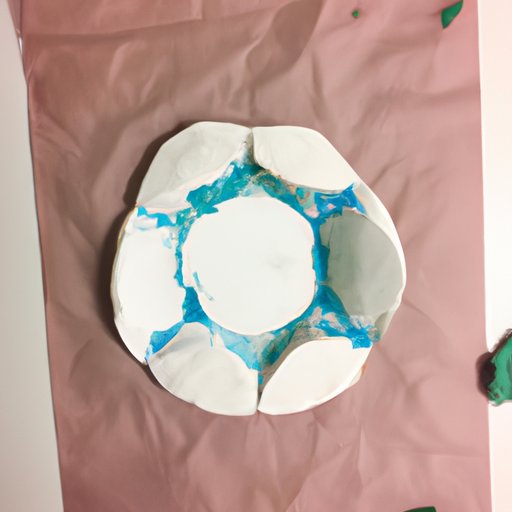
A. Simple projects for beginners: Some simple projects for beginners include making a paper mache bowl or mask.
B. Step-by-step instructions for project included: For a paper mache bowl project, follow these steps:
- Inflate a balloon to the desired size for your bowl
- Tear strips of newspaper and dip them into the glue or flour paste mixture, then smooth the paper onto the balloon
- Add at least four layers of newspaper, letting each layer dry before adding the next
- Once the layers are dry, cut around the balloon knot with scissors, then pop the balloon and remove it from the inside of the bowl
- Sand the edges and paint or decorate the bowl as desired
C. Tips for working with children: Make sure to use non-toxic materials and provide adult supervision during the paper mache process.
VI. From Balloons to Bowls: Exploring the Possibilities of Paper Mache
A. Advanced project ideas: Advanced projects could include creating furniture, intricate figurines, or large-scale structures.
B. Common household items to use for projects: Old lamps, vases, or bowls can be used as molds for paper mache items.
C. Tips for adding color and design: Use acrylic paint to add color and design to your paper mache project. Add multiple layers for depth and texture, and use stencils or stamps for intricate designs.
VII. Conclusion
Paper mache is a fun and versatile craft that anyone can enjoy. By following our step-by-step guide and exploring your creativity, you can create unique and beautiful items for your home or as gifts. Don’t be afraid to experiment with different materials or try new techniques.


