I. Introduction
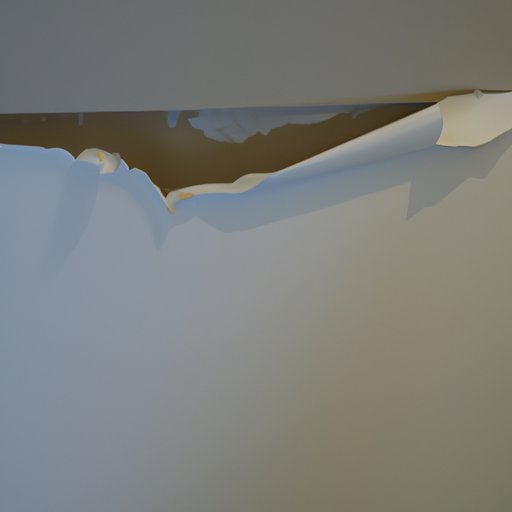
Have you ever had a dent or hole in your wall but didn’t know how to fix it? Patching a hole in the wall is a common DIY problem that can easily be solved with the right tools and steps. In this article, we’ll provide a step-by-step guide, materials required, troubleshooting tips, alternative methods, and advanced tips that will help you patch a hole in the wall like a pro.
II. Step-by-Step Guide for Patching Holes in the Wall
Patching a hole in the wall might seem like a daunting task, but with the right steps, it’s a fairly straightforward process. Here’s a step-by-step guide:
1. Safety First!
Before you start patching a hole in the wall, ensure that you take all necessary safety precautions. These include wearing protective eyewear, gloves, and a mask to prevent inhaling dust.
2. Tools Required
The following tools will be needed:
- A drywall saw or utility knife
- Sandpaper 150-grit or finer
- Putty knife or trowel
- Drywall tape
- Drywall screws and anchors
- Primer and paint chosen to match your wall
- Drywall patch or backing material
- Joint compound or spackling paste
3. Prepping the Area
Start by prepping the area by cleaning it up. Remove any excess debris and dirt using a sponge or rag. Make sure the area is dry before you start.
4. Cut the Patch or Make a Backing for the Hole
If you have a hole in the wall, you will need to make a patch or backing material to fill the hole. To make a backing material for larger holes, take a piece of cardboard or drywall and cut it into a square shape that is larger than the hole. Hold it in place over the hole, and trace around the edges, then cut out the square shape to make a backing that fits in the hole perfectly. For smaller holes, take a drywall patch and cut it to size.
5. Apply Drywall Compound
Apply a thin layer of joint compound or spackling paste over the hole and around it. Smooth it out with a putty knife or trowel, then apply a small strip of drywall tape over the layer of joint compound. This will ensure that the surface is level and smooth. Allow it to dry overnight, or as directed on the packaging.
6. Sand the Area
After the joint compound or spackling paste has dried, smooth out any bumps or rough areas with 150-grit or finer sandpaper. Wipe the area with a clean and dry cloth.
7. Paint the Area
Finally, paint the area using primer to seal the surface and then use paint that matches the rest of the wall. Use a small paintbrush to paint the area and avoid leaving brush marks. Wait for the paint to dry before applying a second coat.
III. Use of Materials
Understanding the materials required to patch a hole in the wall is essential. Here are the different materials required to patch a hole in the wall:
1. Drywall patch or backing material:
Use a drywall patch to cut out the damaged area to be replaced. If it’s a big hole, a backing material like cardboard or drywall can be used as a base to repair the hole.
2. Joint Compound or Spackling Paste:
Joint compound or spackling paste is used to fill the hole after inserting the backing material or drywall patch.
3. Drywall Screws and Anchors:
Ensure to use drywall screws and anchors to anchor and secure the drywall patch backing in place.
4. Drywall Tape:
Drywall tape is used to ensure the patching material is flush with the existing wall surface.
5. Primer and Paint:
A coat of primer seals the surface, preparing it for paint, which is used to match the wall to an existing finish.
IV. Troubleshooting
Encountering challenges while patching a hole in the wall is not unusual. Here are some troubleshooting tips to help:
1. Cracking
If cracking appears, it might mean the area wasn’t properly sanded. Sand the area and add additional layers of joint compound or spackling paste, as needed.
2. Uneven Wall Surface
If your wall surface doesn’t appear even, it might be due to substantial plaster or drywall missed while patching. Add more spackling or joint compound to the area, spread evenly and let it dry, sand and then finish with primer and paint.
3. Peeling Paint
If paint peels off when you’re painting or within a short time after painting, it indicates a problem with the primer. Repeat the process, allowing a more extended drying time before painting.
V. Alternative Methods
Several alternative methods can be used to patch a hole in the wall. Here are some pros and cons:
1. Mesh Patch
Mesh patches can be used to cover holes that are two to three inches wide. The mesh can then be secured with joint compound, allowed to dry, sanded, and then painted after painting.
2. Toothpaste
For small holes, toothpaste mixed with baking soda can be used as a temporary fix. Apply the mixture directly to the hole, let it dry, and then paint over it to match the surrounding area.
3. Wood Filler
If the hole is small to medium-sized, wood filler can be used to repair it. After applying the wood filler, sand it down, and paint over it afterward.
VI. Advanced Tips
Here are some advanced tips for the more creative enthusiasts:
1. Drywall Replacement
If you want a more durable finish, replace the damaged drywall section entirely. Cut out the damaged segment, replace it with a new one using drywall screws and joint compound, sand the area, then paint over it.
2. Removing Wallpaper
To remove wallpaper, use a wallpaper scraper and remove the top layer of wallpaper. Use a wallpaper backing scoring tool to gently puncture several holes through the wallpaper backing, then apply boiling water, allowing it to soak through to remove the wallpaper. Use sandpaper to rough up the wall surface and glue, sand down the surface, patch the holes, and paint the area.
3. Filling in Damaged Areas
If you have textured walls, use textured spackling paste to fill in the damaged areas. Sand the area, then paint over it after it has dried.
VII. Conclusion
The process of patching a hole in the wall can often seem intimidating, but this guide has shown that it’s an achievable DIY problem. Remember to take necessary safety precautions before starting, understand the materials required, and follow the step-by-step guide. If you encounter issues that you’re unsure how to resolve, use the troubleshooting tips provided. Finally, if you’re feeling adventurous, use the advanced tips to take your wall patching to the next level.


