Introduction
Are you struggling to print labels from Word? Whether you’re preparing for a holiday mailing, organizing office files, or running a small business, knowing how to print labels from Word is essential. This article will provide you with a comprehensive guide to help you print labels with ease. It’ll cover everything from simple step-by-step instructions to troubleshooting common issues.
This article is targeted at anyone who needs to print labels from Word, from home users to small business owners. Our goal is to make the process as simple and straightforward as possible.
Simple Step-by-Step Guide
Printing labels from Word is easier than you might think. Just follow these simple steps:
Step 1: Decide on Labels
Before you begin, make sure you have the correct type of labels and a printer that can print them. Then, decide on the number of labels you need to print, and measure the size of the label to ensure that it matches the label paper’s size.
Step 2: Create a Table
Create a new blank document, then insert a table with the number of rows and columns that match the size of your label sheet. Adjust the cells’ height and width to fit the label size, then add text to each cell as needed.
Step 3: Preview Labels
Before printing, make a label preview to ensure that the text and images are aligned correctly.
Step 4: Print Labels
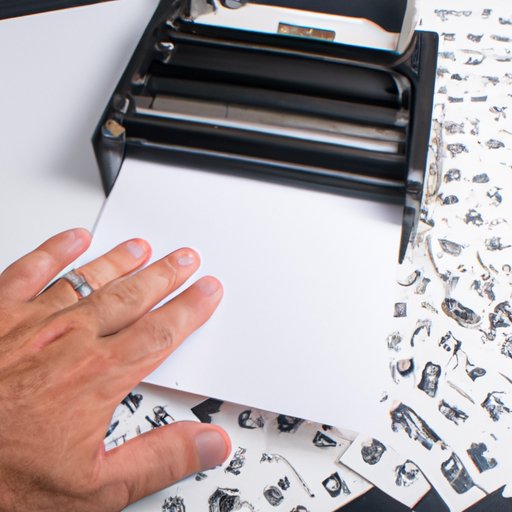
Once you’re satisfied with the preview, it’s time to print the labels. Go to “File” and select “Print.” Make any necessary adjustments to your printer options and click “Print.”
Making Use of Built-In Wizard
Another way to create and print labels with little effort is by using the “Labels” feature in Word.
Step 1: Open Labels Wizard
From the Mailings tab, click on the Labels button.
Step 2: Select Labels
In the Labels tab, choose the label manufacturer and product number.
Step 3: Add Text and Images
Add text and images if needed, using the formatting tools included in the wizard.
Step 4: Print Labels
Once you’re satisfied, print the labels by going to “File,” selecting “Print” and making any necessary adjustments.
Using Third-Party Label Templates
If you’re looking for a unique design or don’t want to make your own, consider using third-party templates.
Step 1: Find a Template
Search for “label templates” online to find websites that offer free and paid templates.
Step 2: Open Template
Choose a template and download it to your computer.
Step 3: Customize Template
Customize the template to your liking, adding text and images as needed.
Step 4: Print Labels
Once you’re satisfied, print the labels, ensuring that the paper and printer are compatible.
Mail Merge
If you need to print multiple labels with different information, mail merge is the way to go.
Step 1: Create a Database
First, create a database of your information, either in Word or Excel.
Step 2: Start Mail Merge
From the Mailings tab, click on the “Start Mail Merge” dropdown menu and select “Labels.”
Step 3: Select Recipients
Choose the database you’ve created and select the recipients you want to print.
Step 4: Add Text and Images
Use the formatting tools to add text and images to your labels.
Step 5: Print Labels
Preview and print your labels, making any necessary adjustments to formatting or printing options.
Formatting Tips for Labels
When creating labels, there are a few formatting tips to keep in mind:
– Use a font size that’s easy to read, large enough to see, and small enough to avoid running off the label.
– Use appropriate spacing for your text, including line spacing and margins.
– Consider adding borders or shading to your labels to make them stand out.
Troubleshooting Common Issues
Some of the most common issues when printing labels include misaligned labels, text that’s too small, or incorrect formatting.
– To fix misaligned labels, open your printer’s settings and adjust the margins or position of your labels. From Word, adjust the table cells’ width and height to match the label size.
– To increase text size, use a larger font size in your document or adjust the scale in the Print Options menu.
– To fix formatting issues, make sure you’re using the correct label type and check your printer’s settings to ensure that it’s set up for that paper size.
Conclusion
Printing labels from Word is easy once you know the right steps. Whether you prefer a simple table or a customized template, there’s a method that will work for you. Don’t forget the formatting tips and troubleshooting advice to help you avoid common issues. By following this simple guide, you’ll be printing professional-looking labels in no time.


