I. Introduction
A broken zipper can be frustrating and inconvenient, especially if it happens when you’re getting ready for an important event. While it can happen to anyone, not everyone knows how to fix it. In this article, we’ll explore all aspects of putting a zipper back on, including step-by-step instructions, video tutorial, common issues, tools and materials, troubleshooting tips, and alternative solutions.
II. Step-by-Step Guide
The first step in putting a zipper back on is to assess the damage and identify any problems. Next, remove the damaged slider or teeth with a pair of pliers. Then, align the zipper teeth on both sides of the garment, ensuring they’re facing the right way. Finally, replace the slider or the entire zipper. Be sure to use the right tools and materials for the job. Depending on the type of zipper you have, you may need a sew-in or self-adhesive replacement kit.
When dealing with a broken zipper, keep calm and tackle one step at a time. Depending on the extent of the damage, a repair may be fairly simple and require nothing more than a replacement slider.
III. Video Tutorial
For a more visual approach, we’ve included a tutorial that demonstrates how to put a zipper back on. It features clear and concise instructions, illustrating each step in detail. The video highlights various types of zippers and techniques, providing tips on how to make the process easier.
IV. Common Issues and How to Avoid Them
One of the most common issues in putting a zipper back on is the zipper not aligning properly. This can be caused by a number of factors, including twisted teeth or misaligned ends. To fix this issue, use pliers to gently realign the teeth, making sure they’re facing the same direction.
Another issue is the slider breaking off, which can occur if too much force is applied. To avoid this, handle the slider with care, and apply gentle pressure when moving it up and down the teeth.
V. Finding the Right Tools
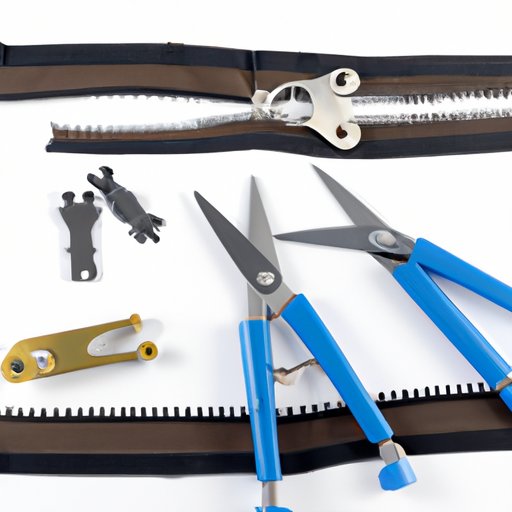
The tools and materials needed to put a zipper back on include pliers, scissors, a sewing needle, and thread. You may also need a replacement zipper slider or teeth, depending on the extent of the damage. These can be found at fabric or craft stores, or ordered online from various retailers.
If you’re not familiar with these tools, watch a tutorial or read a guide before starting. Using the right tools is crucial to ensuring a successful repair.
VI. Troubleshooting Tips
If you encounter difficulties when putting a zipper back on, there are a few troubleshooting tips you can try. First, make sure the teeth are facing the right way and aligning properly. Next, check the slider for any bent or broken parts. If neither of these is effective, you may need to remove the zipper completely and try again from scratch.
VII. Alternative Solutions
If you’re not comfortable fixing the zipper yourself, or if the damage is too extensive, there are alternative solutions you can consider. For a temporary fix, try using a safety pin or tape to hold the garment together. For a more permanent solution, replace the zipper entirely. Alternatively, you can opt for clothes without zippers altogether.
Each solution has its pros and cons, with some being more cost-effective or practical than others. Determine which solution is best for you and your budget.
VIII. Conclusion
Putting a zipper back on is a task that many people can accomplish with the right guidance and tools. Whether you’re repairing a small tear or replacing a damaged slider, a little patience and effort can go a long way. We hope this guide has been helpful in navigating the world of zipper repairs.
If you have any questions or feedback, reach out to us in the comments.


