Introduction
Learning how to tie a tie is a rite of passage for many men. Whether it’s for a job interview, a wedding, or a special occasion, mastering the art of tying a tie is a valuable life skill that can elevate your style game. But with so many knot types and styles to choose from, it can be overwhelming for a beginner. Fear not – in this article, we will provide you with step-by-step instructions on how to put on a tie, tips for achieving the perfect knot, and different ways to wear a tie for every occasion.
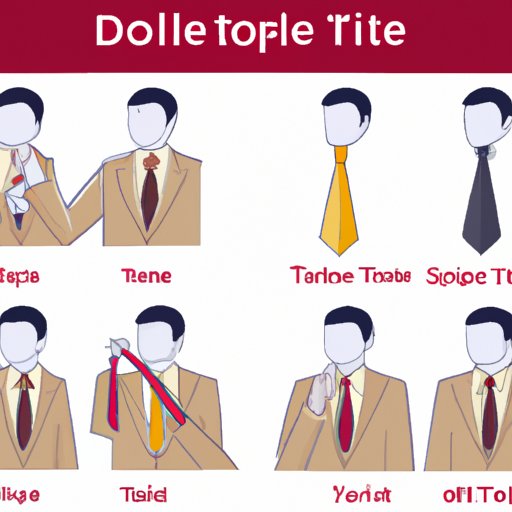
A Step-by-Step Guide: How to Put on a Tie
Before we dive into the different types of tie knots, let’s start with the basics. Here’s how to put on a tie in a few easy steps:
Step 1: Choose the Right Tie
The first step to putting on a tie is selecting the right tie. Choose a tie that complements the color and design of your shirt and suit. Solid colored ties are versatile and easy to match, while patterned ties can add some personality to your outfit. Make sure the width of the tie matches the width of your lapels – a thin tie with a wide lapel or a wide tie with a narrow lapel can throw off your entire look.
Step 2: Put the Tie Around Your Neck
Start by draping the tie around your neck with the wide end on your right shoulder and the narrow end on your left shoulder. Make sure the tie is positioned with the seam facing inward.
Step 3: Cross the Wide End Over the Narrow End
Take the wide end of the tie and cross it over the narrow end. Make sure the wide end is slightly longer than the narrow end.
Step 4: Bring the Wide End Up and Over the Loop
Next, bring the wide end up and over the loop around your neck.
Step 5: Put the Wide End Down Through the Loop
Insert the wide end down through the loop and pull it taut.
Step 6: Tighten the Knot
Hold the knot with one hand and with the other hand, pull the narrow end down to tighten the knot. Make sure the knot is snug but not too tight.
Step 7: Adjust the Tie as Necessary
Adjust the tie and the knot until it sits comfortably and is centered on your collar. The tip of the narrow end should reach the middle of your belt buckle.
Mastering the Art of Tying a Tie: A Beginner’s Guide
Now that you know how to put on a tie, let’s take a closer look at different types of tie knots. There are several knots to choose from, each with its own unique style and level of complexity. Here are some of the most popular knots:
The Four-In-Hand Knot
The four-in-hand knot is a classic and versatile knot that can be worn for any occasion. To tie a four-in-hand knot, follow these steps:
1. Start with the wide end of the tie on your right side and the narrow end on your left side.
2. Cross the wide end over the narrow end.
3. Fold the wide end under the narrow end and loop it over the center.
4. Insert the wide end up through the loop around your neck.
5. Hold the knot with one hand and pull the narrow end down to tighten the knot.
The Half Windsor Knot
The half Windsor knot is a slightly more formal knot that is still easy to tie. To tie a half Windsor knot, follow these steps:
1. Start with the wide end of the tie on your right side and the narrow end on your left side.
2. Cross the wide end over the narrow end.
3. Bring the wide end up and over the loop.
4. Bring the wide end down and pull it behind the narrow end.
5. Bring the wide end up and over the loop again.
6. Insert the wide end up through the loop around your neck.
7. Hold the knot with one hand and pull the narrow end down to tighten the knot.
The Full Windsor Knot
The full Windsor knot is a formal knot that is best suited for wider ties and dressier occasions. To tie a full Windsor knot, follow these steps:
1. Start with the wide end of the tie on your right side and the narrow end on your left side.
2. Cross the wide end over the narrow end.
3. Bring the wide end up and over the loop.
4. Bring the wide end behind the narrow end and up again.
5. Loop the wide end over the center.
6. Tuck the wide end up behind the loop around your neck.
7. Bring the wide end down through the loop.
8. Loop the wide end over the center again.
9. Insert the wide end up through the loop around your neck.
10. Hold the knot with one hand and pull the narrow end down to tighten the knot.
The Essential Guide to the Perfect Tie Knot
Now that you know how to tie different knots, let’s focus on perfecting the knot. Here are some tips for achieving the perfect knot:
– Practice makes perfect. Try tying different knots and experiment with different techniques.
– Make sure the knot is centered on your collar and not too loose or too tight.
– Use a mirror to check your knot and make adjustments as necessary.
– Choose the right length tie – the tip of the narrow end should reach the middle of your belt buckle.
– If your knot is too big, try using a smaller knot. If it’s too small, try using a larger knot.
Tie Tying Made Easy: Tips and Tricks for a Polished Look
Tying a tie doesn’t have to be complicated. Here are some quick tips and tricks for a polished look:
– Keep your tie knot simple and understated for a more casual look.
– Use a tie clip to keep your tie in place and prevent it from shifting.
– Make sure your tie is clean and wrinkle-free.
– Choose a tie made from high-quality materials like silk or wool.
– Store your tie properly – roll it up and store it in a drawer to prevent wrinkles.
From Casual to Corporate: Different Ways to Tie a Tie
Different occasions call for different types of knots and styles. Here are some tips for tying a tie for different occasions:
– For a casual look, try a simple knot like the four-in-hand knot or a skinny tie.
– For a more formal look, try a half or full Windsor knot.
– Match the width of your tie to the lapels of your jacket – wide ties for wide lapels and skinny ties for narrow lapels.
– Pair a patterned tie with a solid-colored shirt or vice versa.
– Avoid wearing novelty ties or ties with cartoon characters in a professional setting.
How to Tie a Tie in 3 Minutes or Less
In a rush but still need to tie a tie? Follow these steps for a quick and presentable knot:
1. Drape the tie around your neck with the wide end on your right shoulder and the narrow end on your left shoulder.
2. Cross the wide end over the narrow end.
3. Bring the wide end up and over the loop.
4. Bring the wide end down through the loop.
5. Hold the knot with one hand and pull the narrow end down to tighten the knot.
6. Adjust the tie and knot as necessary.
Conclusion
Learning how to tie a tie is a valuable skill that can take your style game to the next level. Whether you’re a beginner or a pro, there’s always something new to learn about tying a tie. Practice and experiment with different knot types and styles to find what works best for you. Remember – a well-tied tie can make all the difference in an outfit.


