Introduction
Have you ever found yourself with a favorite item of clothing that you can’t wear because the zipper has fallen off or become stuck? Fear not! This comprehensive guide will take you through all the necessary steps to reattach a zipper, including common issues and solutions, materials required, quick fixes, and DIY hacks.
Step-by-Step Guide to Reattach a Zipper
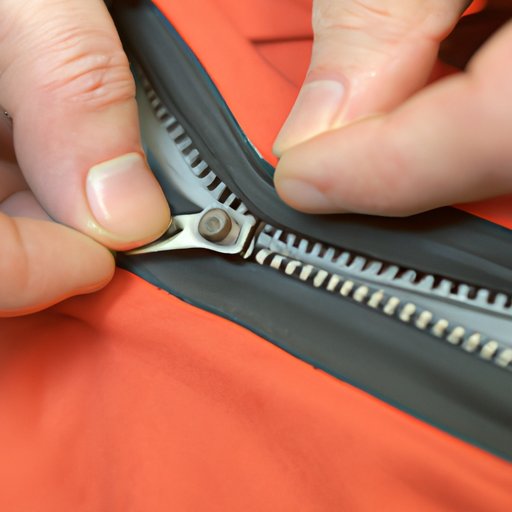
The first step to reattaching a zipper is to gather the necessary tools. You will need pins, scissors, a needle, thread, pliers, and a new zipper pull. Follow these steps to reattach your zipper:
- Align the teeth of the zipper by pulling both sides together and pinning them in place.
- Secure the tape of the zipper with a few stitches on the top and bottom.
- Attach the new pull by threading the cord through the hole and crimping it with pliers.
- Test the zipper to make sure everything is functional.
Check out the images below to help you follow each step:
(Insert images here)
Common Issues and Solutions
If your zipper is stuck, won’t stay up, or is missing teeth, there are solutions. Loosen up a stuck zipper by using pliers to wiggle back and forth or by adding lubrication. You can replace lost/broken teeth by using pliers to remove the damaged tooth and a needle and thread to attach a new one. If the zipper won’t stay up, replace the slider with a new one or tighten it by using pliers to pinch the top and bottom of the slider together.
Materials Needed
Before reattaching a zipper, you will need to ensure you have the correct materials. These materials include different types of thread, determining the right zipper size, choosing the correct zipper pull, and replacement parts. It is essential to use good quality materials that last longer and avoid low-quality options that contribute to more wear and tear. The supplies required can be found at any fabric store or online.
Quick Fixes
If you need a quick fix to solve your zipper problem, consider using items like wax paper, pencil lead, a paper clip, or a keyring to temporarily fix it. Simply rub the pencil lead along the teeth to lubricate the zipper or slide a paper clip through the loop at the end of the zipper pull. A keyring can also be added to the zipper pull for easy use.
DIY Hacks
You can show off your creativity and give your item a new look all while reattaching the zipper. Think about using a ribbon or a chain to replace the zipper pull or replacing the tape with a decorative ribbon or fabric to add a pop of color. Add gems, patches or change the zipper pull with one that matches your style. Get creative and see what design changes you can come up with.
Conclusion
Reattaching a zipper is a simple repair that can save you money and help extend the life of your favorite items. With the guide above, you now have a comprehensive guide to follow to assist you in reattaching your zipper. Rather than throwing away or replacing an item, learn to repair it. Encourage others to tackle this repair with this article and help extend the life of their beloved items. Remember, a zipper issue is now a minor inconvenience with a quick and easy solution.


