Introduction
Recording audio is a complex process that is often taken for granted. Whether you’re a seasoned professional or a beginner, getting the best possible recording can be a challenge. Common struggles include poor microphone placement, uncontrolled room acoustics, and ineffective post-production editing. Fortunately, there are simple tips and tricks that can help you achieve high-quality audio recordings every time. In this article, we’ll explore the essential techniques, equipment, and tips for recording clear and natural sounding audio.
5 Tips for Recording High-Quality Audio: A Beginner’s Guide
The first step to getting a high-quality recording is to ensure proper microphone placement. This means placing the microphone at the right distance and angle in relation to the sound source. Experiment with different placements until you find the sweet spot.
Another factor that can affect audio quality is room acoustics. In most cases, a small, well-dampened room is best for recording, as it reduces unwanted reverb and echoes. If possible, invest in acoustic panels or soundproofing materials.
Editing is another essential aspect of the recording process. Use a good audio editing software and experiment with different techniques such as equalization and compression to enhance audio quality. To prevent plosives or popping sounds caused by ‘P’ and ‘B’ sounds, use pop filters.
It is also crucial to monitor audio levels while recording. Use headphones to ensure you catch any noises that are out of place, and use a leveling tool to keep the audio levels consistent throughout the recording.
Recording 101: Essential Techniques and Equipment for Capturing Clear Sound
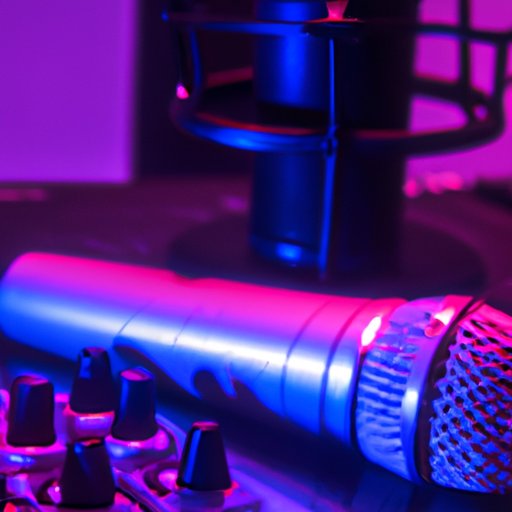
Microphones are essential for capturing audio, but the type of microphone you choose will depend on the source of the sound. Dynamic microphones are great for loud sounds, while condenser microphones are more sensitive and are best for subtle sounds.
Preamps are also essential to capturing clear sound. They boost the signal from the microphone to line level, reducing noise and improving clarity. Compressors are also useful in controlling dynamic range, ensuring that the volume is consistent throughout the recording.
When recording instruments, it is often best to use DI boxes, which allow you to record the signal directly from the instrument without the need for a microphone. This is ideal for recording electric guitars and other instruments that have a built-in pickup.
From Home Studios to Professional Settings: How to Record Anywhere, Anytime
Recording in a home studio is often more cost-effective than using professional studios. However, one of the challenges of recording in non-traditional spaces is controlling ambient noise. Use soundproofing and acoustic treatment equipment to create an ideal recording environment.
For portable recordings, it is best to use a laptop or mobile recorder along with a USB audio interface. This setup allows you to record on the go without compromising audio quality. You can also invest in small condenser microphones that are easy to transport.
Getting the Best Possible Recording: Tricks of the Trade for Musicians and Engineers
Collaboration between the musician and the engineer is essential for getting the best possible recording. Consider bringing the musician into the control room to listen to recordings and make adjustments in real-time.
One of the most critical tricks is to get a natural-sounding recording. This means avoiding excessive compression and equalization, ensuring that the mix is well-balanced, and that you keep enough headroom to avoid clipping. Techniques such as double-tracking and adding harmonies can create depth and texture in the recording.
Finally, don’t be afraid to experiment with different microphone placements and angles. Moving the microphone closer or further away from the source, or angling it in different directions, can drastically change the sound.
Mastering the Art of Recording: How to Achieve Perfect Results Every Time
The mastering process is where you apply the finishing touches to the recorded audio. This includes EQ, compression, and other effects such as reverb and delay. It can be challenging, but with practice, you can learn to master the art of mastering.
The most critical aspect of mastering is to maintain consistency in the volume and frequency content throughout the recording. Use EQ to adjust the balance of frequencies and compression to control the dynamic range. Avoid over-processing, as this can make the recording sound unnatural.
During mastering, issues such as noise, distortion, and phase problems may arise. It is important to address these issues early in the process to avoid affecting the final product negatively.
Conclusion
Recording high-quality audio may seem daunting, but with the proper techniques, equipment, and tips, it can be a fun and rewarding process. Remember to focus on microphone placement, soundproofing, editing, and monitoring audio levels. Experiment with different techniques and equipment to find what works best for you. With practice, you’ll be able to achieve perfect results every time.


