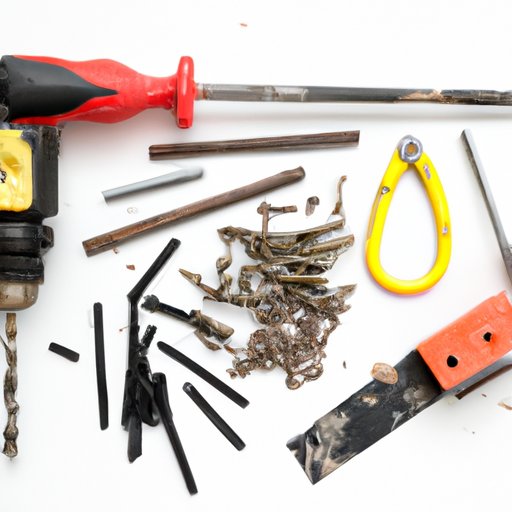
I. Introduction
Whether it’s a small home DIY project or a bigger professional job, having a broken screw can cause a lot of frustration. Fortunately, there are many methods to try before giving up and calling a professional. In this article, we will cover six different methods for removing a broken screw, including using a screw extractor, pliers, a hammer and chisel, a tap and die set, a heat gun, and a drill.
II. Using a Screw Extractor
A screw extractor is a specially designed tool used to remove stripped or broken screws. It’s important to choose the right size extractor for the screw and to follow the manufacturer’s instructions carefully.
Here are the steps to use a screw extractor:
- Choose the right size screw extractor for the broken screw
- Drill a hole in the center of the screw head using a drill bit (make sure the bit is smaller than the screw extractor)
- Insert the screw extractor into the hole and turn counterclockwise
- Apply steady pressure while turning the screw extractor until the broken screw is removed
It’s important to note that screw extractors are not foolproof and may not work on all broken screws. Additionally, if the screw is rusted or corroded, it may require additional lubrication or heat to loosen.
III. Using Pliers
If the broken screw is protruding from the surface, pliers can be an effective tool for removing it. This method is best used on smaller screws that are not completely flush with the surface.
Here are the steps to use pliers:
- Choose a pair of pliers with a gripping surface that matches the size and shape of the screw head or shank
- Position the pliers around the screw and grip tightly
- Turn the pliers counterclockwise to remove the broken screw
This method may require some patience and finesse, as gripping the screw too hard may cause it to break further.
IV. Using a Hammer and Chisel
If the broken screw is flush with the surface or below it, a hammer and chisel may be necessary to remove it. This method is best used on larger screws or those with thicker shanks.
Here are the steps to use a hammer and chisel:
- Select a chisel tip that matches the diameter of the screw head or shank
- Position the chisel tip at an angle on the screw head and hit the end of the chisel with a hammer
- Apply force to the chisel to turn the screw counterclockwise
This method requires some precision and control to avoid damaging the surrounding material or breaking the screw further.
V. Using a Tap and Die Set
A tap and die set is a tool used to create new threads in a hole or on a surface. It can also be used to remove broken screws by creating new threads for the screw to grip onto.
Here are the steps to use a tap and die set:
- Select a tap and die size that matches the size and pitch of the original screw
- Insert the tap or die into the hole and turn it clockwise to create new threads
- Insert a new screw into the newly threaded hole and turn it counterclockwise to remove the broken screw
This method requires some knowledge and experience with using a tap and die set, as well as careful attention to matching the right size and pitch of the original screw.
VI. Using a Heat Gun
Heat can be a useful tool for loosening a broken screw that is stuck due to rust or corrosion. A heat gun can be used to apply directed heat to the surrounding material without causing damage.
Here are the steps to use a heat gun:
- Set the heat gun to low heat and aim it at the area surrounding the broken screw
- Apply heat in short bursts and test the screw to see if it is loosening
- If necessary, apply more heat and continue testing until the screw is sufficiently loosened
It’s important to be patient and not to overheat the surrounding material, as this could cause damage.
VII. Using a Drill
A drill can be used to remove a broken screw by creating a larger hole in the center of the screw head, allowing for a larger extractor or pliers to grip onto the remaining screw shank.
Here are the steps to use a drill:
- Select a drill bit that is slightly larger than the screw head
- Drill a hole in the center of the screw head
- Use an extractor or pliers to grip the remaining screw shank and turn counterclockwise
This method can be effective but also has a higher risk of damaging the surrounding material or breaking the screw further.
VIII. Conclusion
Removing a broken screw can be a frustrating and time-consuming task, but there are many methods that can be effective with patience and care. When deciding which method to try, consider the size and type of screw, as well as the surrounding material and any potential damage that could occur.
Our top recommendations are to try using a screw extractor or pliers first, as these are the least invasive methods. If these don’t work, move on to other methods as necessary. Don’t give up if the first method doesn’t work, and always be careful and patient to avoid further damage.


