I. Introduction
Earwax build-up is a common problem that affects people of all ages. Although it is not usually a serious medical condition, excessive wax can cause hearing loss, discomfort, and even infection. This article aims to provide you with a comprehensive guide on how to safely remove earwax at home, using natural remedies and commercial products.
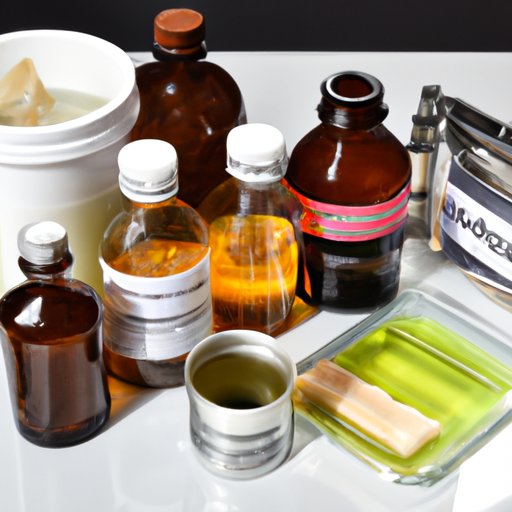
In this article, we will discuss different methods for removing earwax, including the olive oil method, hydrogen peroxide, mineral oil, earwax removal kits, warm water, a bulb syringe, and vinegar and alcohol solution.
II. The Olive Oil Method
Olive oil is one of the most commonly used home remedies for earwax removal. Not only is it natural, but it is also safe and effective if done correctly. The oil works by softening the wax, making it easier to remove. Here are the steps for using this method:
- Warm the olive oil to body temperature. You can do this by placing the bottle in a warm water bath for a few minutes.
- Lie on your side with the affected ear facing upwards.
- Using a dropper, place a few drops of warm olive oil in your ear.
- Gently massage the area behind your ear to help the oil move down the ear canal.
- Stay in this position for 5-10 minutes.
- Use a tissue to wipe off any excess oil.
It is essential to note that the olive oil method may not work for everyone. If you experience any pain or discharge, stop the procedure and contact your doctor. Additionally, do not use this method if you have a perforated eardrum.
III. Hydrogen Peroxide
Hydrogen peroxide is another household item that can be safely used for earwax removal. It has antibacterial properties and can dissolve the wax effectively. However, it is crucial to use a 3% solution of hydrogen peroxide for this purpose. Here is how to do it:
- Mix equal parts of hydrogen peroxide and warm water.
- Lie on your side with the affected ear facing upwards.
- Using a dropper, place a few drops of the solution in your ear.
- Stay in this position for 5-10 minutes.
- Drain the solution out of your ear by tilting your head to the side.
- Use a clean towel to dry your ear.
You can also use a bulb syringe to flush out the wax gently. However, do not use this method if you have an ear infection or a punctured eardrum.
IV. Mineral Oil
Mineral oil is a gentle and effective way to remove earwax. It works by softening the wax and lubricating the ear canal, making it easier for the wax to come out. Here is how to use it:
- Warm the mineral oil to body temperature.
- Lie on your side with the affected ear facing upwards.
- Using a dropper, place a few drops of warm mineral oil in your ear.
- Stay in this position for 5-10 minutes.
- Use a clean towel to wipe off any excess oil.
This method is safe for adults and children, but do not use it if you have a history of ear infections or eardrum damage.
V. Ear Wax Removal Kits
If you prefer not to use homemade remedies, you can purchase an earwax removal kit online or at your local drugstore. These kits usually contain wax softening drops, an ear irrigation system, and a bulb syringe. Here are the steps for using an earwax removal kit:
- Follow the instructions on the wax softening drops and place them in your ear.
- Fill the ear irrigation system with warm water or saline solution.
- Place the tip of the irrigation system at the opening of your ear canal.
- Gently squeeze the bulb to irrigate your ear with water.
- Repeat the process in the other ear.
Earwax removal kits are safe and effective, but be sure to read the instructions carefully before use. Do not use this method if you have a perforated eardrum or a history of ear infections.
VI. Warm Water and a Bulb Syringe
This is a simple but effective method for flushing out earwax. It works by using the force of warm water to dislodge the wax from the ear canal. Here is how to do it:
- Fill a bulb syringe with warm water.
- Lie on your side with the affected ear facing upwards.
- Slowly inject the water into your ear canal.
- Stay in this position for a few seconds.
- Tilt your head to the side to let the water and wax come out.
- Use a clean towel to dry your ear.
This method is safe for most people, but do not use it if you have a perforated eardrum or an ear infection.
VII. Vinegar and Alcohol Solution
A vinegar and alcohol solution can work together to break down and dissolve earwax. It also has antifungal and antibacterial properties, making it a good preventive measure against ear infections. Here are the steps to follow:
- Mix equal parts of white vinegar and rubbing alcohol in a small bowl.
- Pour the mixture into a dropper.
- Lie on your side with the affected ear facing upwards.
- Using the dropper, place a few drops of the solution in your ear.
- Stay in this position for 5-10 minutes.
- Tilt your head to the side to let the solution and wax come out.
- Use a clean towel to wipe off any excess liquid.
Do not use this method if you have any skin sensitivities or allergies to any of the ingredients. Also, consult with your doctor before using it if you have a history of ear infections.
VIII. Conclusion
Removing earwax at home is a simple yet delicate process. Natural remedies such as olive oil, hydrogen peroxide, mineral oil, vinegar, and alcohol can be effective, safe, and easy to use. Earwax removal kits that contain wax softening drops, an ear irrigation system, and a bulb syringe are also available and are a good alternative to homemade remedies.
However, it is essential to be careful and gentle when using any of these methods to avoid injury or discomfort. If you have tried these methods but still experience excessive earwax build-up, pain, or discharge, please see your doctor immediately.


