Introduction
Most people take their shower drain for granted until they encounter a problem that requires its removal. Whether you’re dealing with a clogged bathroom drain or simply need to replace your old shower drain, knowing how to remove it is essential. In this article, we’ll provide you with a comprehensive guide on how to remove a shower drain step-by-step, so you can do it yourself and save on repair costs.
Step-by-Step Tutorial
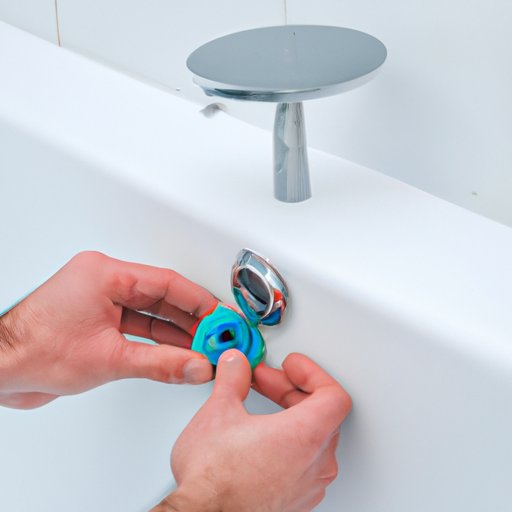
Before starting, it’s essential to gather all the tools you’ll need. You’ll need a screwdriver, pliers, gloves, a bucket, and a cleaning brush. Start by checking whether your shower drain’s cover is screwed on or just placed on top. If it’s screwed on, remove the screws using your screwdriver.
If it’s placed on top, use your pliers to remove it by pulling it up gently. Once you’ve removed the cover, you’ll see the drain’s crossbars. You may need to use pliers to remove them as well. Depending on your shower’s design, the drain assembly may come off in one piece, or you may have to disassemble it piece by piece. Once you’ve successfully removed the drain, clean up any debris or gunk that may have accumulated using your cleaning brush. Finally, dispose of the debris in your bucket.
Video Tutorial
If you’re a visual learner, you may find it helpful to watch a video tutorial on how to remove a shower drain. Here’s a comprehensive guide that will take you through the entire process from start to finish:
Problem-Solving
Removing a shower drain can sometimes present unexpected challenges. One common problem is dealing with a stuck or difficult-to-remove drain cover. If this is the case, use a flathead screwdriver under the drain’s outer edge to pry it loose. Another problem you might encounter is dealing with corroded or damaged pipes. In this case, lubricate the surrounding area with penetrating oil and wait for 10 minutes for it to seep into the corroded area. Finally, if you encounter any other problems, don’t hesitate to call a professional plumber.
DIY Alternatives
If you’re not too keen on using specialized tools and want to save some extra bucks, here are a few alternative do-it-yourself methods you can try:
– Use a plunger to dislodge any blockages in your shower drain
– Pour boiling water down the drain to melt any clogs
– Use baking soda and vinegar to clear blockages in the pipes
– Make a drain snake from a wire hanger or use a zip tie to remove hair clotting
– Use a wet and dry vacuum cleaner to suck out any blockages
Safety Considerations
When attempting to remove a shower drain, it’s essential to put safety first. Here are a few safety tips to keep in mind:
– Wear gloves to protect your hands from any sharp edges or rusty surfaces
– Make sure you have good footing by wearing non-slip shoes
– Use pliers and other tools with caution and always position them away from your face and body
– Turn off the water supply before removing the drain assembly
– If you’re unsure of anything or lack experience, don’t hesitate to call a professional
Maintenance and Care
Maintaining and caring for your shower drain will ensure that it functions efficiently and lasts longer. Here are a few tips to help you:
– Install a hair catcher to prevent hair and other debris from clogging your drain
– Use a baking soda and vinegar solution to clean your drain regularly
– Avoid pouring harsh chemicals down your drain as it can corrode the pipes
– Inspect the drain’s cover for damage or wear and replace it if necessary
– Replace your shower drain every five years or earlier if necessary.
Conclusion
Removing a shower drain doesn’t have to be a daunting task. Armed with the tips and tutorials in this article, you can confidently handle any shower drain problems that come your way. Remember to always prioritize safety and seek professional help if needed.


