Introduction
Has the time come to update your flooring? Or maybe you just need to remove a few cracked tiles. Whatever the reason may be, removing tile can be a daunting task. But don’t worry, with the right tools and a little patience, you can tackle this DIY project like a pro.
Overview of Tools
Before getting started, it’s helpful to gather the necessary tools. Here’s a list of what you’ll need:
- Hammer
- Scraper
- Gloves
- Safety glasses
- Grout saw, rotary cutter, or hammer and chisel
- Power drill or hammer and chisel
- Pry bar or wedge
Step 1: Preparation
First, you’ll want to protect the floors and walls around the tile you’re removing. Use drop cloths or cardboard to cover floors and tape plastic sheeting to the walls. If you’re removing tile in a bathroom or kitchen, remove fixtures such as sinks or toilets if necessary.
Step 2: Removing the Grout
The grout is the material between the tiles. It’s important to remove the grout first so that you can more easily break the tile. Use a grout saw, rotary cutter, or hammer and chisel to remove all the grout. Be careful not to damage the surrounding tiles if you plan on reusing them.
Step 3: Breaking the Tile
Now it’s time to break the tile. You can use a hammer and chisel or power tools such as a rotary hammer drill. If you’re using a hammer and chisel, make sure to wear safety glasses and grip the chisel tightly with both hands. Start at the edge of the tile and work your way towards the center. Be patient and take your time to avoid damaging any neighboring tiles.
Step 4: Removing the Tile
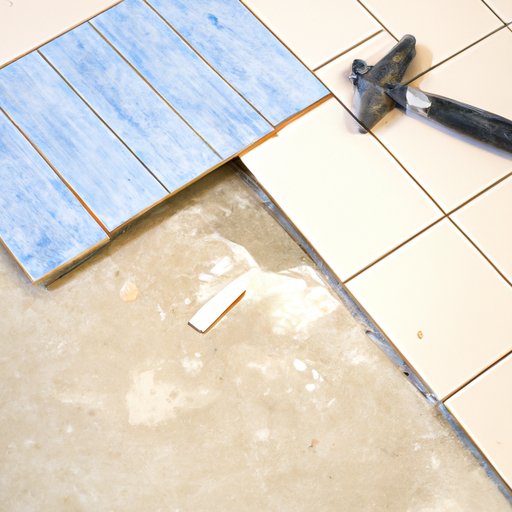
Once the tile is broken, you’ll need to remove it. Use a scraper and wedge or power drill to pry the tile away from the surface. If you’re using a power drill, attach a tile removal bit to make the job easier. You can also use a pry bar to remove the tile. Work carefully to avoid causing any damage.
Step 5: Cleaning Up
After all the tiles have been removed, it’s time to clean up. Remove any debris and wipe down the surface to ensure it’s clean. If there’s any adhesive or grout left behind, use a scraper to remove it. Once everything is clean, you’re ready to move on to the next step in your project.
Conclusion
Removing tile can seem like a daunting task, but with the right tools and a little patience, it can be done. Take your time, follow the steps outlined above, and you’ll have your old tile removed in no time.


