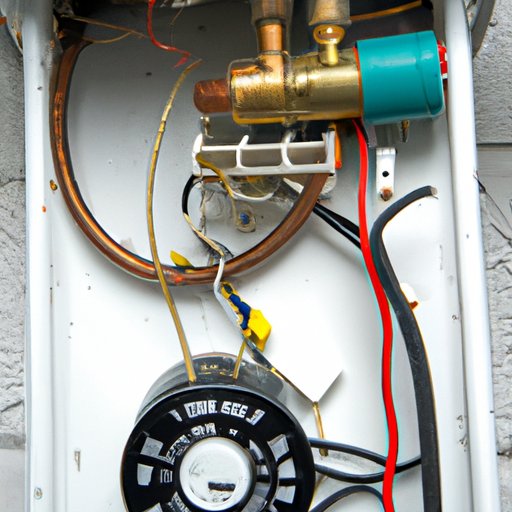
Introduction
Replacing a thermostat may sound complicated, but it is a relatively simple task that can save you a lot of money on your energy bills. If you’re experiencing temperature fluctuations or your HVAC system isn’t working as it should, it may be time to replace your thermostat. This article aims to provide a step-by-step guide, video tutorials, an infographic, common misconceptions, and expert advice to help you replace your thermostat with confidence.
Step-by-Step Guide
Before you begin, it is essential to turn off the power to your thermostat and HVAC system to prevent any electrical accidents. You will need a few tools and materials, including a screwdriver, wire strippers, electrical tape, a level, and a new thermostat.
Follow these clear and simple steps:
- Remove the old thermostat from its mounting plate by unscrewing it. Be sure to mark the wires before detaching them.
- Insert the mounting plate provided with the new thermostat and level it.
- Using the wire strippers, strip the wires connected to the old thermostat and match each wire to its respective terminal labeled on the new thermostat.
- Gently insert the wires into their designated terminals in the new thermostat following the manufacturer’s instructions.
- Attach the new thermostat to the mounting plate and restore power to the HVAC system.
- Test the new thermostat to ensure it is working correctly.
Video Tutorial
For a better understanding of the process, we recommend watching some video tutorials. The videos will provide visual guidance and ensure you complete each step correctly. We’ve selected some of the most helpful videos available:
Infographic
We’ve created an infographic to help guide you through the step-by-step process of how to replace a thermostat. The infographic below is an excellent visual representation of the steps involved, and it should make the process much easier to understand:

Common Misconceptions
There are a few common misconceptions about replacing a thermostat that we’d like to address:
- Misconception: You don’t need to turn off the power to the HVAC system during the replacement process.
- Misconception: All thermostats are interchangeable, and any thermostat will work with any HVAC system.
- Misconception: All wires are the same and therefore interchangeable.
Fact: Turning off the power to the HVAC system is an essential safety measure during the replacement process. Failing to do so could result in an electrical shock or even a fire.
Fact: Not all thermostats are interchangeable. The type of HVAC system you have should dictate the type of thermostat you need. Ensure you buy a thermostat compatible with your HVAC system.
Fact: Thermostats can have different arrangements of wires depending on the HVAC system. It is essential to match each wire to its designated terminal using the manufacturer’s instructions.
Expert Advice
We’ve consulted with an expert HVAC technician with years of experience to bring you their top five tips for replacing a thermostat:
- Check the compatibility of the new thermostat with your HVAC system before purchasing it.
- Follow the instructions provided by the manufacturer carefully.
- Always use a level to ensure the new thermostat is installed correctly.
- Take a picture of the wiring before removing the old thermostat, or label the wires to prevent any confusion when reconnecting them.
- Finally, call in a professional if you are unsure of anything or if you run into unexpected problems.
Conclusion
Replacing your thermostat doesn’t have to be a difficult task. By following this step-by-step guide, watching some video tutorials and taking note of the common misconceptions, you can safely and confidently replace your thermostat to save money on your energy bills and ensure the correct functioning of your HVAC system.


