Introduction
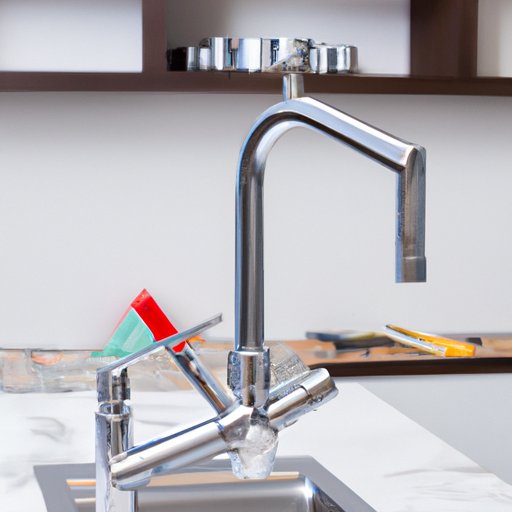
Are you tired of the outdated look of your kitchen faucet? Is it leaky and causing low water pressure? It might be time to consider replacing it! In this article, we’ll guide you through the steps of replacing your kitchen faucet with ease. We’ll cover everything from the required tools and materials to common mistakes to avoid making during the process.
Step-by-Step Guide to Replacing Your Kitchen Faucet
Replacing a kitchen faucet might seem like a daunting task, but it’s actually quite simple. Just follow these steps:
Step 1: Turn off the water supply
Before you begin, turn off the water supply to your kitchen sink. Most sinks have a valve located under the sink or behind the wall that controls the water supply. Turn this valve off to ensure that no water flows into the sink during the replacement process.
Step 2: Remove the old faucet
Use a basin wrench or adjustable wrench to loosen and remove the nuts and bolts holding the old faucet in place. Once the old faucet is fully disconnected, remove it from the sink.
Step 3: Install the new faucet
Place the new faucet in the same position as the old faucet and secure it with the nuts and bolts. Follow the manufacturer’s instructions carefully to ensure that the faucet is installed correctly.
Step 4: Test the new faucet
Once the faucet is securely in place, turn the water supply back on and test the new faucet for leaks and proper water pressure. If everything looks good, you’re done!
Remember, if you’re unsure about any of these steps, consult the manufacturer’s instructions or consider hiring a professional plumber.
Tools and Materials You’ll Need to Replace Your Kitchen Faucet
Before you start replacing your kitchen faucet, make sure you have the right tools and materials:
- Adjustable wrench
- Basin wrench
- Plumber’s putty
- New faucet
The adjustable wrench and basin wrench are necessary for removing and installing the nuts and bolts that hold the faucet in place. Plumber’s putty is used to create a watertight seal around the base of the faucet. And, of course, you’ll need a new faucet to install!
5 Common Mistakes to Avoid When Replacing Your Kitchen Faucet
Replacing a kitchen faucet is a simple process, but there are a few common mistakes to avoid:
- Forgetting to turn off the water supply
- Not tightening connections enough
- Using the wrong tools
- Not consulting the manufacturer’s instructions
- Forgetting to test the new faucet for leaks or proper water pressure
Each of these mistakes can lead to costly and time-consuming fixes down the road. Remember to turn off the water supply, tighten connections well, use the right tools, follow the manufacturer’s instructions, and test the new faucet thoroughly before use.
Top 3 Kitchen Faucet Replacement Options for Your Home
There are three main types of kitchen faucet replacement options to choose from:
- Single-handle faucets
- Double-handle faucets
- Pull-down faucets
Single-handle faucets are the most popular option as they’re easy to use and require less space than double-handle faucets. However, double-handle faucets offer more precise temperature control. Pull-down faucets are great for filling large pots or cleaning dishes, but they can be more expensive.
No matter which option you choose, make sure it fits your sink and matches your kitchen’s style.
Why You Should Consider Replacing Your Kitchen Faucet – and How to Do it!
If you’re on the fence about replacing your kitchen faucet, there are a few reasons why you should consider it:
- Your current faucet is outdated or doesn’t match your kitchen’s style
- Your current faucet is leaky or has low water pressure
- You want to upgrade to a more efficient faucet
Replacing a kitchen faucet might seem intimidating, but it’s actually quite simple. All you need to do is follow the steps we’ve outlined in this article and have the right tools and materials on hand. And remember, if you’re unsure about anything, consult the manufacturer’s instructions or consider hiring a professional plumber.
Conclusion
Replacing your kitchen faucet can seem like a daunting task, but with the right tools, materials, and instructions, it’s a simple process. We’ve covered everything from turning off the water supply to choosing the right replacement option and common mistakes to avoid.


