I. Introduction
Whether you’re a student, professional, or casual computer user, knowing how to take screenshots on your Dell computer can be a major time-saver. Screenshots can be valuable for capturing information, creating how-to guides, and troubleshooting technical issues. In this article, we will explore the different methods for taking screenshots on a Dell computer, including keyboard shortcuts, built-in tools, and third-party apps, and provide step-by-step instructions for each method.
II. Step-by-Step Guide
There are several methods you can use to take screenshots on your Dell computer, and we’ll cover them all in this section.
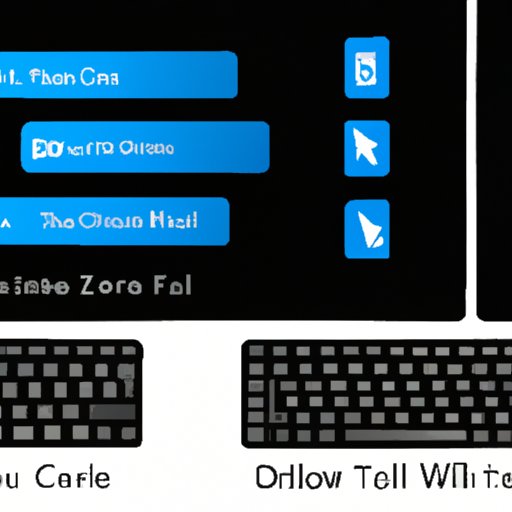
Keyboard Shortcuts
Keyboard shortcuts are a great way to quickly take screenshots without needing to open additional software. Here are the most common keyboard shortcuts for taking screenshots on a Dell computer:
- Print Screen: This takes a screenshot of the entire screen and saves it to the clipboard.
- Windows Key + Print Screen: This takes a screenshot of the entire screen and saves it to the Pictures folder.
- Alt + Print Screen: This takes a screenshot of the active window and saves it to the clipboard.
Using keyboard shortcuts is a convenient way to take screenshots, but it can be easy to forget which shortcut does what. To make things easier, try creating a cheat sheet with the most common keyboard shortcuts and keep it nearby for reference.
Built-In Tools
Dell computers come with two built-in tools for taking screenshots: the Snipping Tool and the Print Screen feature. Here’s how to use each tool:
Snipping Tool
The Snipping Tool is a built-in program that allows you to capture screenshots of specific areas on your screen. Here’s how to use it:
- Open the Snipping Tool by clicking on the Start menu and typing “Snipping Tool”.
- Click on “New” to start a new snip.
- Select the type of snip you want to take (e.g. free-form, rectangle, window, full-screen).
- Select the area of the screen you want to capture.
- Edit or save the snip as desired.
Print Screen
The Print Screen feature is a simple way to take a screenshot of your entire screen. Here’s how to use it:
- Press the “Print Screen” key on your keyboard.
- The screenshot will be saved to the clipboard.
- Open an image editor (e.g. Paint) and paste the screenshot.
- Edit or save the screenshot as desired.
Both the Snipping Tool and Print Screen feature can be customized to suit your needs. For example, you can change the default save location, add a delay to the Print Screen feature, and more.
Third-Party Apps
If you need more advanced screenshot capabilities, there are several third-party apps you can use. Here are some of the most popular options for Dell computers:
- Lightshot: A free app that allows you to capture custom areas, add annotations, and share screenshots online.
- Greenshot: A free app that offers a range of capture modes, editing tools, and uploading options.
- Snagit: A paid app that offers advanced screenshot and video capture tools, as well as image and video editing features.
While each app is different, most have similar basic features for taking screenshots. If you choose to use a third-party app, be sure to read the instructions and follow the recommended steps for best results.
III. Video Tutorial
If you’re a visual learner, a video tutorial can be a great way to learn how to take screenshots on your Dell computer. Here’s a video tutorial that covers the most common methods for taking screenshots:
Whether you prefer to read or watch instructions, there’s a method for taking screenshots on your Dell computer that will work for you.
IV. Comparison with Other Computer Brands
The process of taking screenshots can vary from brand to brand, but many of the methods we’ve covered in this article are similar across different types of computers. For example, the Windows operating system uses the same keyboard shortcuts for taking screenshots on most computers.
However, some computer brands may have proprietary software or hardware that affect how screenshots are taken. If you’re using a different type of computer and are having trouble taking screenshots, be sure to check the manufacturer’s website for instructions or contact customer support for assistance.
V. Conclusion
Taking screenshots on your Dell computer is a useful skill to have, whether you’re a student, professional, or casual user. By using keyboard shortcuts, built-in tools, or third-party apps, you can capture images of your screen quickly and easily. We hope this guide has provided the information you need to get started, and encourage you to try out different methods to find what works best for you.
Remember, taking screenshots is just one way to make the most of your Dell computer. With the right tools and knowledge, you can work more efficiently, troubleshoot problems faster, and enjoy your computer experience to the fullest.


