How to Sew a Zipper Onto Fabric: A Step-by-Step Guide
Knowing how to sew a zipper onto fabric is an essential skill for anyone who enjoys DIY crafts and sewing projects. Whether you’re making clothing, home decor, or accessories, adding a zipper can be a difficult task that requires precise handwork and patience. This comprehensive step-by-step guide will walk you through everything you need to know to confidently sew zippers onto your next project.
Step-by-Step Guide
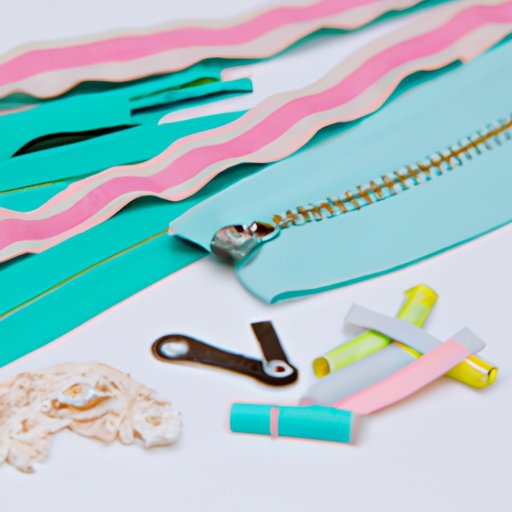
Here’s a list of the tools and materials you’ll need to sew a zipper onto fabric:
- Fabric
- Zipper
- Pins
- Scissors
- Tape measure
- Sewing machine
- Thread that matches the color of your fabric and zipper
Step 1: Marking the Fabric and Zipper
Start by placing the fabric right-side up on a flat surface. Place the zipper on top of the fabric, with the right side of the zipper facing down against the fabric. Use a ruler or measuring tape to accurately measure and mark the placement of the zipper on the fabric. Mark both sides of the zipper and transfer those marks onto the opposite side of the fabric. This will ensure that both sides of the zipper align correctly.
Step 2: Pinning the Zipper onto the Fabric
Take out your pins and pin the zipper onto the right side of the fabric, aligning the marks you just made. Pay attention to the position of the zipper tab and ensure that it’s facing towards the right side of the fabric. Keep your zipper foot on the sewing machine and slowly sew a straight line down the length of the zipper, approximately 1/8″ from the teeth.
Step 3: Sewing the Zipper onto the Fabric
Once your zipper is pinned, use your sewing machine to sew both sides of the zipper onto the fabric. Sew close to the folded edges of the fabric, starting at the top of the fabric and stitching all the way to the bottom and back up to the other side. This creates a clean, finished look.
Step 4: Finishing the Edges
Once you’ve sewn down both sides of the zipper, return and make sure that all edges are securely stitched. Trim away any excess thread or fabric with your scissors. You can also iron down the zipper seam to ensure a flat finish.
Video Tutorial
Learning through a video tutorial can be a helpful way to see the process in action. Check out this video tutorial that demonstrates how to sew a zipper onto fabric:
Tips and Tricks
Here are some helpful tips and tricks to keep in mind when sewing zippers onto fabric:
- Choose the right zipper for your project. Make sure that you have the correct length and type of zipper for your fabric.
- Mark the fabric accurately. Take the time to carefully measure and mark where the zipper will be positioned on the fabric.
- Use the correct stitch type and tension. Check your sewing machine’s manual to ensure that you’re using the best stitch type and tension for your project.
- Troubleshoot common problems. If you end up with uneven or crooked stitches, adjust the tension or reposition the fabric and try again.
Practice Project
To practice your zipper-sewing skills, try making a simple pouch or pencil case. Here’s what you’ll need:
- Fabric
- Zipper
- Scissors
- Sewing machine
- Thread that matches your fabric and zipper
Follow these steps to make your project:
- Cut two pieces of fabric to the desired size for your pouch or pencil case. Make sure that the length of your fabric is at least as long as your zipper.
- Place the zipper onto the right side of one of your fabric pieces. Pin it in place, as explained in the earlier steps.
- Use your sewing machine to sew down both sides of the zipper, following the same steps as before.
- Attach the second piece of fabric to the opposite side of the zipper, making sure that both pieces of fabric align correctly.
- Sew up the sides of your fabric, leaving the zipper tab open so that you can turn your pouch inside out.
- Your pouch or pencil case is now complete!
Share your finished projects and ask for feedback from a fellow seamstress or mentor. Consider making a few more zipper pouches to practice your skills before you tackle a larger project.
Alternative Methods
There are a few alternative methods for sewing zippers onto fabric, depending on your preference and the project you’re working on. Consider the following techniques:
- Using Bias Tape or Interfacing to Help with Installation: If you’re struggling to keep your zipper straight or aligned, using bias tape or interfacing is a great way to help stabilize your zipper before you start sewing.
- Using a Hand-Sewing Technique Instead of a Sewing Machine: Hand-sewing your zipper is a slower, more meticulous process that can be great for projects that require a finer touch or for those not yet ready to use a sewing machine.
Experiment with these alternative methods to see which one is best for you and the project you’re working on.
Conclusion
Learning how to sew a zipper onto fabric is a valuable skill for any sewing enthusiast. With the right tools and techniques, it’s a task that can be accomplished with ease. Remember to take your time, follow each step carefully, and practice on smaller projects before attempting large items.


