I. Introduction
As one of the most popular and challenging puzzles in the world, the Rubik’s Cube has fascinated and frustrated people for over four decades. If you’re a beginner looking to solve this iconic cube, then you’re in the right place. This article will guide you through a step-by-step process that will teach you how to solve a 3×3 Rubik’s Cube, from the basics to more advanced techniques.
II. Step-by-Step Guide
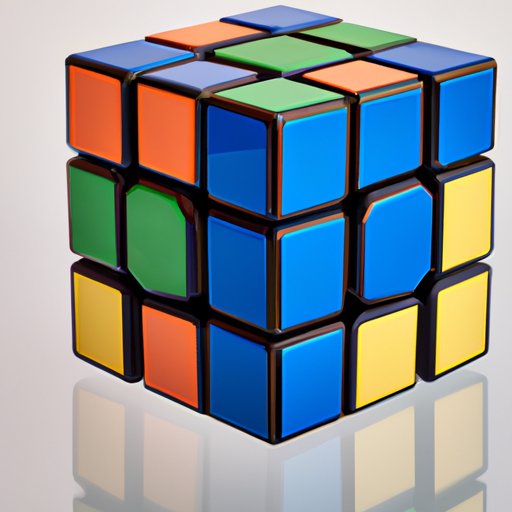
The Rubik’s Cube has six faces, each of which can be rotated along three axes: vertical (up-down), horizontal (left-right), and depth (front-back). The goal is to get each of the cube’s faces to match the color of the center face on each side. In order to accomplish this, we need to use a notation system that represents the movements of the cube.
The notation system consists of letters that correspond to the movements of a face: F (front), L (left), U (up), R (right), D (down), and B (back). An apostrophe (‘) after a letter indicates a counterclockwise turn, whereas a letter without an apostrophe represents a clockwise turn. A 180-degree turn is indicated by the number 2.
Now you’re ready to follow these step-by-step instructions for solving a Rubik’s Cube:
- Step 1: Start by choosing one color to be the “base” color. This color will be the center face of each side of the cube and will remain fixed throughout the solve.
- Step 2: Solve the white cross on the bottom face of the cube. This involves placing four white edge pieces around the center white piece to form a cross.
- Step 3: Solve the first two layers (F2L) by pairing up an edge piece with its corresponding corner piece and inserting them into the correct position together. You will need to do this for all four corners and edges in the second layer.
- Step 4: Orient the last layer (OLL) to get all of the yellow pieces on the top face. This involves learning various algorithms and sequences to move the pieces around while keeping your progress in mind.
- Step 5: Permute the last layer (PLL) to align the corner and edge pieces in their correct positions. This requires memorizing algorithms and sequences to move the pieces into the desired locations.
- Step 6: Congratulations! You have solved the Rubik’s Cube.
III. Video Tutorial
While written instructions can be helpful, seeing moves in action can be even more valuable. That’s why we’ve included a video tutorial that demonstrates the solve process.
In addition, here are some tips and tricks that can help you to solve the Rubik’s Cube faster:
- Look ahead: keep your focus on the pieces you need to solve next, rather than just the current steps.
- Cross optimization: try to solve the white cross in as few moves as possible.
- F2L pairs: practice recognizing pairs early on so you can solve them more efficiently.
- Learn algorithms: memorizing algorithms can speed up your solve times by reducing the number of moves you need to make to solve a particular problem.
IV. Comparison of Methods
There are many different methods for solving the Rubik’s Cube, each with its own advantages and disadvantages. Some popular methods include:
- The beginner’s method: the method we covered in this article. It’s a good place to start for those new to the Rubik’s Cube.
- CFOP: a more advanced method that involves solving the cross, the first two layers, orienting the last layer, and permuting the last layer.
- Roux: a method that focuses on solving the first two layers simultaneously, followed by orienting and permuting the last layer.
- ZB Method: a very complex method that involves solving individual cases using memorized algorithms rather than adhering to a specific pattern or sequence.
V. Challenges and Tips for Beginners
When you first start solving the Rubik’s Cube, you’ll encounter a few common challenges that can make the process frustrating. Here are some tips for overcoming them:
- Patience is key: don’t give up if your solve isn’t going smoothly. It takes time and practice to become proficient at solving the Rubik’s Cube.
- Memorize algorithms: learning algorithms is essential to becoming faster and more efficient at solving the cube.
- Stay organized: keep track of the pieces you need to move and where you need to move them.
- Practice regularly: the more you practice, the easier the solve becomes.
VI. Common Mistakes to Avoid
Here are some of the most common mistakes made by beginners when solving the Rubik’s Cube. Be aware of these pitfalls and avoid them:
- Turning the wrong layer: make sure you’re turning the correct layer. You should always turn the middle layer first before turning the top or bottom layers.
- Not aligning the pieces correctly: ensure that the pieces are properly oriented before inserting them into their respective slots.
- Using too many moves: try to minimize the number of moves you make. More moves means more time spent solving the puzzle.
- Trying to solve too quickly: slow and steady is often better than fast and sloppy.
VII. Conclusion
Solving the Rubik’s Cube can be a challenging and rewarding experience. By following the steps outlined in this article, you can begin your journey towards solving the cube.


