I. Introduction
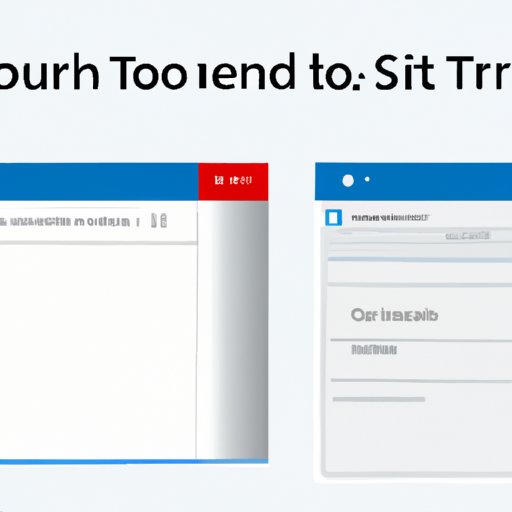
Splitting screens on Windows 10 can be a helpful way to increase productivity or multitask during leisure activities. However, it can be a confusing process for beginners. In this article, we will provide step-by-step instructions, a video tutorial, an infographic, and frequently asked questions to help you learn how to split screen on Windows 10.
II. Step-by-Step Instructions with Images
1. Open two windows that you want to split-screen by clicking on the first window and dragging it to one side of the screen.
2. Release the window once you see a transparent overlay appearing.
3. When the window is on one half of the screen, all remaining active windows will appear on the other half of the screen.
4. Select the second window that you want to split-screen by clicking on it and dragging it to the other side of the screen.
5. Release the window once you see a transparent overlay appearing.
6. When the window is on the other half of the screen, you can adjust the size of the windows by dragging the bar that separates the two windows in the middle.
III. Video Tutorial
For those who prefer to learn by watching, we have provided a video tutorial that demonstrates the process of splitting screens on Windows 10. This video tutorial provides a visual guide to follow along with the step-by-step instructions.
IV. Infographic
For visual learners, we have provided an infographic that simplifies the process of splitting screens on Windows 10. This visual representation provides an easy-to-understand guide to each step involved in splitting screens.

V. Pros and Cons
There are different methods you can use to split-screen on Windows 10. Some methods may work better for certain situations than others. Here are some pros and cons of different methods that you can consider when trying to split-screen:
Method 1: Dragging Windows to Sides of Screen
Pros: Easy to use; Able to split any windows
Cons: Limited to only a 50-50 split
Method 2: Using Snap Assist
Pros: Can split windows in various sizes
Cons: Requires extra steps and not as intuitive
Method 3: Third-Party Apps
Pros: Can create custom configurations
Cons: Requires installation of additional software which may be a security concern
VI. Frequently Asked Questions (FAQ)
Q: Can I split screen with more than two windows?
A: Yes, you can split up to four windows by using Method 2 (Snap Assist).
Q: What happens if I try to drag a window to a side, but nothing happens?
A: Make sure you click and hold the window for a second before dragging it.
Q: How do I close one of the split-screen windows?
A: Hover your mouse over the window you want to close and click on the X located on the top right corner.
VII. Different Scenarios
Splitting screens on Windows 10 can be helpful in various situations. Here are some examples:
Scenario 1: Work
Splitting screens allows you to multitask on your computer, making you more productive. For example, you can have a spreadsheet open on one side and reference material on the other.
Scenario 2: Gaming
If you like to game on your computer, splitting the screen can be an efficient way to reference game walkthroughs or guides while playing.
VIII. Conclusion
Splitting screens on Windows 10 can be a useful way to increase productivity or multitask during leisure activities. With this comprehensive guide that includes step-by-step instructions, a video tutorial, an infographic, and frequently asked questions, you should feel confident in your ability to split screen on Windows 10 effectively.


