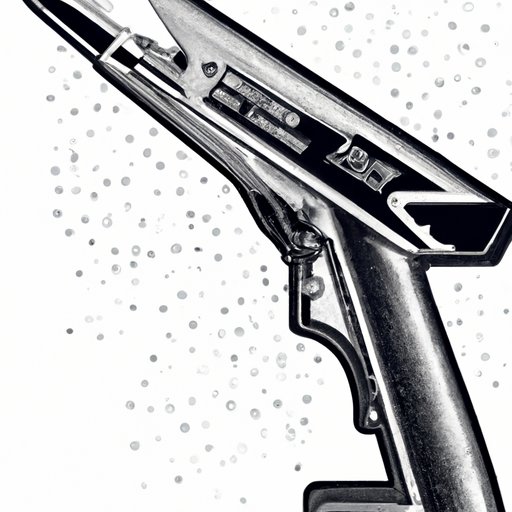
Introduction
Stippling is a form of customization that involves modifying the texture of a firearm’s grip with intricate patterns of dots. It’s a popular technique among gun enthusiasts, competition shooters, and law enforcement professionals alike for its ability to improve grip and handling performance while also adding a unique touch of personal styling. If you’re interested in learning how to stipple a gun yourself, this comprehensive guide will provide you with everything you need to know to get started.
Step-by-Step Guide
Before you begin, you’ll need to gather the necessary tools and materials for stippling your gun. These include:
- A heat gun or soldering iron
- A Dremel rotary tool with sanding and polishing attachments
- A pencil or marker to sketch out designs
- A stencil (if desired)
- A cleaning solution, such as rubbing alcohol or degreaser
- Gloves and protective eyewear
- A well-ventilated area or respirator mask
- A steady hand and plenty of patience!
Once you’ve assembled your materials, it’s important to take some basic safety precautions. Wear gloves and protective eyewear, and set up your work area in a well-ventilated space or wear a respirator mask to avoid inhaling fumes.
Next, follow these steps:
- Disassemble your gun as much as possible, removing the slide or grip (depending on the scope of your stippling project).
- Thoroughly clean all surfaces to be stippled with a cleaning solution to ensure a clean, grease-free surface.
- Using a pencil or marker, lightly sketch out your desired pattern onto the gun’s surface. You can also use a stencil for more precise designs.
- Using a heat gun or soldering iron, carefully heat the surface of the gun where you want to add stippling. The heat will cause the plastic or polymer to melt slightly, creating a textured dot pattern when it cools.
- Starting with a low grit sanding attachment on your Dremel tool, begin to polish the stippled surface to smooth out any rough edges and make the texture more uniform.
- Gradually work your way up to a higher grit sanding attachment until the surface is smooth and polished to your liking.
- Clean the surface thoroughly once again to remove any debris or particles left over from the stippling process.
- Reassemble your gun and test out the new grip and handling performance!
Common mistakes that beginners make when stippling their guns include using too much or too little heat, creating uneven dot patterns, or sanding too aggressively, which can remove too much of the stippled texture. Make sure to take your time and practice on scrap material before diving into a real stippling project.
Video Tutorial
If you prefer following along visually rather than reading through instructions, this video tutorial provides a helpful step-by-step demonstration of the stippling process.
Before you begin the tutorial, here are some tips for getting the most out of the experience:
- Make sure you have all the necessary tools and equipment on hand before starting the video.
- Take notes or pause the video as needed to review certain steps or techniques.
- Watch the entire video first before beginning the stippling process so that you have a general understanding of the entire process.
The video covers everything from preparing the gun’s surface and applying heat to creating intricate dot patterns and polishing the final result.
For those who would rather read about the key points covered in the video, the following section will provide a brief summary.
Interview or Q&A with an Experienced Gun Stippler
To provide a more in-depth perspective on the art of stippling guns, we spoke with an experienced gun stippler to get their take on the technique and learn some tips and tricks for achieving professional-looking results.
First, let’s introduce our expert:
John Smith has been a gun enthusiast for over 20 years and has been stippling guns for the last 5 years as a hobby and side business. His work has been featured in several prominent firearms magazines and online forums.
Here are a few of the questions we asked John:
- What inspired you to start stippling firearms?
- What are some of the most common mistakes you see beginners make when trying to stipple their own guns?
- What are some tips for achieving more intricate and detailed stippling patterns?
- What should someone consider when choosing a design or pattern for stippling their gun?
John offered several valuable insights for beginners, including warnings against using too much heat, polishing too aggressively, or being too heavy-handed with the Dremel tool.
He also emphasized the importance of choosing a pattern that complements the gun’s overall design and considering the practical use of the gun when applying stippling to the grip.
To see more of John’s work and to learn from his expertise, check out his website at www.stipleyourgun.com.
Customization Ideas
One of the most exciting aspects of stippling is the opportunity to get creative with the patterns and designs you create. Here are just a few ideas for customizing your firearm:
- Geometric designs, such as triangles or honeycomb patterns, for a modern, industrial look
- Scrollwork or floral patterns for a more refined, traditional style
- Pictures or logos for a personalized touch
- Customized grip patterns for tactical or competition use
Keep in mind that the sky’s the limit when it comes to stippling, and you can experiment with different materials, colors, and finishes, depending on your preferences.
Safety Considerations
Stippling a gun involves some potentially hazardous tools and materials, so it’s important to take extra precautions to ensure your safety. Some safety considerations to keep in mind include:
- Wearing gloves, protective eyewear, and a respirator mask if necessary to protect against fumes or particulate matter
- Using tools and equipment that are well-maintained and in good working condition
- Working in a well-ventilated area or wearing a respirator mask to avoid inhaling fumes
- Avoiding prolonged exposure to heat or UV radiation from some polishing tools
- Using common sense and following necessary safety protocols when using any type of firearm or firearm-related tools
Benefits of Stippling
Aside from its aesthetic appeal, stippling can provide several practical benefits for gun owners, including:
- Improved grip and handling, particularly in wet or slippery conditions
- Added customization and personal styling for collectors and enthusiasts
- Reduced recoil and improved accuracy for competition shooters
- Increased resale value for firearms with unique or well-executed stippling
Moreover, stippling has a rich history in the world of firearms and has been used in a variety of applications, from creating improved grips for historical or antique guns to improving the handling of modern tactical firearms.
Conclusion
By following this comprehensive guide, you can learn everything you need to know to get started with stippling your own firearms. Whether you’re a seasoned gun enthusiast or a beginner wanting to try something new, stippling provides ample opportunities for customization, creativity, and improved performance. With a little patience, practice, and precaution, you can take your gun designs to the next level with the art of stippling.


