Introduction
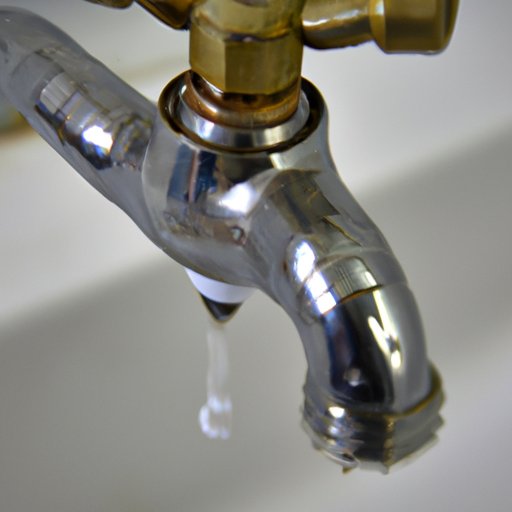
A leaky faucet may seem like a minor annoyance, but it can waste a lot of water and increase your utility bill. According to the Environmental Protection Agency, fixing one leaky faucet can save up to 10% on your water bill. That’s why it’s important to know how to fix a leaky faucet as soon as possible.
In this article, we’ll cover the most common causes of leaky faucets, how to identify the problem, tools and materials you’ll need, step-by-step instructions on fixing a leaky faucet, alternative methods, preventing leaky faucets, importance of choosing the right washer, when to seek professional help, and eco-friendly options.
Identify the Problem
The most common causes of leaky faucets are worn out washers, O-rings or gaskets, and damaged cartridges. The age and quality of your faucet can also contribute to leaks. Checking the cause of the leak is important before trying to fix it.
To identify the cause of the leak, examine the faucet closely. If the leak is coming from the spout, it’s most likely an issue with the washer or O-ring. If the leak is coming from the handle, the problem is most likely the cartridge or valve stem.
How to Fix a Leaky Faucet
The tools and materials you’ll need for fixing a leaky faucet are:
- Adjustable wrench
- Screwdriver
- Pliers
- New washers and O-rings
- Penetrating oil
- Teflon tape
Here are the step-by-step instructions on how to fix a leaky faucet:
- Shut off the water supply to the faucet.
- Remove the faucet handle by unscrewing the screw or prying off the decorative cap and unscrewing the screw.
- Remove the packing nut with pliers to reveal the stem.
- Remove the stem by unscrewing it and examine the washer or O-ring for damage.
- If the washer or O-ring is damaged, replace it with a new one of the same size and type. Apply some penetrating oil to loosen corroded screws if necessary.
- If the cartridge is damaged, remove it by pulling it out with pliers and replace it with a new one of the same model.
- Reassemble the faucet by following these steps in reverse order.
- If necessary, use Teflon tape to reseal any connections.
- Turn on the water supply and test the faucet for any leaks.
Note that different types of faucets require different repair instructions. For example, ball faucets, ceramic faucets, and cartridge faucets all have different mechanisms that require specific repair instructions.
Alternative Methods for Fixing a Leaky Faucet
If you don’t have traditional plumbing tools on hand, there are alternative items you can use to fix a leaky faucet. For example, a hex wrench can be used to remove a faucet handle, and a coat hanger can be used to dislodge debris from clogged faucets.
Additionally, there are alternative techniques for fixing the leak. For example, you can use a rubber band to grip a stripped screw, or you can use vinegar and baking soda to clean mineral deposits from the faucet.
Preventing Leaky Faucets
Regular maintenance is key to preventing leaky faucets. Here are some tips:
- Clean the aerator once a year to prevent mineral buildup.
- Test the water pressure regularly to ensure it’s not too high, which can damage the faucet.
- Replace washers, O-rings, and other parts at the first sign of wear and tear to prevent leaks.
- Properly install the faucet, making sure to tighten all the connections and prevent any twisting or bending.
Importance of Choosing the Right Washer
Washers are small but mighty parts that can greatly affect the function of your faucet. Choosing the right washer is important for a successful repair.
There are two main types of washers: flat and beveled. Flat washers have a flat surface, while beveled washers are tapered on one side. Beveled washers are better for faucets with recessed valve seats, while flat washers are better for faucets with flat valve seats.
When buying a replacement washer, make sure to get the right size and type for your faucet. Using the wrong washer can lead to a failed repair.
When to Seek Professional Help
While many leaky faucets can be fixed with DIY methods, some plumbing problems require professional help. Here are some signs that you need to call a plumber:
- The faucet is corroded or otherwise damaged beyond repair.
- The faucet is leaking from the base or handle, indicating a more serious issue.
- You attempted to fix the faucet but it’s still leaking, or it’s leaking even more than before.
- The leak is causing damage to your walls, floors, or other parts of your home.
Eco-Friendly Options
If you’re looking to conserve water and reduce your environmental impact, there are eco-friendly options for your faucet. Low-flow faucets and aerators can reduce water usage by up to 60%. These options are easy to install and can save you money on your water bill.
Conclusion
Fixing a leaky faucet is an easy way to save money and water. By identifying the problem, choosing the right tools and materials, and following step-by-step instructions, you can fix most leaky faucets on your own. Regular maintenance and proper installation can also prevent leaky faucets from happening in the first place. If you’re unsure or run into a more complex plumbing problem, it’s always better to seek professional help. And if you’re looking to reduce your water waste, eco-friendly options like low-flow faucets and aerators are a great solution.


