I. Introduction
Xbox One controllers are notorious for their durability, but even the sturdiest controller can break down or malfunction over time. Sometimes, the best solution is to take the controller apart for repairs or customization purposes. If you’re facing this issue and need guidance on how to take apart an Xbox One controller, look no further! In this article, we will provide you with a step-by-step guide for taking apart your Xbox One controller.
II. Step by Step Guide
The first thing you need to do is to remove the battery pack – if your controller has one. By removing the battery pack, you will be able to locate the screws that hold the controller together. Once you have removed the battery pack, use a Phillips screwdriver to remove the six screws that hold the front panel of the controller in place. Make sure to keep the screws in a safe place so that you don’t lose them.
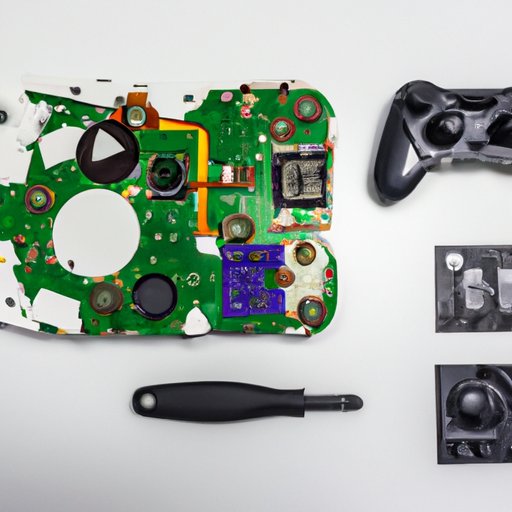
Once all the screws have been removed, gently pry apart the front panel and back panel of the controller. Don’t be too forceful, as the controller’s internal components can be quite delicate and could be damaged if handled roughly. Once the front panel and back panel are separated, you can then remove the internal components of the controller.
Start with the vibrating motors on the handles. They are typically connected to the motherboard with a set of wires that can be unplugged. Carefully unplug the wires and then remove the vibrating motors. Next, remove the joystick modules and other buttons by gently lifting them from the motherboard. Do this carefully to prevent damage to any of the components.
At this point, you should have successfully taken apart your Xbox One controller. If you need to repair or replace any of the internal components, it’s best to watch a video tutorial or consult an expert beforehand.
III. Video Tutorial
If you’re more of a visual learner, consider checking out a video tutorial. A video tutorial can provide a better visualization of the process and make it even easier to follow along with the demonstration. They are also great for those who need additional assistance or clarification.
IV. Common Mistakes to Avoid
When taking apart an Xbox One controller, there are common mistakes that you should avoid. Firstly, avoid using too much force when prying apart the front panel and back panel. Too much force can cause damage to the internal components. Secondly, avoid losing any screws as you take apart the controller. Losing screws can make reassembling the controller difficult or even impossible. Lastly, avoid touching the motherboard or any other electrical components with your bare hands. This can cause an electrostatic discharge that could damage the controller.
V. Necessary Tools
Before you get started, make sure you have all the necessary tools. You will need a Phillips screwdriver, a plastic spudger or guitar pick, and a pair of tweezers. The Phillips screwdriver is for removing screws, the plastic spudger is for prying apart the front and back panels, and the tweezers are for handling small components. While these are the basic requirements, you can also have additional tools, such as a heat gun or soldering iron, depending on what you want to do with your controller.
VI. Customization
If you’re interested in customization, the Xbox One controller is a great starting point. You can customize your controller by adding alternative parts or painting it with your favorite colors. There are plenty of websites and tutorials that offer guidance on how to do this, along with the necessary materials.
VII. Conclusion
Taking apart an Xbox One controller can seem like a daunting task at first, but it’s not as hard as it seems. With the right tools, a steady hand, and a little patience, you can successfully take apart your controller within minutes. Overall, we hope this article has been informative. Remember to stay cautious throughout the process and take your time.


