Introduction
Taking a screenshot is a handy feature that most people use to share an image of their computer screen with friends, family, or work colleagues. Whether you want to capture a funny meme, show a coworker an error message, or provide feedback on a design, taking a screenshot makes it easy to share what you’re seeing on your screen.
In this article, we will explore different approaches for taking a screenshot in a Dell laptop, including:
– Step-by-Step Guide Approach
– Predefined Keyboard Shortcuts Approach
– Exploring Third-Party Apps Approach
– An Approach for Taking and Editing Screenshots
– Infographic Approach
By the end of this article, you’ll be able to capture, save, and share any screen on your Dell laptop with ease.
Step by Step Guide Approach
The Snipping Tool is a built-in Windows application that makes it easy to capture a screenshot in a Dell laptop. Here’s how to use it:
1. Click on the Start button.
2. Type ‘Snipping Tool’ in the search bar.
3. Click on the Snipping Tool icon to open it.
4. Click on ‘New’ to take a new screenshot.
5. Use your mouse cursor to select the area of the screen you want to capture.
6. Once you’ve captured the desired area, click on the ‘Save’ icon.
7. Choose a location to save your screenshot.
8. Give your screenshot a name and click on ‘Save.’
Predefined Keyboard Shortcuts Approach
If you’re looking for a faster way to take a screenshot in a Dell laptop, you can use the following predefined keyboard shortcuts:
– Print Screen: Pressing the Print Screen key copies the entire screen to the clipboard.
– Alt + Print Screen: Pressing Alt + Print Screen copies the active window to the clipboard.
– Windows + Print Screen: Pressing Windows + Print Screen captures the entire screen and saves it in the default Pictures folder.
Here’s a chart showing the different shortcuts and their functions:
| Shortcut | Function |
| ———————| ———————————————–|
| Print Screen | Copies the entire screen to the clipboard |
| Alt + Print Screen | Copies the active window to the clipboard |
| Windows + Print Screen| Captures the entire screen and saves to folder |
Exploring Third-Party Apps Approach
There are many third-party apps available that can help you capture screenshots in a Dell laptop. Some of the more popular include:
– Greenshot
– Lightshot
– Snagit
Each of these apps has different features, benefits, and drawbacks. For example, Greenshot is free but doesn’t have as many editing tools as Snagit. Lightshot is lightweight and easy to use, but it doesn’t have as many advanced features as Snagit. Snagit is a paid app but has a range of features that make it a great choice for professional use.
Based on our research, we recommend Snagit for anyone looking for a comprehensive screenshot tool that’s easy to use and comes with a range of editing options.
An Approach for Taking and Editing Screenshots
Once you’ve taken a screenshot, you may want to edit it before sharing it with others. Here’s how to edit screenshots using the built-in tools or third-party applications:
Built-in Tools:
1. Open the Snipping Tool.
2. Take a screenshot of the area you want to edit.
3. Click on ‘Edit’ to open the editing tools.
4. Use the available tools to make changes to your screenshot.
5. Click on ‘Save’ to save your edited screenshot.
Third-Party Applications:
1. Open the application of your choice (e.g. Snagit).
2. Take a screenshot of the area you want to edit.
3. Click on ‘Edit’ to open the editing tools.
4. Use the available tools to make changes to your screenshot.
5. Click on ‘Save’ to save your edited screenshot.
Infographic Approach
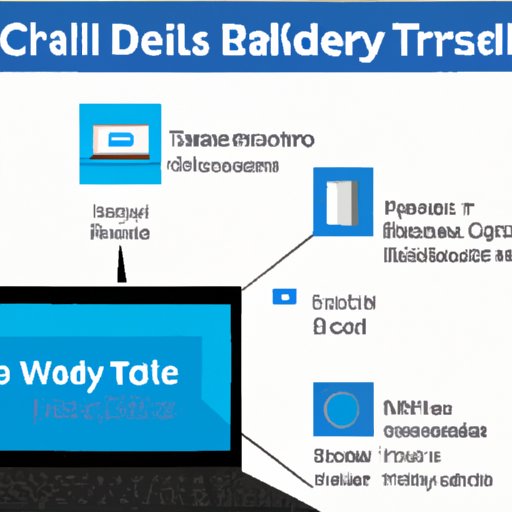
Looking for a more visual guide to taking a screenshot in a Dell laptop? Check out our infographic below:

Conclusion
Taking a screenshot in a Dell laptop is an essential skill that can come in handy for a variety of reasons. In this article, we’ve explored different approaches for taking a screenshot, including using the Snipping Tool, predefined keyboard shortcuts, third-party apps, and editing tools. We’ve also provided recommendations on the best tools to use and an engaging infographic for easy reference. With the knowledge, you’ve gained from this article, you’ll be able to capture, save, and share any screenshot with ease.


