Introduction
When it comes to overall aesthetics, a room’s ceiling can play a crucial role. Adding texture to a ceiling can create a stunning visual effect and serve as an elegant way of concealing imperfections. However, texturing a ceiling is a task that requires specialized knowledge and techniques. This article is designed to provide all the necessary information you need to texture a ceiling by yourself, from choosing the right texture, tools and equipment to step-by-step instructions on how to achieve best results.
Start with The Basics: Tips and Tricks for DIY Ceiling Texturing
Before you start texturing your ceiling, there are a few essential things you should keep in mind to avoid any costly mistakes. Firstly, it is important to do your research in advance in order to determine the appropriate texture for your ceiling. Secondly, before starting the texturing process, prep the room well in advance. This means clearing the room of any furniture and covering the floor and any exposed surfaces. Additionally, texturing can be a messy process, so make sure you wear the right type of clothing that you don’t mind getting dirty, as well as a protective mask to prevent you from inhaling any dust and debris.
Paint Vs. Texture: Weighing the Pros and Cons
One of the big decisions you will encounter when texturing your ceiling is whether to apply paint or texture. While both have their own unique look and feel, it is important to understand the pros and cons of each. Texture adds a depth and character to a ceiling that paint simply cannot replicate, while paint can provide an even finish for a uniform and polished look. The choice typically comes down to personal taste and the overall aesthetic of the room.
How to Choose the Right Texture for Your Ceiling: A Guide
With such a wide range of textures available, selecting the perfect texture for your ceiling can be a daunting experience. However, there are some important considerations that can help guide you through the process. Begin by considering the overall aesthetic of the room and searching for inspiration and ideas. Once you have a rough idea of what you’re looking for, consider the texture’s versatility, maintenance requirements, and its ability to hide any imperfections. Examples of some popular textures include popcorn, knockdown, and skip trowel, among others.
Essential Tools for Ceiling Texturing at Home
To achieve the best texture for your ceiling, you will need the right set of tools and equipment. Some of the essential tools include a hopper gun, compressor, trowel, and sandpaper, among others. It is vital to invest in quality tools that will ensure a high-quality finish. If you already own a few of these tools, ensure that they are in good shape and suitable for the task at hand. Lastly, ensure that you have covered your furniture, floors and surfaces, including sealing off cabinets and masking any other elements that require special attention.
Common Mistakes to Avoid When Texturing a Ceiling
Texturing a ceiling is a technical task involving specialized tools, and even the slightest of mistakes can lead to costly repairs. Common mistakes include poor planning and inadequate preparation, using the wrong type of texture or tools, and not leaving enough time for the texture to dry before painting. To ensure a smooth and straightforward process, always invest time in researching and sourcing the right materials for a specific job.
A Step-by-Step Guide to Texturing Your Ceiling Like a Pro
While texturing a ceiling requires some technical knowledge and skill, this step-by-step guide can make the process feel much more manageable. Before starting, ensure that all the necessary precautions are made, then proceed with these steps:
1. Mix the texture compound: Begin by adding the texture compound to the hopper gun and add the necessary amount of water. Depending on the texture type, the consistency of the mix will vary.
2. Test the texture: Before applying, perform a small sample to determine the consistency and adjust as necessary.
3. Apply the texture: Begin spraying the texture, starting in one corner, and work your way towards the opposite corner of the room.
4. Use a trowel or knife: Once you have finished spraying all the texture, take a trowel or knife and start to flatten the peaks and form a relatively flat base.
5. Give it time to dry: After texturing the entire ceiling, give it ample time for it to dry.
6. Sand the texture: Take sandpaper and lightly sand down any highpoints or defects.
7. Paint the texture: Once the texture has dried, paint it using a high-quality paint.
Remember to always wear protective gear and follow manufacturer instructions throughout the process.
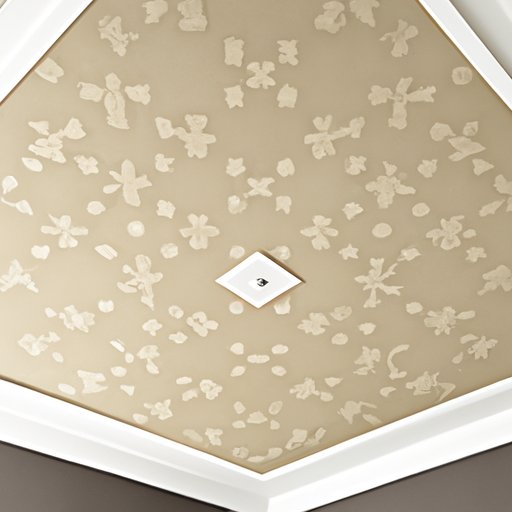
Adding Character to Your Home with Textured Ceilings: Inspiration and Ideas
Textured ceilings are a versatile and creative way to add more personality and character to your home. Consider using unique textures like stamped tin panels or hand-painted stencils to add interest and visual appeal. Additionally, you can use color to enhance the texture or create a statement piece on the ceiling. Don’t be afraid to experiment with the different types and ideas to create a truly unique space.
Conclusion
In conclusion, texturing a ceiling is a fantastic way to add depth, character, and visual appeal to any room. However, it can also be a daunting task that requires some level of technical skill. By following the tips, tricks, and step-by-step guides laid out in this article, you can texture your ceiling like a pro and achieve the desired outcome.
Ready to add some texture to your ceiling? Go ahead and try it out, but make sure to follow the safety precautions throughout the process.


