Introduction
Friendship bracelets are a timeless symbol of the strong bond between friends. They have been around for decades and are still a favorite among children and adults alike. These colorful, handmade accessories have a certain charm, and learning how to create them is a valuable skill. In this article, we will guide you through the process of making a friendship bracelet, step-by-step. We’ll cover the materials and supplies required, different patterns and styles, and gift ideas. With our simple yet comprehensive guide, you’ll be able to create beautiful, personalized bracelets in no time!
Step-by-Step Tutorial
To get started on your friendship bracelet, you will need a few supplies. You’ll need embroidery floss, a ruler, scissors, a clipboard, painter’s tape, and a safety pin. Choose your favorite colors and purchase embroidery floss from your local craft store or online. Once you have all the materials, you can follow the steps below:
- Cut three pieces of floss in two different colors, each measuring around 12 inches.
- Take all the floss pieces and knot them together, leaving about an inch at the top. Secure the knot on the clipboard using painter’s tape.
- Separate the strands into two groups, with two threads on each side.
- Take the first thread from the right-hand group and knot it over the two threads on the left side.
- Take the thread on the left group, and knot it over the two on the right-hand side. Pull the threads to tighten the knot.
- Repeat steps 4 and 5 until you have reached your desired length.
- Create a closure by braiding or knotting all the ends of the floss together.
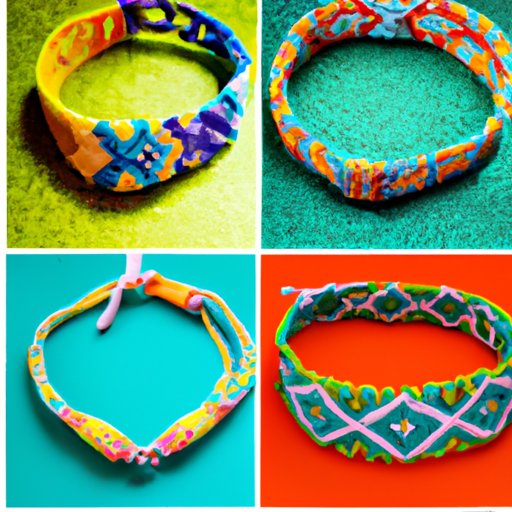
Here are some helpful pictures to guide you through these steps:

Video Tutorial
Many people prefer to learn by watching, which is why video tutorials can be beneficial. Here is a video tutorial that you can follow along with:
Different Patterns
If you’re interested in trying out different patterns, here are a few options:
- The Chevron Pattern: This pattern involves knotting the threads in a diagonal direction to create a V-shape pattern.
- The Diamond Pattern: This pattern creates a diamond shape pattern and involves knotting the threads in a square shape.
- The Chinese Staircase Pattern: This pattern is one of the easiest patterns to create and involves knotting the threads in a long spiral.
- The Heart Pattern: This pattern is great for Valentine’s Day or to show someone that you care. It involves knotting the threads in a heart shape.

Materials Needed
Depending on the pattern and the style, you may need different materials and supplies. In general, here are some materials that you may require:
- Embroidery floss in your preferred colors
- A clipboard: This is useful in keeping the threads securely in place while you work.
- Scissors: You’ll need scissors to cut the floss to the desired length.
- Ruler: A ruler is necessary in measuring and cutting the floss to ensure that your bracelet is the correct length.
- Safety Pin: A safety pin will help you keep your work in progress together.
If you need to purchase these supplies, check your local craft store or online retailers. Some retailers may sell pre-made kits that have everything you need to create beautiful bracelets.
Tips and Tricks
Here are a few tips that you can use to make your friendship bracelet process easier:
- Use the clipboard to keep the threads in place as you work.
- Use a safety pin to keep the threads together as you knot.
- Keep the threads organized by tying them together with a rubber band to prevent tangling.
- Use contrasting colors for better visibility of your knots.
- Take your time, and practice makes perfect!
Different Styles
There are various ways to wear a friendship bracelet. Here are a few ideas:
- Single: Worn alone, this is the traditional way to wear a friendship bracelet.
- Layered: Stack multiple friendship bracelets of different patterns and colors for a stylish look.
- Anklet: Take your friendship bracelets up a notch by wearing them as anklets.
- Choker: For a unique choker look, use embroidery floss to create your own custom pattern and color scheme.

DIY Gift Ideas
Friendship bracelets make great gifts, and they can also be customizable based on the occasion and the recipient. Here are some DIY gift ideas:
- Matching bracelets for a group of friends: Select a pattern and color scheme that you can all wear together.
- Customized letters: Choose a letter and create a bracelet with that letter for your friend to wear.
- Beading: With the addition of beads, you can create a personalized bracelet that reflects your friends’ favorite things.
Conclusion
Creating friendship bracelets is a fun and creative activity that has been around for generations. With our step-by-step guide, you can make beautiful bracelets in no time. There are various patterns and styles to choose from, and they can be customized based on the recipient’s personality or the occasion. These bracelets make meaningful gifts and a great way to show your friends how much you care, so why not start creating your own friendship bracelets today?


