I. Introduction
If you’ve recently purchased an Apple Pencil, you might be wondering how to turn it on. An Apple Pencil is an incredibly useful tool, allowing you to draw, sketch, take notes, and make precision edits on your iPad. While it may seem like a challenge, turning on your Apple Pencil is a straightforward process. In this article, we’ll provide a step-by-step guide to help you turn on your Apple Pencil with ease and address common troubleshooting issues, compare different generations of the Apple Pencil, and provide quick tips to enhance your experience.
II. Step-by-Step Guide
The Apple Pencil is a rechargeable device, so before you can begin using it, you will need to charge the pencil with its lightning connector. Once the pencil’s battery is charged, follow these steps:
- Remove the cap of the Apple Pencil.
- Insert the lightning connector at the bottom of the pencil into the lightning port of your iPad. A notification should appear on your screen that indicates the pencil is being paired and its battery percentage.
- Once you see the notification indicating the pairing is complete, the pencil is now on and ready to use.
If your iPad does not recognize or pair with the Apple Pencil, charging the pencil for 15-30 minutes may solve the issue. If the problem persists, try resetting your iPad’s network settings or restarting your iPad to troubleshoot the issue.
III. Video Tutorial
For visual learners, video tutorials can be incredibly helpful. Check out this informative tutorial that demonstrates how to pair and turn on your Apple Pencil: https://www.youtube.com/watch?v=A5s4tqKlD50&t=37s
Key takeaway reminders from the tutorial include:
- Charge the pencil before turning it on
- Insert the lightning connector into the iPad’s port to pair the devices
- Wait for the iPad to recognize and pair with the pencil
- Check the battery percentage on the paired iPad screen
IV. Troubleshooting
While turning on your Apple Pencil is a straightforward process, you might encounter issues from time to time. Below are some common troubleshooting tips:
- Is the pencil charged? Make sure the pencil’s battery is not dead. Insert the pencil into a thunderbolt or lightning port to ensure it’s charging. A working pencil should show a small light on its body, indicating it’s charged.
- Is the pencil properly paired with your iPad? Make sure the iPad recognizes the pencil, and the pencil’s name appears in the Bluetooth setting under devices. To pair with the iPad, remove the pencil’s cover and plug the lightning port inside the pencil into your iPad. An alert will appear on your screen indicating a successful connection.
- Allow iPad to update its firmware: Sometimes, your iPad’s firmware may be outdated, and this could cause problems for the Apple pencil. To update your firmware, go to the Settings, tap the General tab, and click on Software Update.
- Is the pen tip dirty? If the pen tip is dirty or covered with debris, it might not be recognized by the iPad. Use a dry cloth or a piece of paper and wipe the pencil tip gently before using it.
- Is the pencil defective? Try connecting your pen to another iPad or device that’s been confirmed to work. If it doesn’t work with another device, your pencil is most likely defective, and you will need to take it to an Apple Store for a replacement.
V. Frequently Asked Questions
Here are answers to some common questions you might have about turning on your Apple Pencil:
- Do I need to charge the Apple Pencil before turning it on? Yes. Unlike other types of pencils, the Apple Pencil requires a charge before it can function. Charging should take less than an hour.
- What if my device does not detect the Apple Pencil? Try charging the Apple Pencil and make sure Bluetooth is enabled on both the device and pencil. If the problem persists, try restarting your device or resetting its network settings.
- Can multiple Apple Pencils work with a single iPad? No, only one pencil can be paired with an iPad at a time.
- Do Apple Pencils work with all iPad models? No. Apple Pencils work with specific iPad models only. Your iPad must be compatible with the Apple Pencil. Check your iPad’s compatibility to ensure your pencil will work with your device.
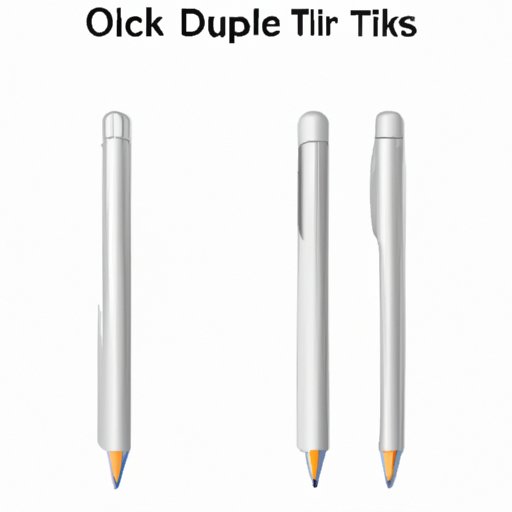
VI. Comparison of Pencil Versions
Apple Pencils have undergone several generations since their initial release, and each generation has unique features and differences. Below are some comparisons to help you determine which version is best for you:
- 1st Generation: This pencil is compatible with certain iPad versions, and it charges through a lightning port. This version of the Apple Pencil is best suited for those who use their iPad for casual drawing, sketching, and taking notes.
- 2nd Generation: This version is compatible with newer iPad models, and it charges wirelessly through the iPad’s magnetic connector. It’s an excellent choice for artists, graphic designers, or anyone who needs a high-precision stylus for their device.
VII. Quick Tips
The following tips will help you get the most out of your Apple Pencil:
- Customize your Apple Pencil settings: You can customize your Apple Pencil settings by navigating to the Settings app on your iPad, clicking on General, and then selecting the Apple Pencil settings to adjust your settings.
- Use your Apple Pencil as a remote: Your Apple Pencil can function as a remote control. For instance, you can use it to swipe through pages or pick songs on your iPad. Simply go to Settings, select Bluetooth devices, and choose the Apple Pencil as your preferred device.
- Pair your Apple Pencil with your iPad Case: You can attach your Apple Pencil to your iPad case for safekeeping and easy access.
VIII. Conclusion
Turning on the Apple Pencil may seem challenging, but it’s a simple process that requires charging the pencil and pairing it with your iPad. If you follow the steps outlined in this article, you’ll be well on your way to enjoying your Apple Pencil. Remember, always use your Apple Pencil with the right iPad model for optimal results. We hope this article was helpful.


