Introduction
Mackie ProFX6v3 is a compact mixer designed for audio enthusiasts, small sound events, and home studio recording. The mixer delivers professional sound quality with its six preamp-equipped channels, built-in effects, and USB connectivity. This article serves as a beginner’s guide to the Mackie ProFX6v3 Mixer, providing you with an overview of the mixer, how to set it up, understanding the interface, tips for optimal sound quality, and more.
Overview of Mackie ProFX6v3 Mixer
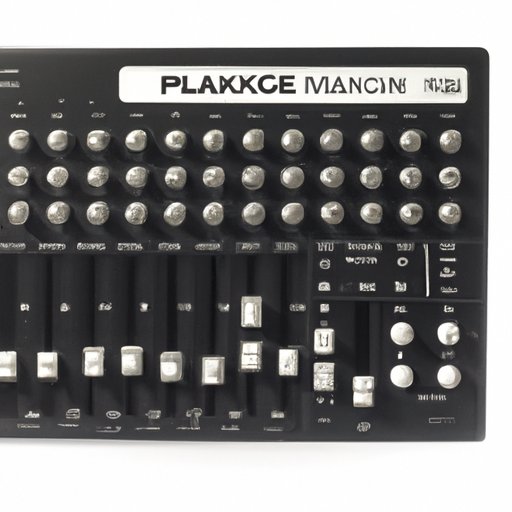
The Mackie ProFX6v3 Mixer packs a lot of features into a small design. This mixer includes 6 Onyx preamp-equipped channels and a USB interface, making it the perfect tool for home recording and small events. In addition, the mixer includes 24 onboard digital effects, an FX Processor, and a 2-band EQ on all channels. The mixer can be powered by either a power adapter or USB connection to a computer. The overall design is compact and portable, making it easy to take on the go.
Setting Up and Connecting the Mixer
The first step in using your Mackie ProFX6v3 Mixer is to set it up. You will need to connect it to other audio equipment such as microphones, instruments, speakers, or a computer for recording. Here’s how to set it up:
1. Connect the mixer’s power supply and turn it on. If you are using it connected to your computer via USB, simply plug it in, and it will automatically be recognized as an audio device.
2. Connect your microphones, instruments, or other devices to the appropriate channels on the mixer. Use the XLR connectors for microphones and the 1/4-inch connectors for instruments or line-level devices.
3. Connect your speakers or headphones to the mixer’s main output. You can use the 1/4-inch connectors for larger speakers and the 3.5mm headphone jack for monitoring your mix.
Understanding the Mixer Interface
The Mackie ProFX6v3 Mixer has a relatively simple interface that is easy to navigate. Understanding the interface will help you get the most out of the mixer’s features. Here’s a quick rundown of the main interface components:
Channel Strips, EQ, and FX
The mixer has six channels, each with a channel strip where you can adjust the volume, pan, EQ, aux sends, and other parameters per-channel. The EQ has a two-band design, including a low and high-frequency band. Additionally, the mixer includes 24 onboard digital effects and an FX Processor on each channel, so you can add reverbs, delays, choruses, and other effects.
Master Section and FX Processor
In addition to the channel strips, the Mackie ProFX6v3 Mixer also includes a master section where you can adjust the overall volume level, add additional effect processing, and listen to the mix through headphones. The FX Processing section has 24 different effects available, and you can adjust the level of FX sent to each channel individually.
Tips for Optimal Sound Quality
To get the best sound quality out of your Mackie ProFX6v3 Mixer, try these tips:
1. Use high-quality cables: High-quality cables produce less noise and interference, leading to cleaner audio recordings.
2. Use the correct levels: Setting the correct levels is essential to getting the best sound. Set the gain on each channel correctly and avoid clipping by keeping the levels in the green zone.
3. Use EQ sparingly: Overusing EQs can result in an unnatural-sounding mix. Use the EQ sparingly, and make small adjustments to achieve a more balanced sound.
Conclusion
The Mackie ProFX6v3 Mixer is a feature-packed, compact, and portable mixer designed for home recording and small events. It offers excellent sound quality and a user-friendly interface, making it an excellent choice for beginners. This guide has provided an overview of the mixer, how to set it up, tips for optimal sound quality, and more, giving you all the information you need to start using your Mackie ProFX6v3 Mixer with confidence.


