How to Wash Whites: Tips for Keeping Your Whites Bright and Clean
If you’re someone who loves wearing whites, then you know how important it is to keep them looking new. Whether it’s a white shirt, white pants, or bed sheets, whites can quickly look dingy and dirty. But don’t worry, with the right techniques and products, keeping your whites clean and bright is easy! In this article, we will go over the steps you need to take to wash your whites properly and ensure they look as good as new.
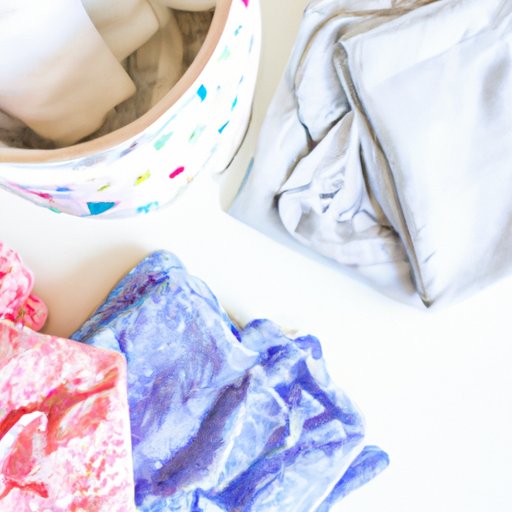
Step 1: Separating Whites from Other Colors
The first and most crucial step in washing whites is to separate them from other colors. The reason for this is simple- even if you have just a tiny bit of color-transfer from another garment, it can ruin your whites. Always wash whites separately from other colors, and make sure to check the pockets of all clothing to avoid any accidental dye transfer or discoloration.
Step 2: Pretreatment of Stains
Whites are notorious for showing stains, so if you have a stain, it’s crucial to treat it before washing. The longer a stain sets, the harder it will be to remove. Depending on the type of stain, pretreating it with a stain remover, bleach, or using baking soda can help. Do some research and figure out the best solution for the type of stain you have.
Step 3: Adding a Whitening Agent
Adding a whitening agent is essential for keeping your whites bright. There are many different options to choose from when selecting a whitening agent: bleach, oxygen-based bleach or vinegar. Be sure to choose the product that is best for your fabric type. Be cautious with bleach, as it can cause yellowish stains and weaken the fibers of the fabric if used excessively. Oxygen-based bleach is a different option that is safer and still effective.
Step 4: Using Hot Water Effectively
The use of hot water should be selected with caution, as most fabrics are not compatible with extreme temperature changes. Always read care labels and select the hottest water temperature appropriate for each garment. It’s essential to let the detergent and bleach dissolve completely before adding in your whites to avoid unwanted chemical reactions that can harm the fabrics. Additionally, some fabrics can shrink or deform under high temperatures, so it’s essential to be cautious when selecting the temperature for each load.
Step 5: Drying and Ironing Whites
The last step is the drying and ironing process. Line drying is the safest option to avoid heat damage to your whites. It’s efficient in the sun, which has excellent natural bleaching agents. Ensure that clothes dry completely before being ironed; this will prevent discoloration caused by moisture. Ironing is optional, it provides your whites with that crisp look and can remove any existing wrinkles.
Conclusion: A Summary of the Steps and Their Importance
Keeping whites bright is a challenge, but following the steps outlined in this article can help you to keep them looking new. Make sure to separate whites from other colors, pretreat stains, add a whitening agent, use hot water effectively, and dry and iron your whites properly to maintain their brightness and quality.


