Introduction
If you’re looking to update the look of your home or add a unique touch to your interior design, whitewashing brick might be just the solution you need. Whitewashing brick has become increasingly popular in recent years, as it offers an affordable way to transform the look of a room or home exterior with minimal effort.
In this article, we’ll provide you with a detailed step-by-step guide on how to whitewash brick, offer tips and advice for achieving the best results, and showcase some inspiring before and after photos to get your creative juices flowing. So, let’s get started!
Step-by-Step Guide
Before we get into the nitty-gritty of the actual process, let’s discuss some of the essential materials you’ll need to get started. These include:
- Drop cloths or plastic sheeting
- Painter’s tape
- Clean rags or sponges
- Paintbrushes (wide and narrow)
- White latex paint
- Water
Before you begin the process, it’s important to take some necessary safety precautions. Wear a mask to avoid inhaling dust particles and make sure you protect your eyes by wearing goggles. Cover your furniture and floors with drop cloths or plastic sheeting.
Now, let’s get started with the actual process:
- Clean the brick surface with warm water and soap to remove any dust or debris.
- Mix the white latex paint with water in a 1:1 ratio. Be sure to stir the mixture well.
- Apply painter’s tape to the surrounding area to protect it from the paint.
- Using a wide brush, begin applying the whitewash mixture to the brick surface. Work in small sections at a time.
- After applying the whitewash, use a clean rag or sponge to blot the surface, removing any excess paint and creating a more natural, weathered look.
- Allow the whitewash to dry completely overnight.
- Repeat the process for a second or third coat, until you achieve the desired level of whitewashing.
And there you have it! Your whitewashing project is complete. However, keep in mind that this process can vary depending on the type of brick surface and the look you’re going for, so be sure to adjust as necessary.
Before and After Photos
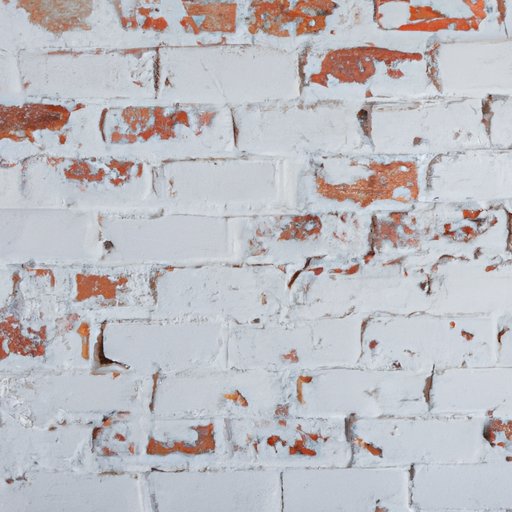
Now, let’s take a look at some impressive before and after photos of whitewashed brick walls:

Source: Pinterest

Source: homedit
When it comes to achieving the best results for your whitewashing project, keep in mind that the type of paint you use will play a big factor in how long the paint will last. For instance, using a higher quality paint and a good brush can result in a smoother and more durable finish.
Pros and Cons
There are both advantages and disadvantages to whitewashing brick.
Advantages
- It’s an affordable and easy way to update the look of your home or room.
- It can add a unique touch to your interior design.
- It can make a small space feel larger and brighter.
- It can add a cozy, rustic touch to your home.
Disadvantages
- The whitewash can chip or peel over time.
- It can be difficult to remove the whitewash once it has been applied.
- It may not be suitable for all types of brick surfaces.
Despite some of these drawbacks, whitewashing brick can be an excellent choice for many homeowners looking for an affordable and easy way to update their space.
Historical Context
Whitewashing brick has a long and storied history. In ancient times, whitewashing was often used as a way to make brick structures more visually appealing. The Romans, for instance, were famous for their use of whitewashed brick in decorative and architectural applications.
Over time, whitewashing became increasingly popular in Europe, where it was commonly used in rural areas as a cheap and effective way to brighten up homes and outbuildings. By the 19th century, it had become a popular design technique and continues to be a popular choice for interior designers and homeowners today.
Seasonal Inspiration
One of the great things about whitewashing brick is how versatile it can be, depending on the season. For instance, whitewashed brick can create a cozy feel during the winter months, while adding a bright touch during the summer. Here are some ideas for incorporating whitewashed brick into your seasonal decor:
Winter

Source: Pinterest
Summer

Source: Pinterest
Trending Styles
Like most design techniques, whitewashing brick is subject to the ever-changing whims of interior design trends. Here are some current popular trends to consider when whitewashing your brick:
- Complementary color patterns, such as black and white or blue and white
- Geometric patterns, such as chevrons or stripes
- Singular focal points, such as a whitewashed brick fireplace or accent wall
Video Tutorial
For those who prefer visual tutorials, we’ve put together a step-by-step video guide to whitewashing brick:
Conclusion
Whitewashing brick is an excellent way to update the look and feel of your home or room without breaking the bank. With the tips and tricks provided in this article, you should have everything you need to achieve the best results possible.
Remember to be patient with the process and take your time. Don’t be afraid to experiment with different techniques until you find the look and feel that best suits your style and needs.
And lastly, don’t forget to share your before and after photos on social media and let us know how your whitewashing project turned out.


